Decal baking is the process of adding decals to a 3D object’s PBR textures. The actual baking is done in a free program named xNormal. After baking, a Unity3D package named Material Tools is used to clean up the baked images.
Programs needed to complete this tutorial
Input
Input Files
FBX 3D objects
- Background, corridor wall scaled up in size
- positionDecals, the plane positioned where we want our decal
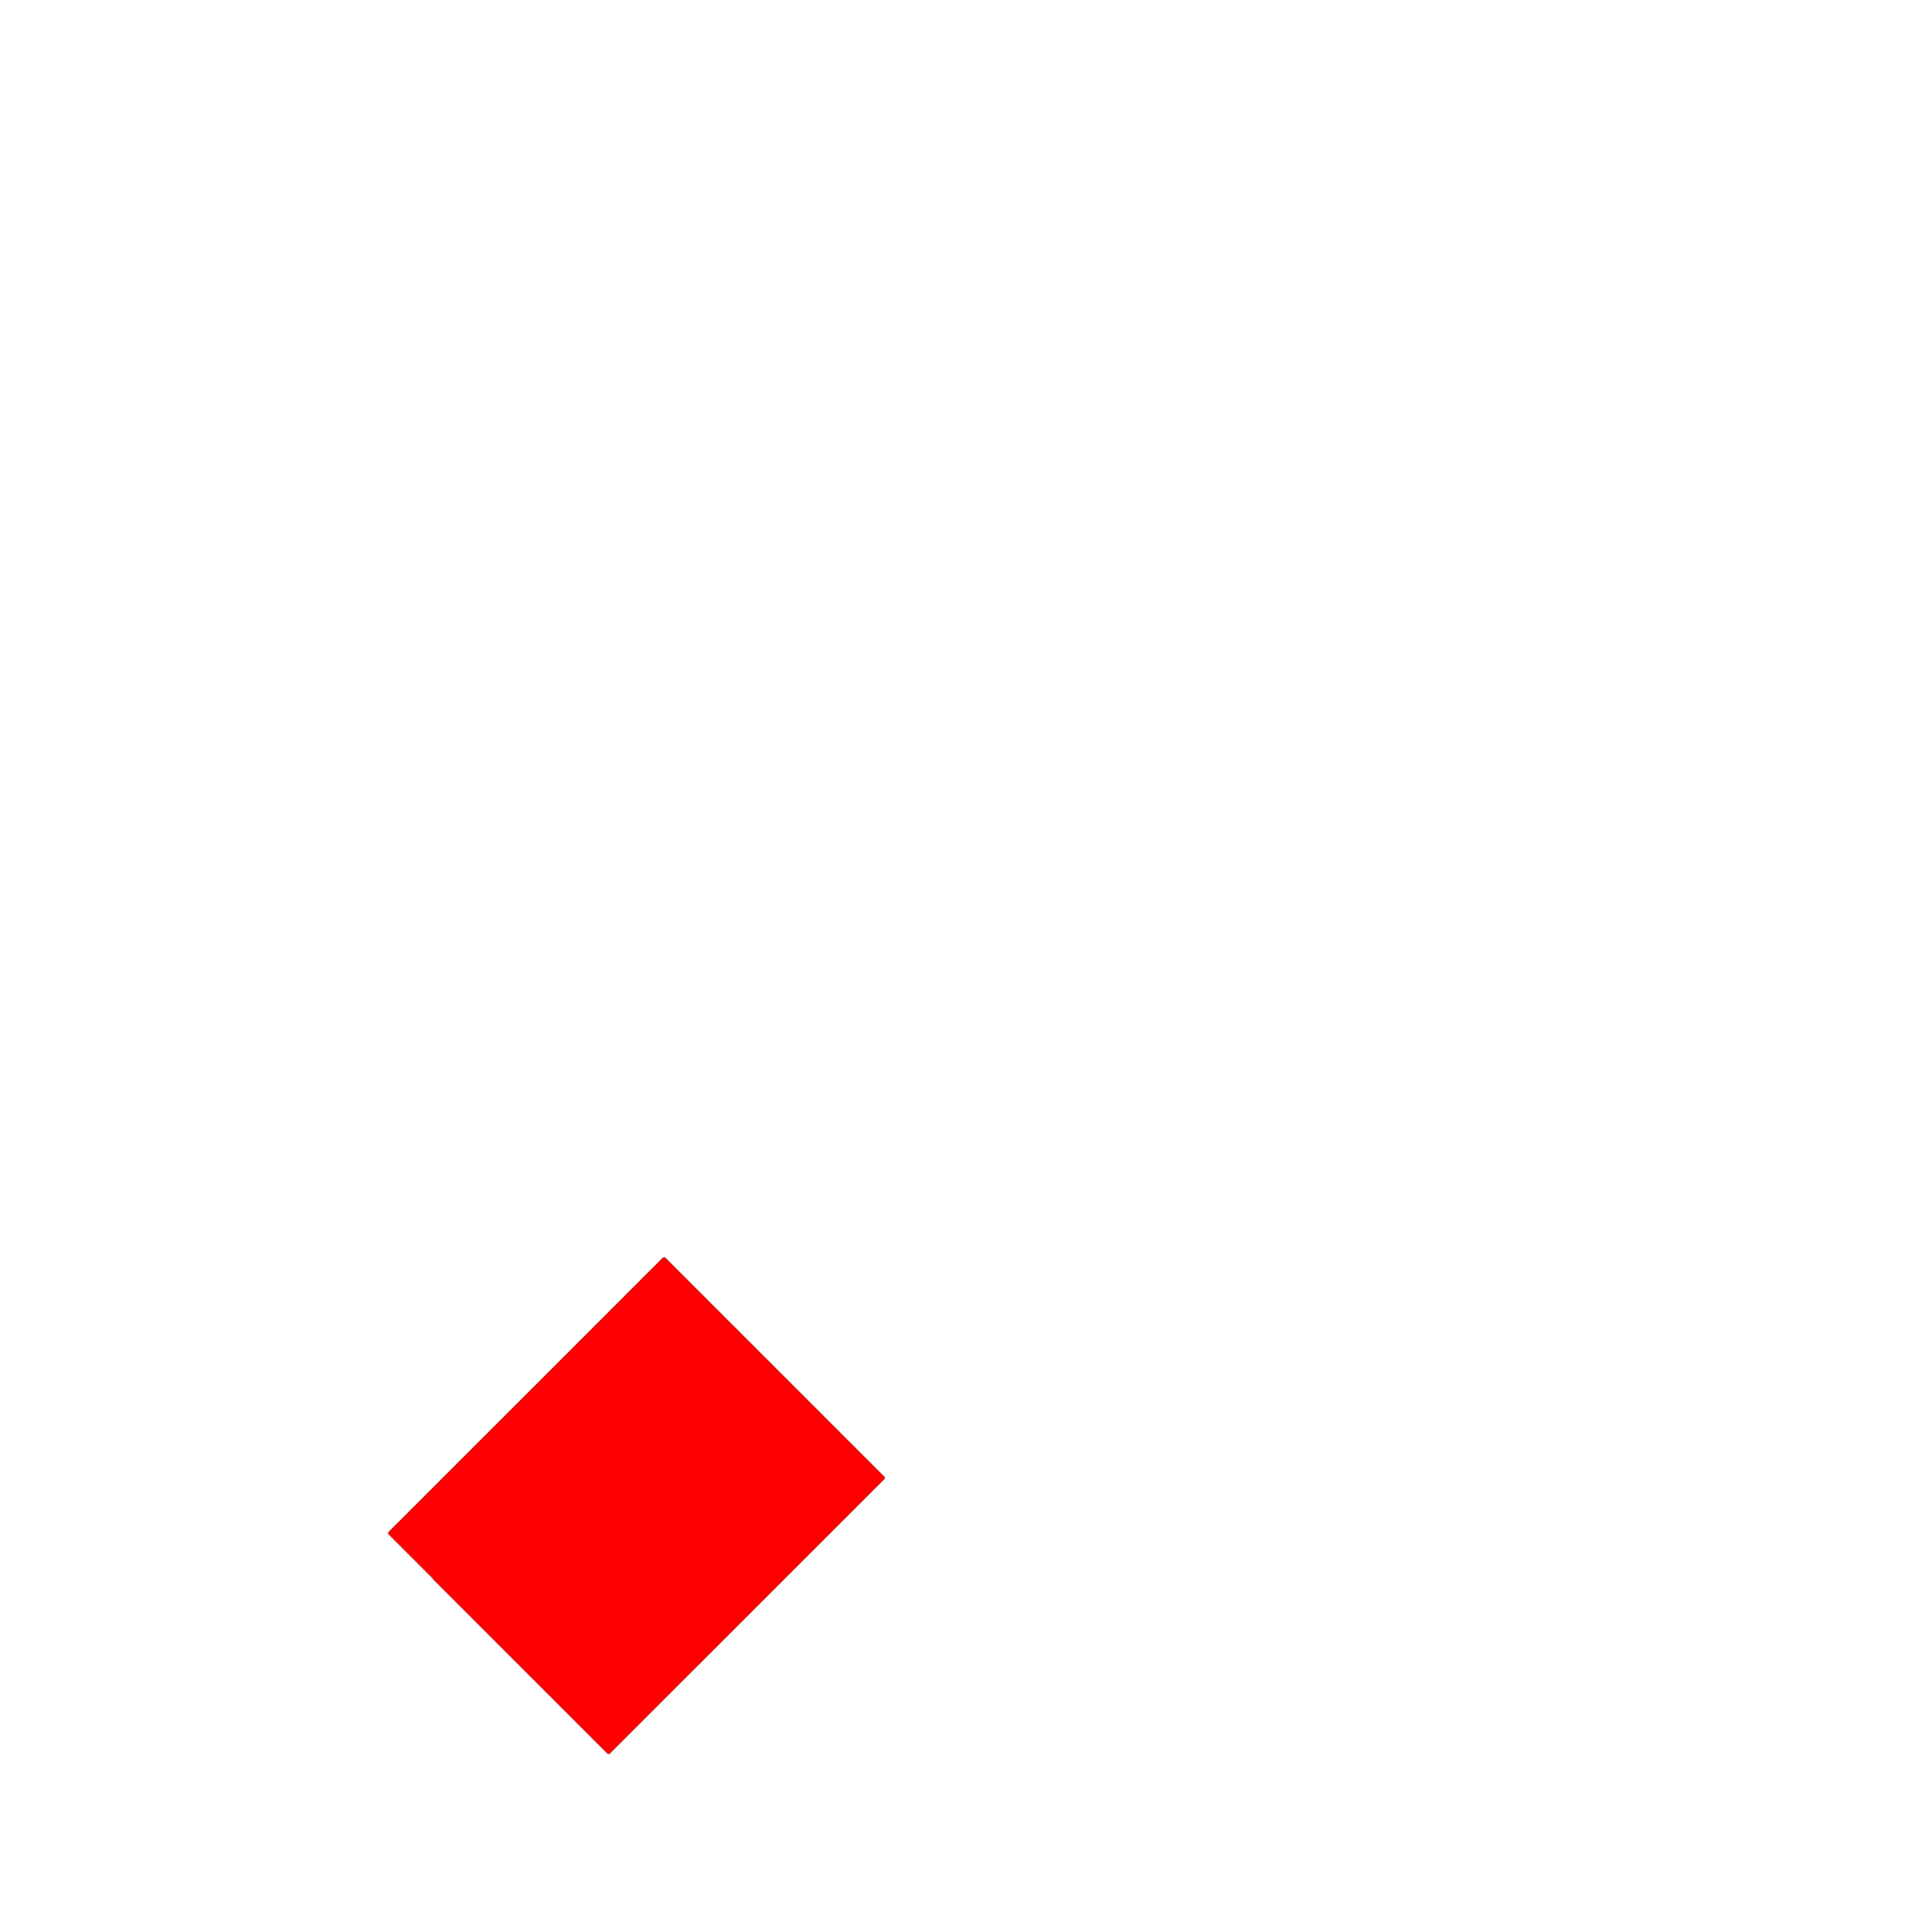
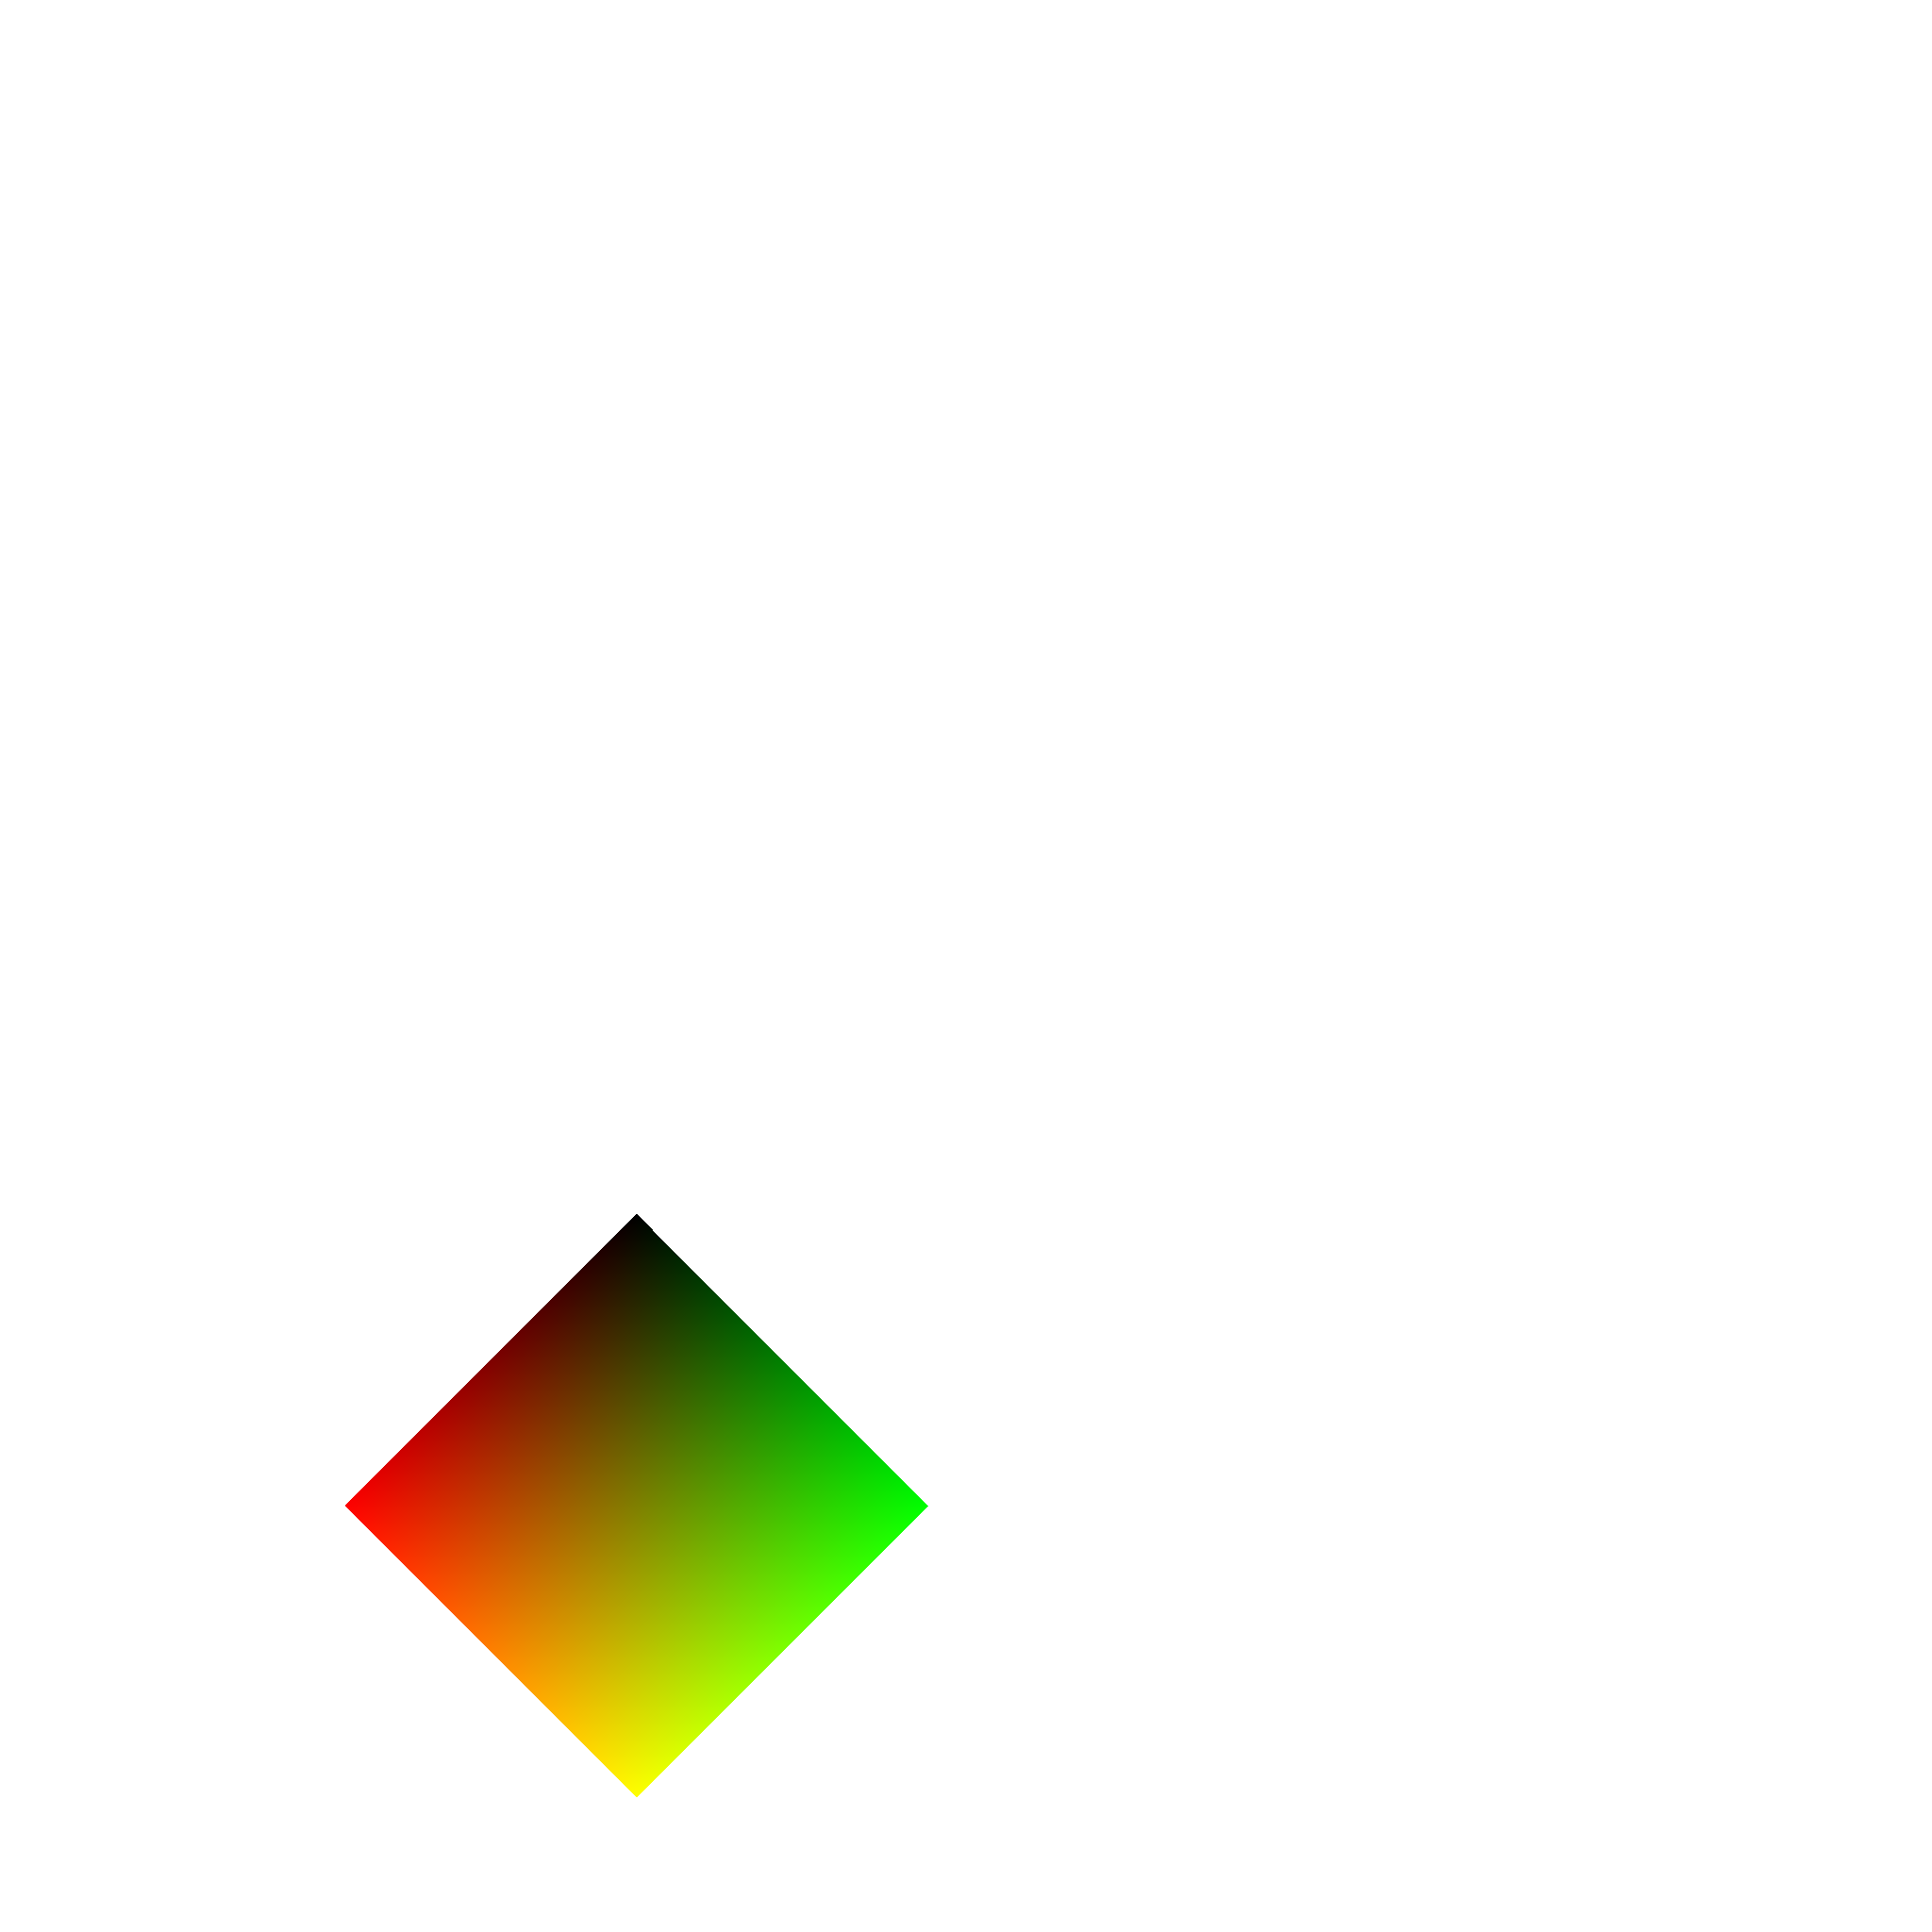
Textures
Mask
UV
Fake Geometry
Ambient
Occlusion
Height
Normal


Baking a Decal with xNormal
We will use xNormal to create baked images using decal images as our high definition input.
Introduction to xNormal
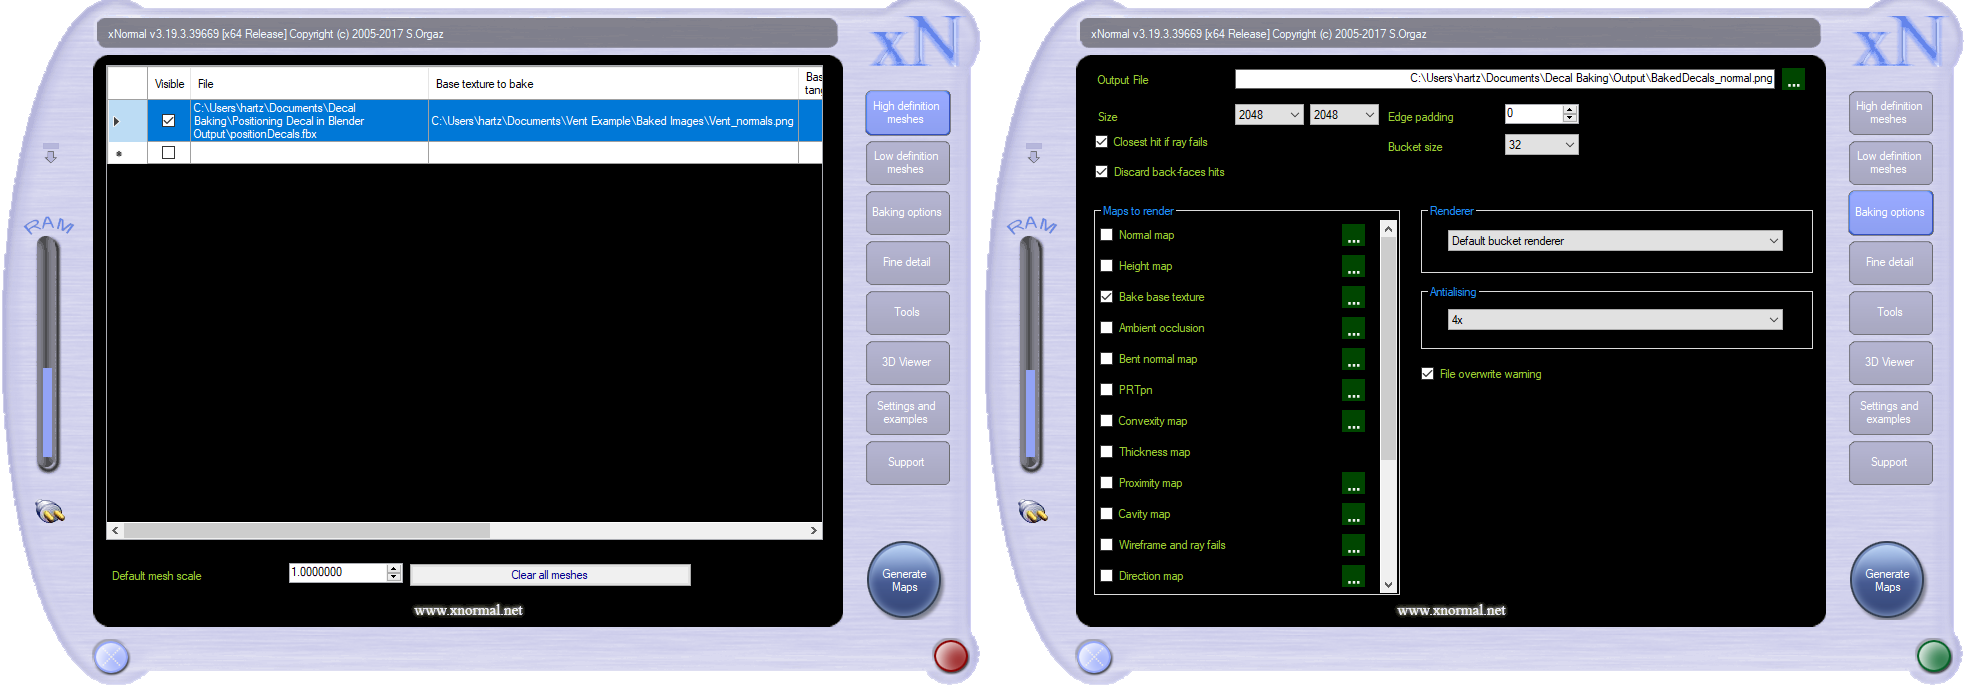
On the right side of the xNormal window, there are several buttons. If you click through them, they present different information in the center of the window. In this tutorial, the buttons we will use are High definition meshes, Low definition Meshes, and Baking Options.
The primary intended use of xNormal is to input a high definition 3D object and a low definition version of the same object to create a set of PBR textures of the extra geometry that the low definition object is missing. You can use the low definition object in a game engine with the PBR textures (added to the object’s material). This low definition object will look like the high definition object. Also, the low definition object with the PBR textures is easier to render quickly in a game engine than the high definition object.
We are going to use xNormal differently. We are going to bake decals. We will use the plane we positioned in the last tutorial instead of a typical high definition model. We can essentially paste images from the plane onto the low definition mesh in the plane’s location with this change.
This xNormal process’s output is a set of images where the decals are correctly positioned on the corridor wall’s PBR textures. We will need to make a few corrections to the xNormal output before the images are ready for masking and overlay.
Common Settings for all output types
With this method using xNormal, we will have to create the PBR textures one at a time. Each image we generate will have many xNormal settings in common with the others. I will show you these common settings first.
Baking Options
If you click on the Baking options button, there is an extensive list of types of PBR maps that xNormal can render. Select Bake base texture. This is the only one of these render options we are going to use.
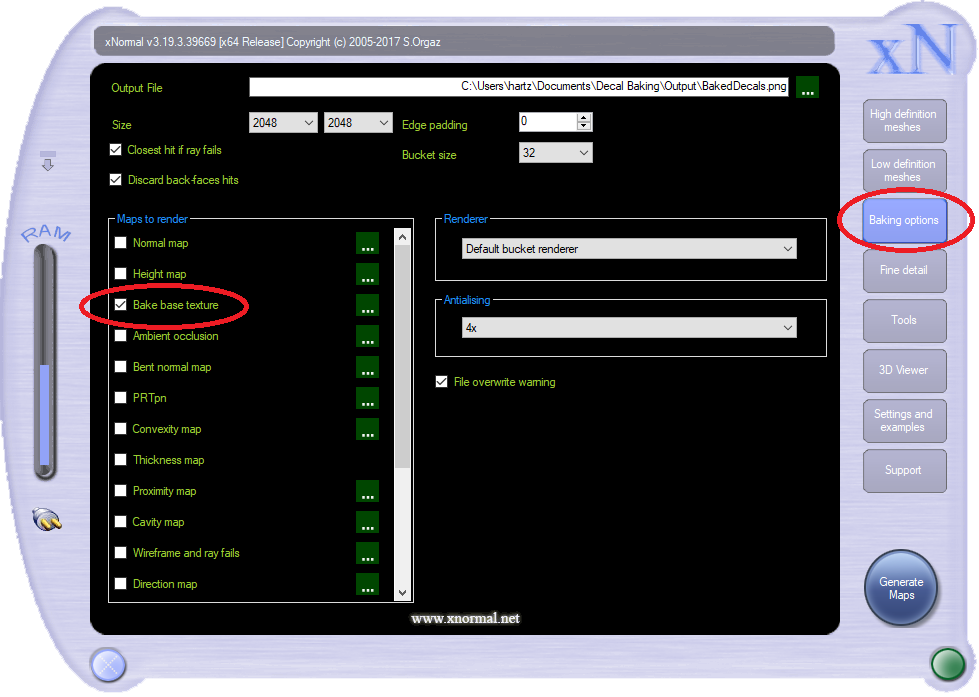
We will be making 2048 by 2048 images specifically for this tutorial. With other projects, feel free to make different size images. Edge padding needs to be 0. Bucket size you can leave as the default. I like 4x antialiasing. I think it makes the image look cleaner.
The background color for all the images you create in this tutorial doesn’t matter too much because background colors in xNormal don’t include the alpha channel. Background colors are all, in reality, clear regardless of what you have set. A clear background is fine for our purposes. At the end of this tutorial, I show you how to replace the background, and it is easier to replace a clear background with the tool we are going to use. You leave the background color set to black, the default.

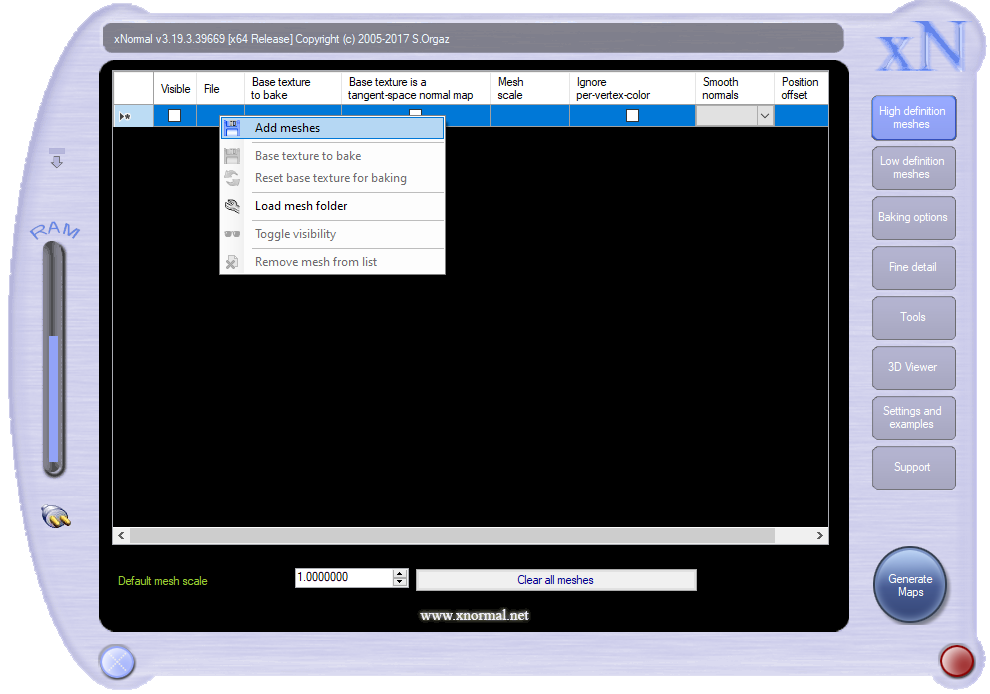
Low Definition
The next step is to set the low definition mesh. The low definition mesh is the background object.
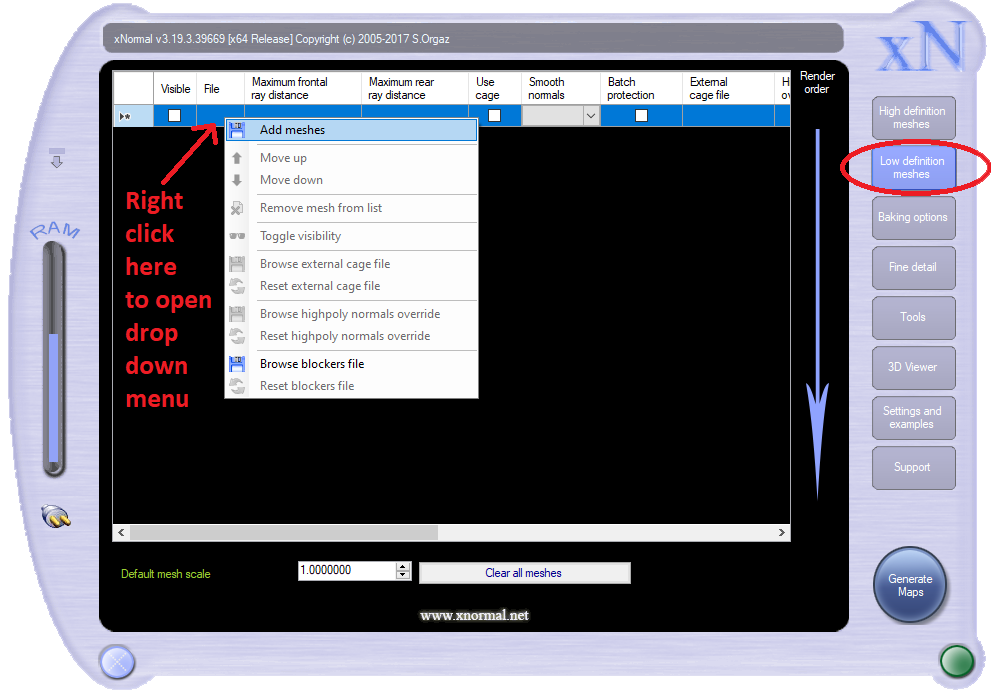
Select the Low definition meshes button.
Right-click on an empty row to open a drop-down menu.
Select Add meshes.
When the window opens showing files and folders on your computer, navigate to where you downloaded and unzipped the input files provided with this tutorial. Select the background.fbx file from the provided input files.
You can change the Maximum rear and Maximum frontal ray distance to a small number, 0.1 works in this example. These values must be equal to or larger than your decal’s offset from the base object. The plane sits directly on the background object, but there may be some cases where a slight offset is preferable.
When we bake, we take a point on the Low definition mesh and check to see if there is a mesh from the high definition meshes in front of that point or behind it.
The smaller the values you choose for Maximum rear and Maximum frontal ray distance, the less likely you will accidentally detect our decal plane’s edge in the wrong places.
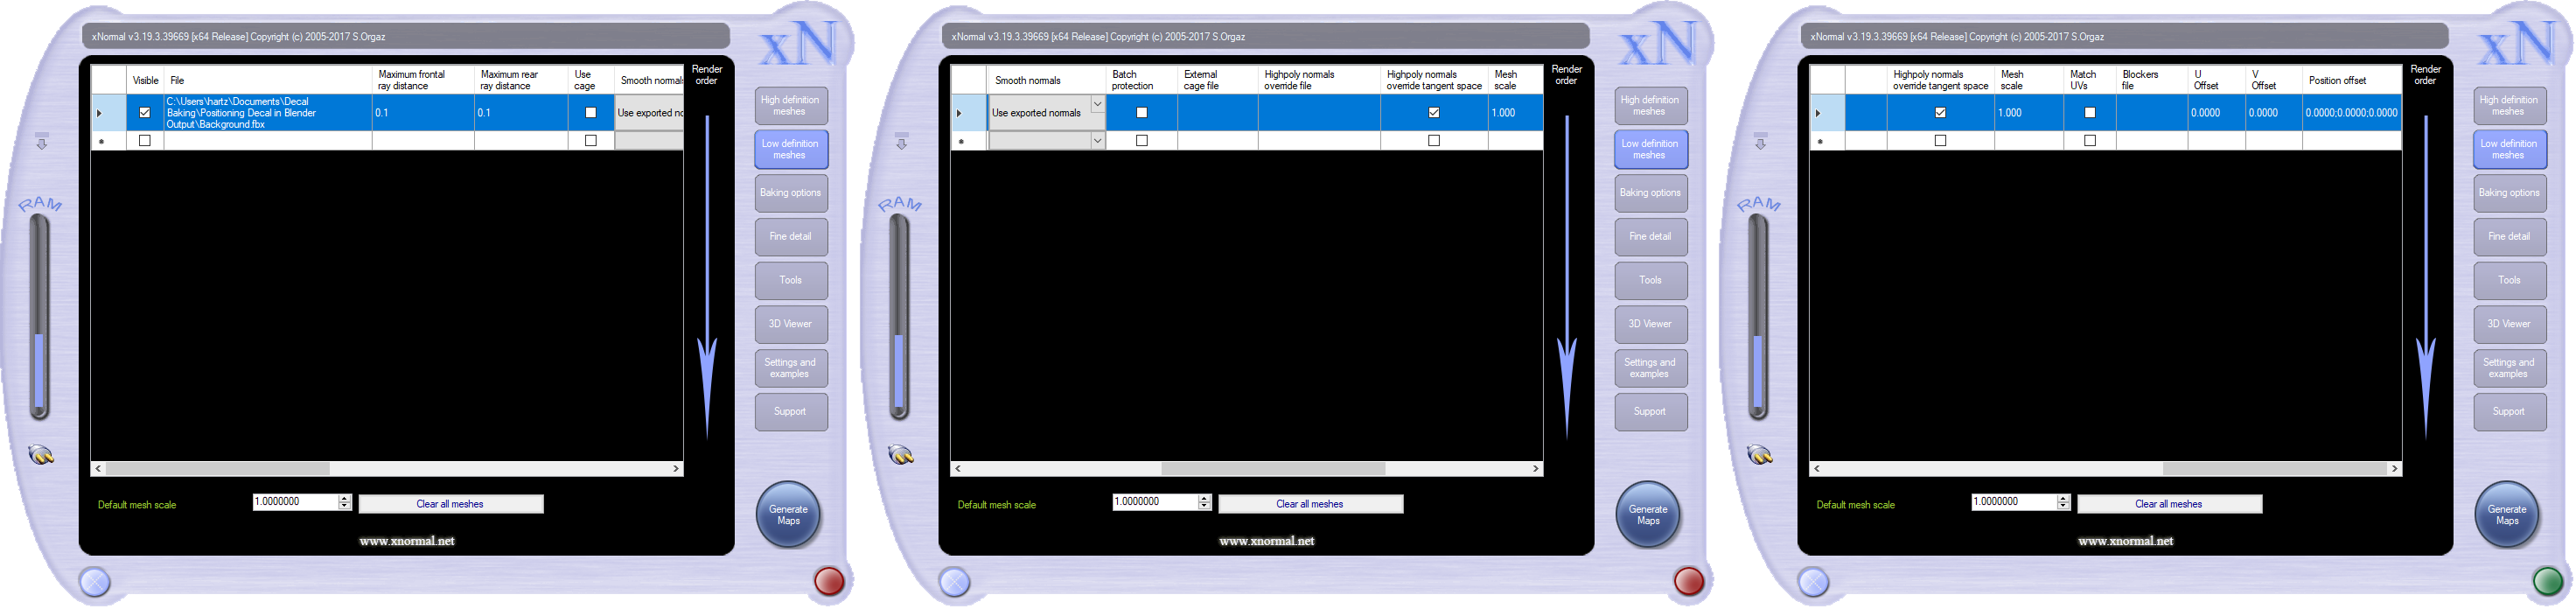
All calculations we do for this tutorial will use the same low definition settings and mesh.
High Definition
All calculations we do for this tutorial will use this same high definition mesh, but not the same texture.
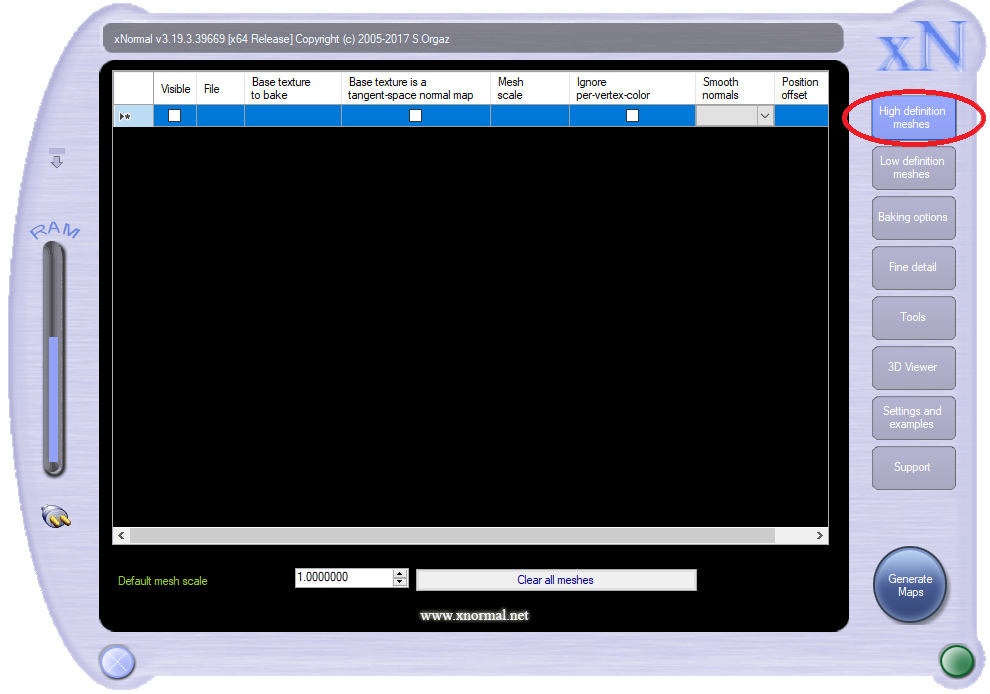
Add positionDecals.fbx from wherever you unzipped the input files. This is the plane you are using as your high definition mesh.
Settings that change for each calculation
For each output texture made with xNormal, a few settings need to be changed before the next texture is generated.
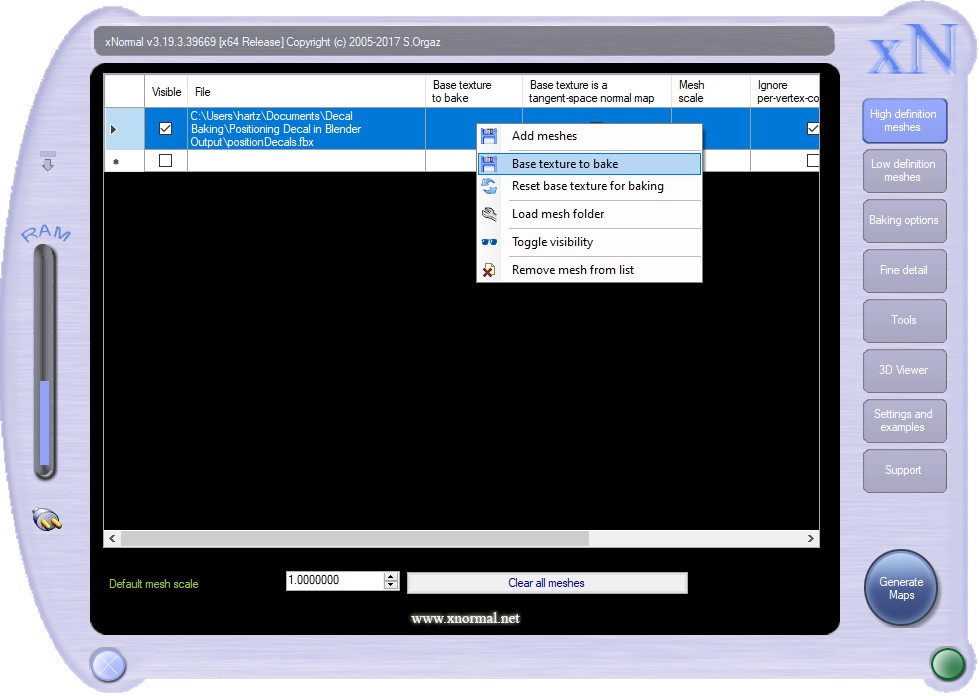
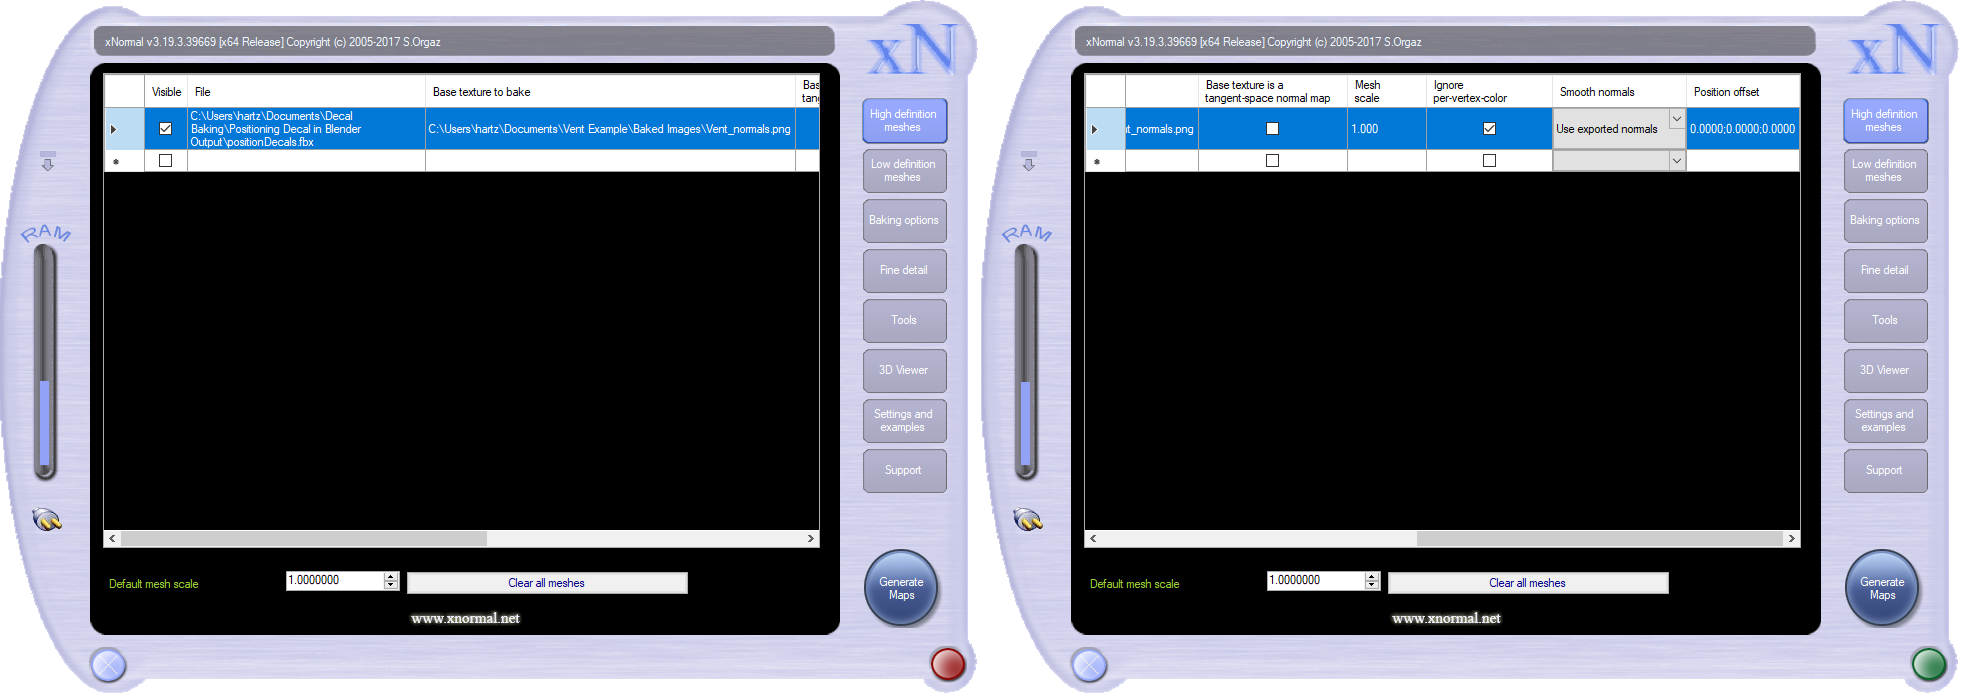
High definition meshes
Right-click on the row with positionDecals.fbx.
Click Add Texture to bake.
Select one of the decal images from the input files.
Baking Options Tab
Click the Baking options tab.
Give your output a unique name in the Output File section. Adding a suffix like -normal or -height to a common root file name for all your output images is a decent naming convention. Just make sure you add it before the .png file type.
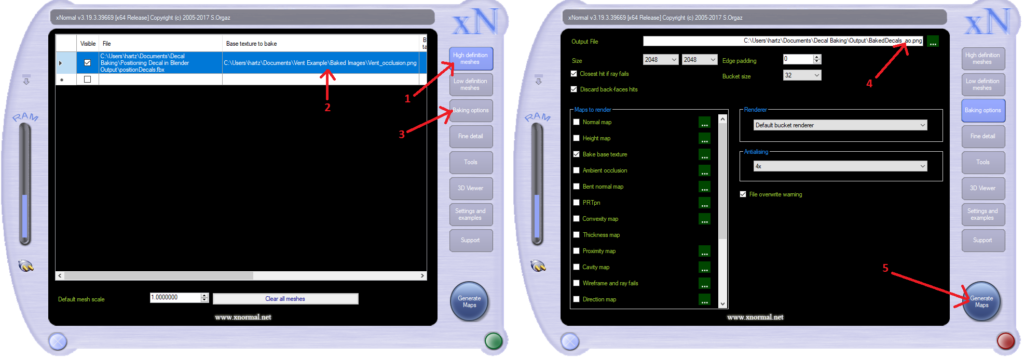
Generating Maps
Press Generate Maps.
After baking finishes, return to the high definition meshes tab and repeat the “Settings that change for each calculation” section of this tutorial with your next decal image. Repeat this process until you have baked each image type. Repeat one more time using the UVMap image included with Material Tools.
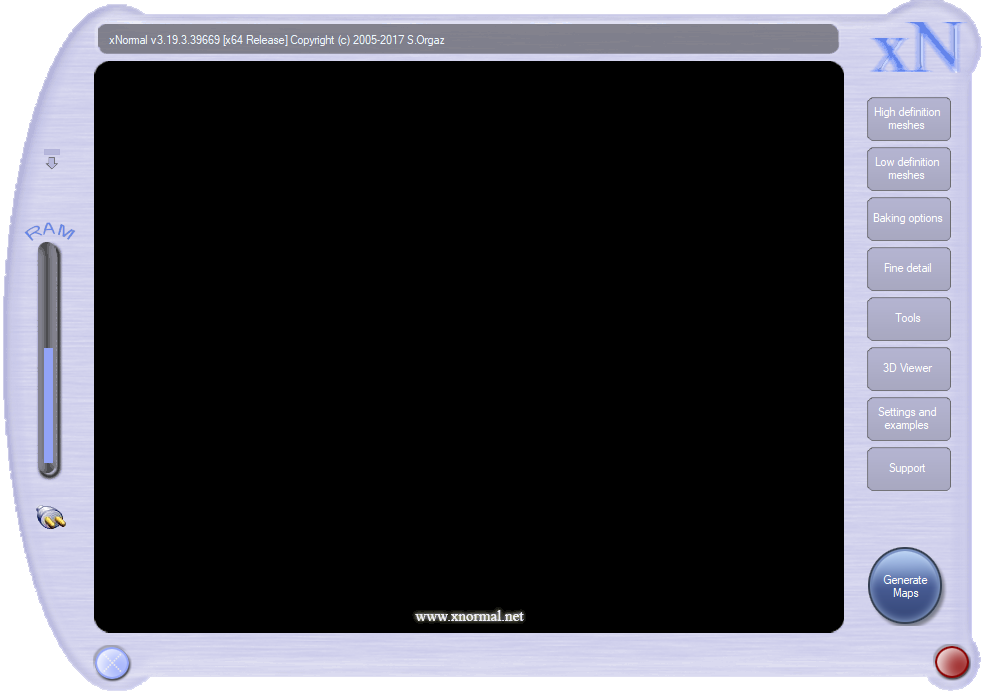
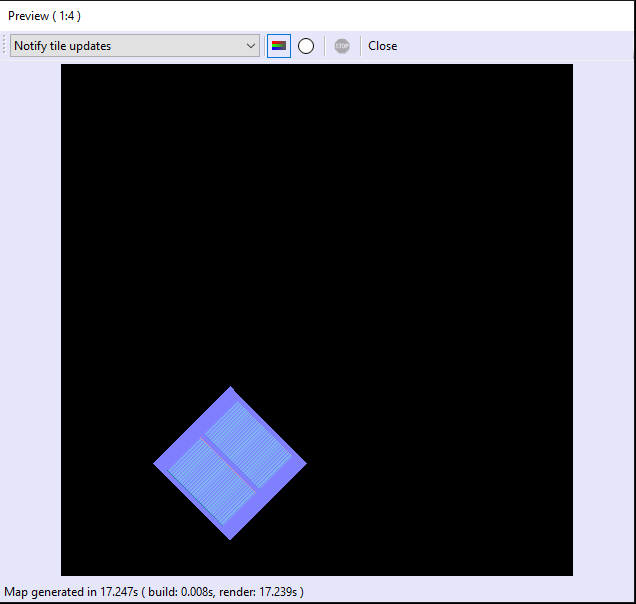
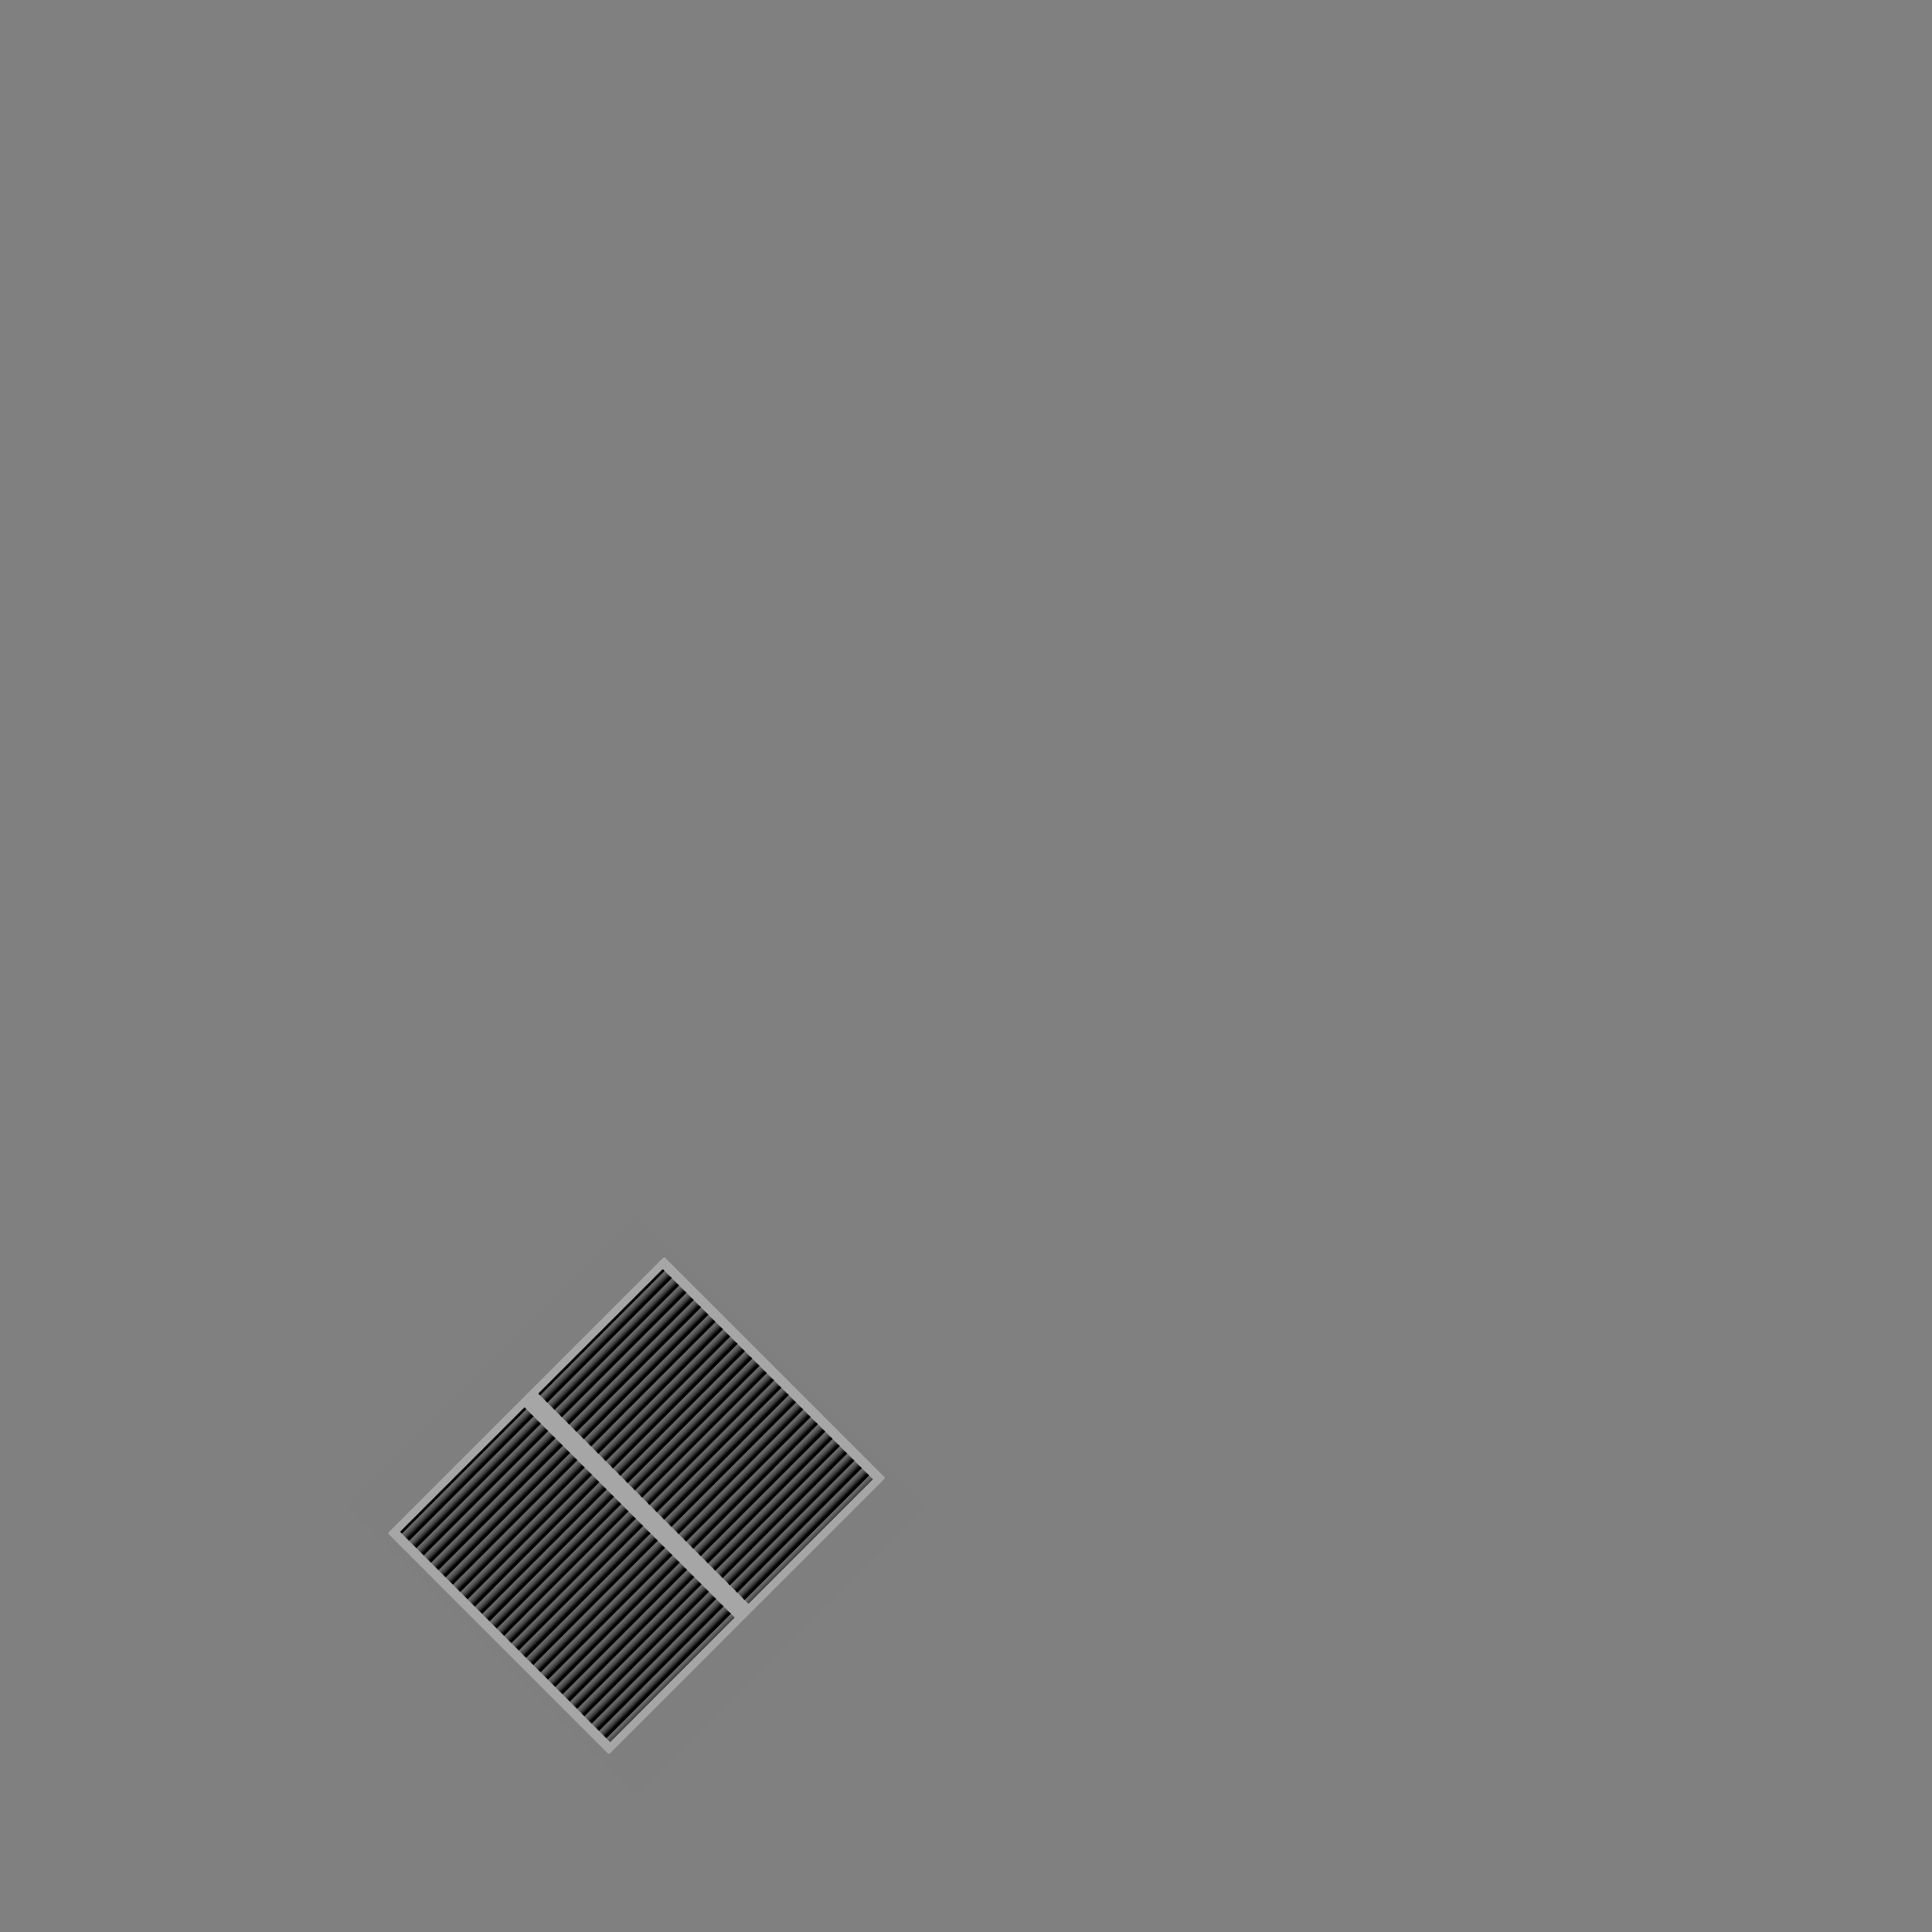
Below is an example of the preview window that generates when you run one of these calculations. This example is the normal map calculation. Press the close button when it is finished and move on to the following calculation.
Example of settings for each output type
Ambient Occlusion

Normal
Height

Mask
Baked UV
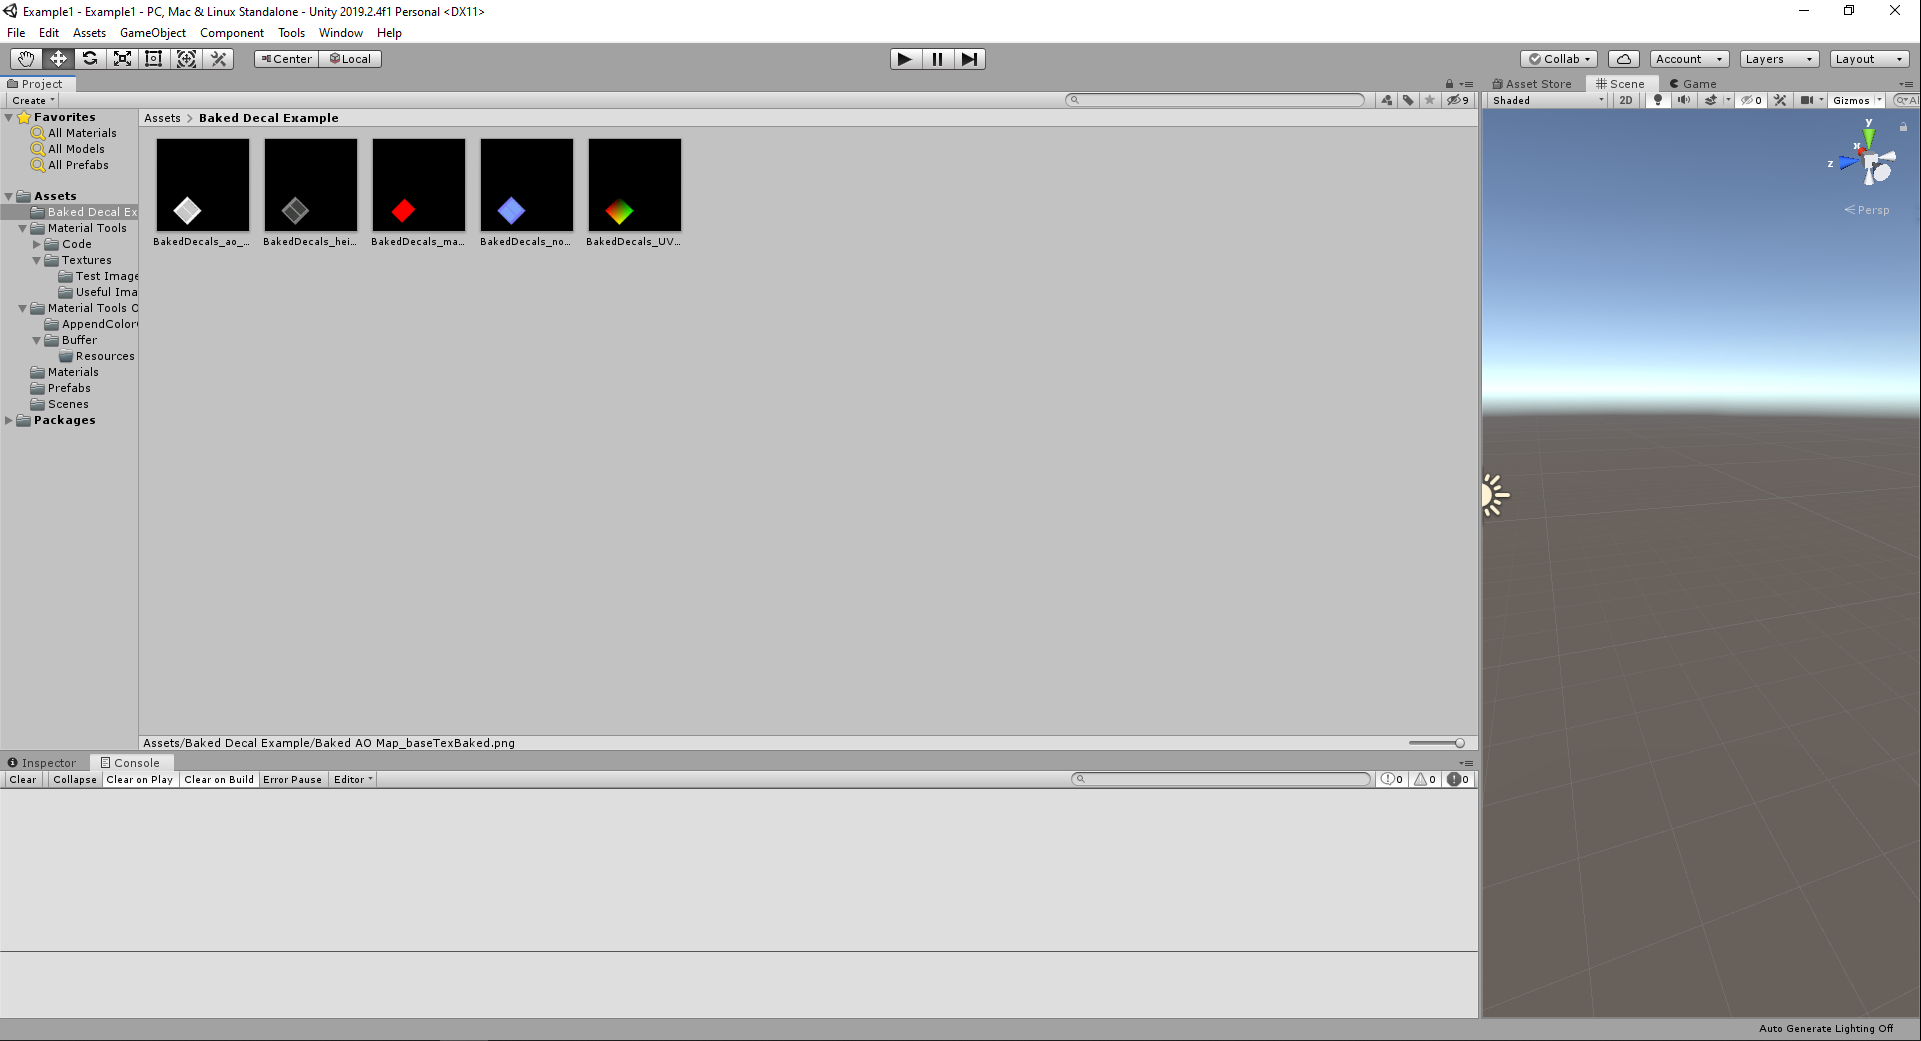
Intermediate Output
Mask
UV
Fake Geometry
Ambient
Occlusion
Height
Normal


Unity3D with Material Tools
We will use Material Tools to make a few corrections to the baked images we created in xNormal.
Downloading Material Tools from the Unity Asset Store
Material Tools is a package for Unity3D. You download and install Material Tools inside the Unity3D program, not using a browser.
Open the Asset Store window in Unity.
The Asset Store has a search bar. You can search for Material Tools or the author Andrew Hartz.
Purchase, download and install Matierial Tools.
Note: Material tools is a paid asset and will cost $30. You have to install material tools in each project you use it in, but you only need to pay for it once. Your unity account keeps track of the assets you own.
Installing Material Tools adds a tab named “Tools” to your Unity menu bar. All the Material Tools programs are opened through this tab.
Correcting the image backgrounds
Import all your baked decal images into a Unity project with Material Tools.
Open the Buffer Tool.
Add the ambient occlusion, height, and normal images to the buffer tool.
You want the buffer tool to replace the clear background with the appropriate default color for each image type. The baked UV map and the mask are already done. You want a clear background on these two.
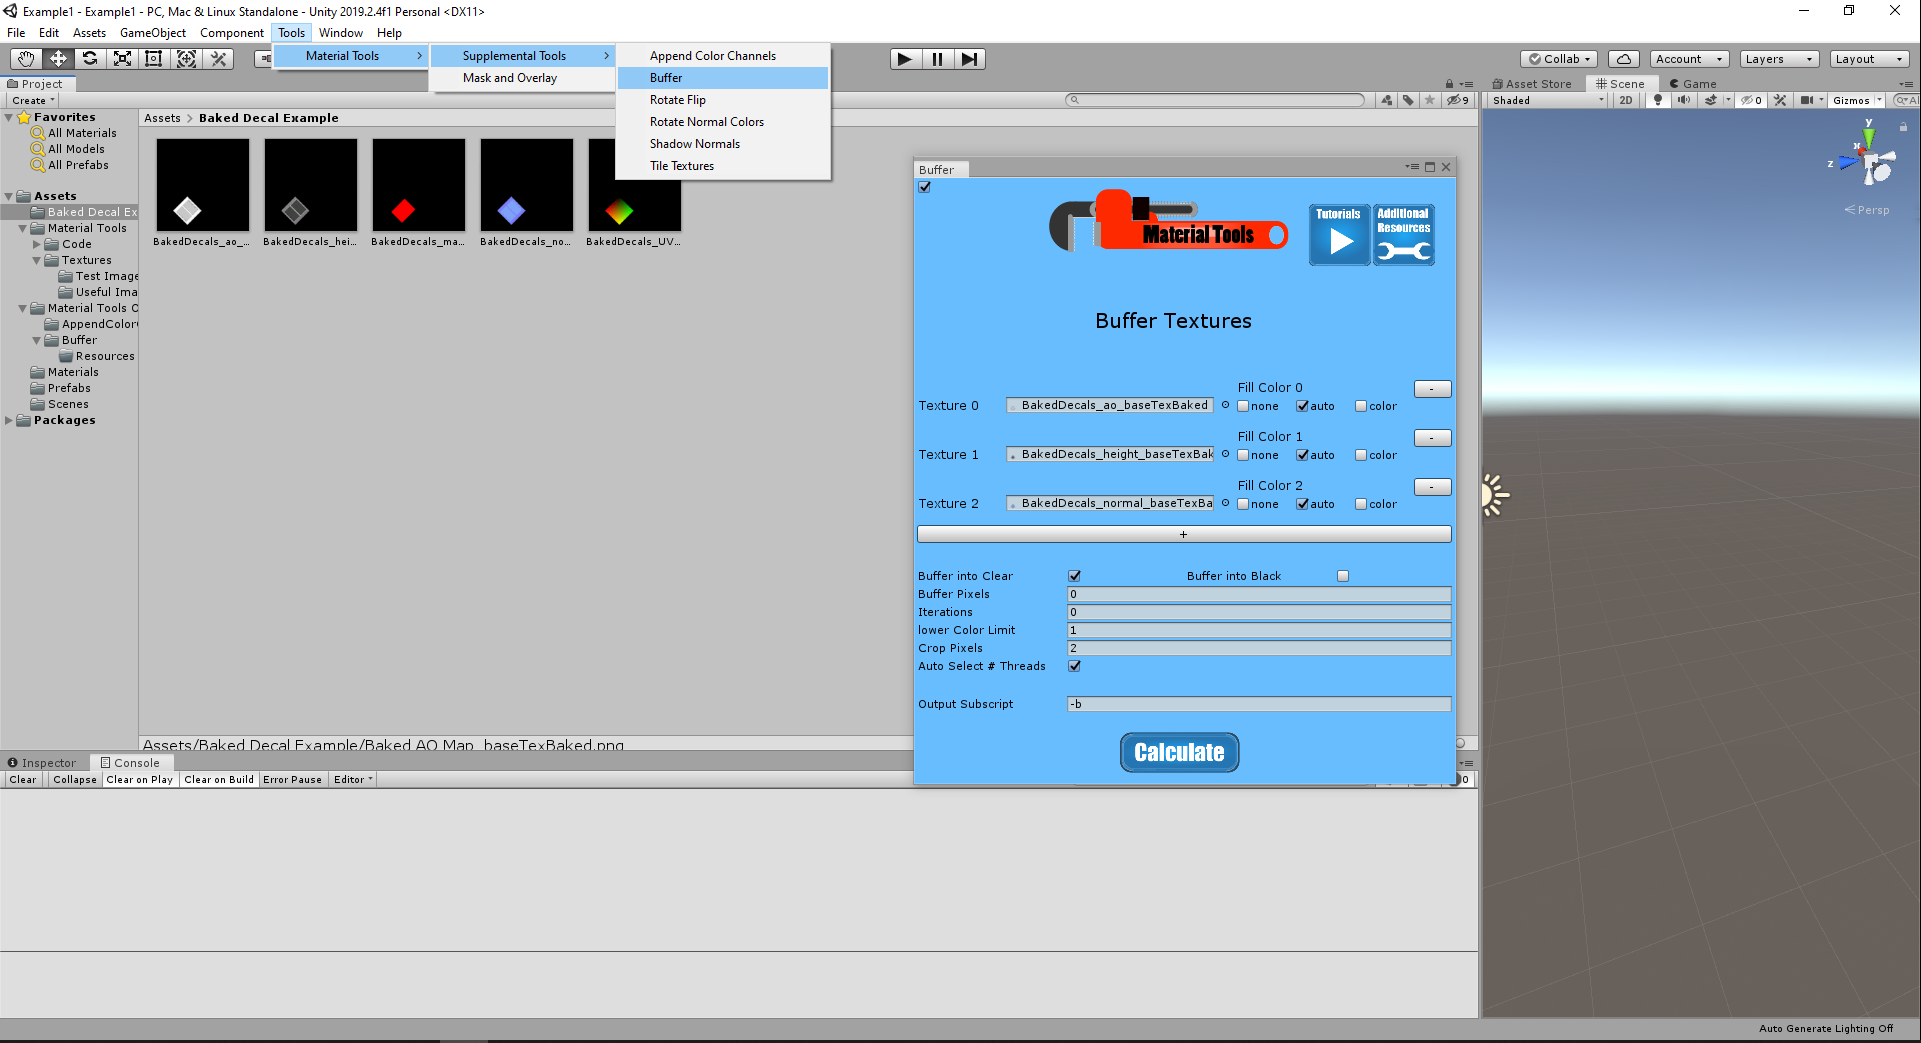
Try leaving fill color as auto for each image. If it doesn’t select the correct fill color for the image, you can always change this setting and try again.
Make sure iterations are set to 0,so it doesn’t buffer the image.
You may want to crop a little off the edges of the decals. Set crop to 2 pixels. It is probably enough.
The decal images must have edge pixels that are not important to the decal for you to crop. This condition is one reason I created my vent decal so that it didn’t run-up to the edges of its UV map.
The reason you crop is that baking can cause averaging of pixel values. Around edges, you might average pixels from the decal with the clear background color. This averaging around edges of to colored region creates nonsense. The colored pixels in most of the PBR textures represent data. Clear pixels might not have any meaning for that data type, but we can find them and replace them with neutral data values. An average of data with a no data value results in garbage data. In your baked results, these garbage data pixels will only cause you problems later on; it is better to set them to clear before replacing the clear pixels with our neutral valued pixels.
Press Calculate. Your results should look like the images shown below. The results are found in “Assets/Material Tools Output/Buffer/Resources”.
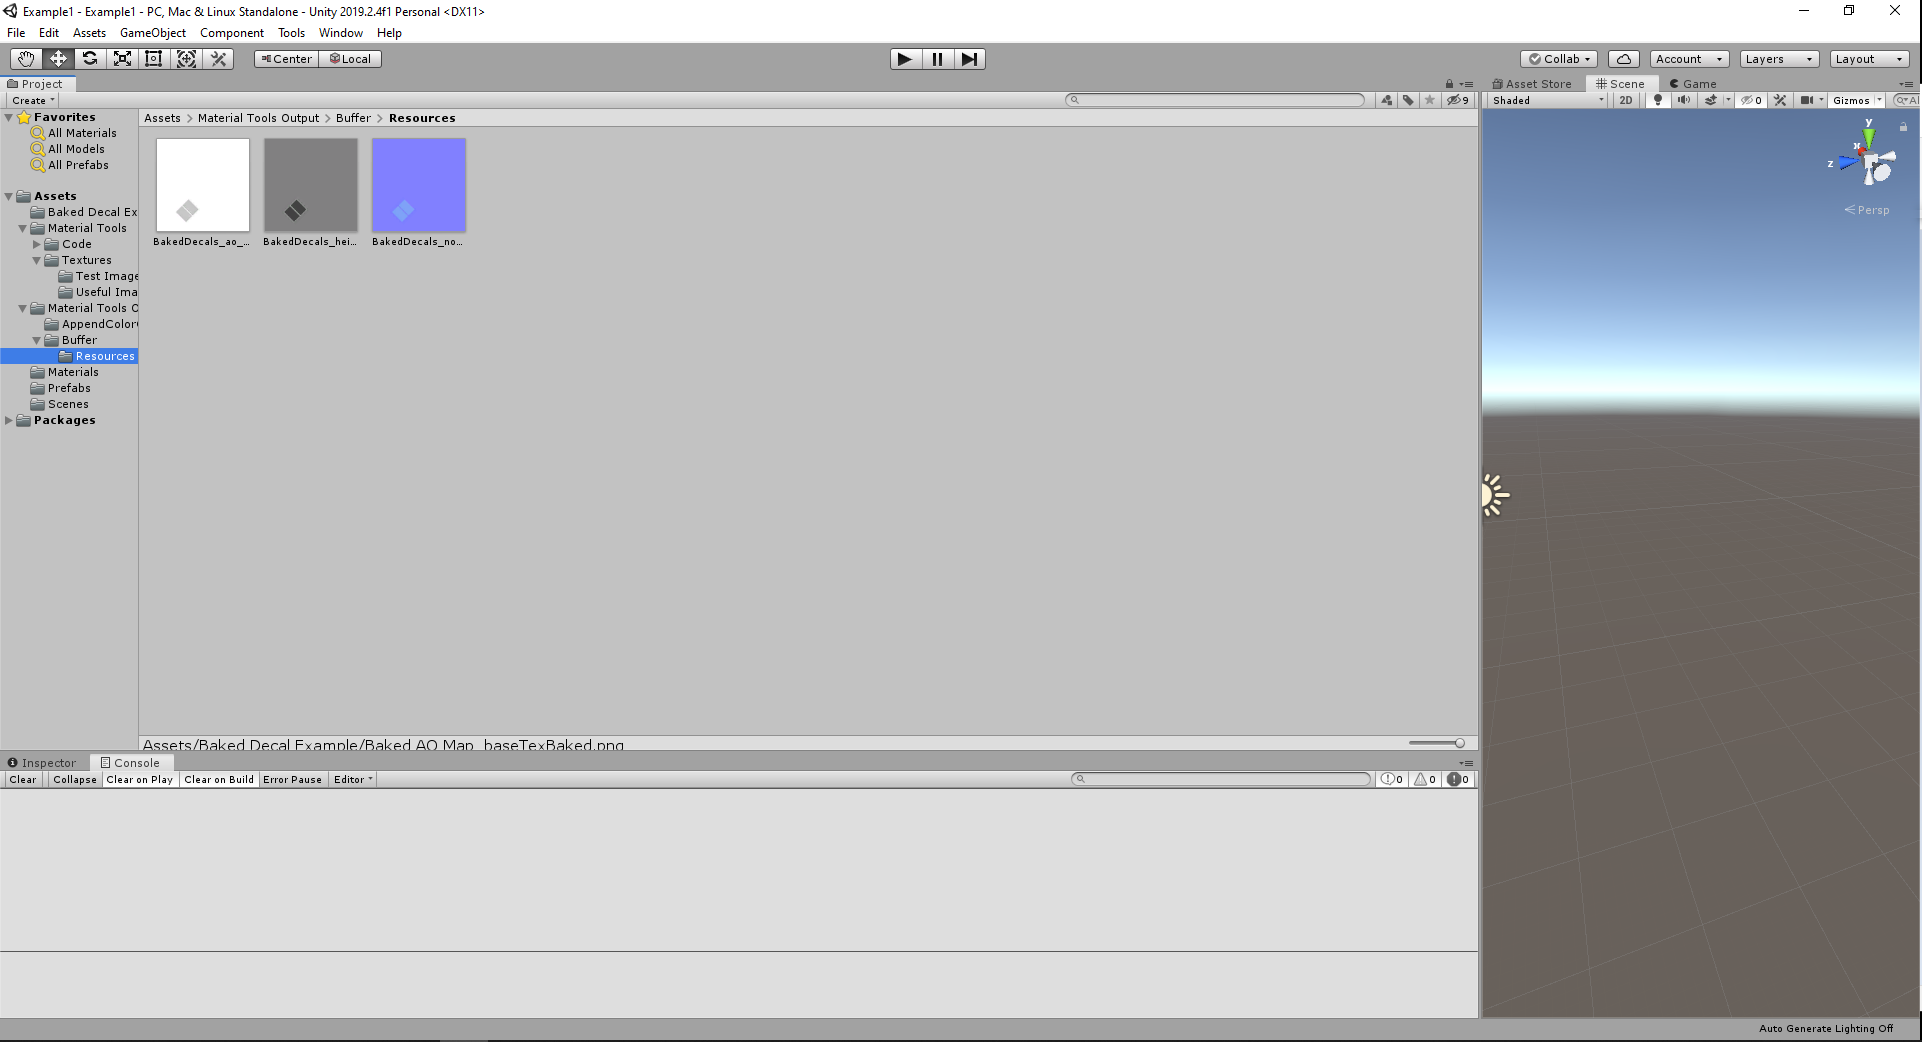
Intermediate Output
Mask
UV
Fake Geometry
Ambient
Occlusion
Height
Normal


Rotate Normal Colors
The last step in baking a decal is to correct the Normal Color information using Rotate Normal Colors (included in Material Tools).
When you bake a normal map, the colors are often wrong with the new way the image is oriented. If you use this baked normal map in your PBR material the way it is, the reflections off shiny surfaces will look unnatural. You can use the baked UV map you created to fix the colors in your normal map, so your PBR material will have proper reflections. A more detailed explanation of why you use this tool and what it does can be found here.
Open the Rotate Normal Colors Window and use the settings specified in the image below.

The images you will use are:
- the normal map baked image
- the baked UV map you have created.
he only advanced option I changed from the default was Round Rotation Degrees. Switch Round Rotation Degrees to 5. Often you can choose a number for this like 5, 45, or 90 degrees to correct for an imperfect rotation calculation, but it requires knowledge of how the decal plane was positioned. Otherwise, leave this set to 0 for no rounding.
The result is in “Assets/Material Tools Output/RotateNormalColors/Resources”.

Final Output
Mask
Fake Geometry
Ambient
Occlusion
Height
Normal

In the next tutorial, I will show you how to combine your baked images with other materials using masking and overlay to complete your decal baking process.