In these tutorials, we are going to be creating decal images from 3D meshes.
Tutorials in this series
We will start with a blender file containing an air vent modeled as multiple meshes. The input file in the first tutorial, once unzipped, contains this Blender file (.blend).
The meshes in the Blender file will be exported as FBX files in the first tutorial, Exporting 3D Objects. Then we will use the FBX files to make decal images in the second tutorial, Creating Decal Images.
In this process, we use Blender and xNormal, both free programs.
Note that these tutorials only cover the exporting process in Blender, not the actual modeling. 3D modeling in Blender is too big a subject for this tutorial. If you would like to learn to model in Blender, I suggest you watch the first 19 videos from this tutorial playlist, then find more videos where a skilled 3D modeler is creating an object so that you can learn what tricks he uses.
Blender modeling background info
You will need some familiarity with Blender to complete this tutorial series, xNormal will be easier to figure out as you go. I also provide background information about the model we will use in the Exporting 3D Objects tutorial.
Blender basics
Here is a link to a Blender tutorial series.
Also, at the bottom of the blender window, there are pictures of a mouse with different buttons selected and descriptions of what they do. Hold down shift or ctrl to see the descriptions change.
Generally, scrolling or holding down the middle mouse button allows you to move around the scene. Holding ctrl or shift while using the middle mouse button moves you in different ways.
The left mouse button is how you select meshes. You can shift left click to select multiple meshes.
Get comfortable navigating in Blender with the mouse before moving on.
The 3D model used in this series
Description of 3D meshes in the vent example
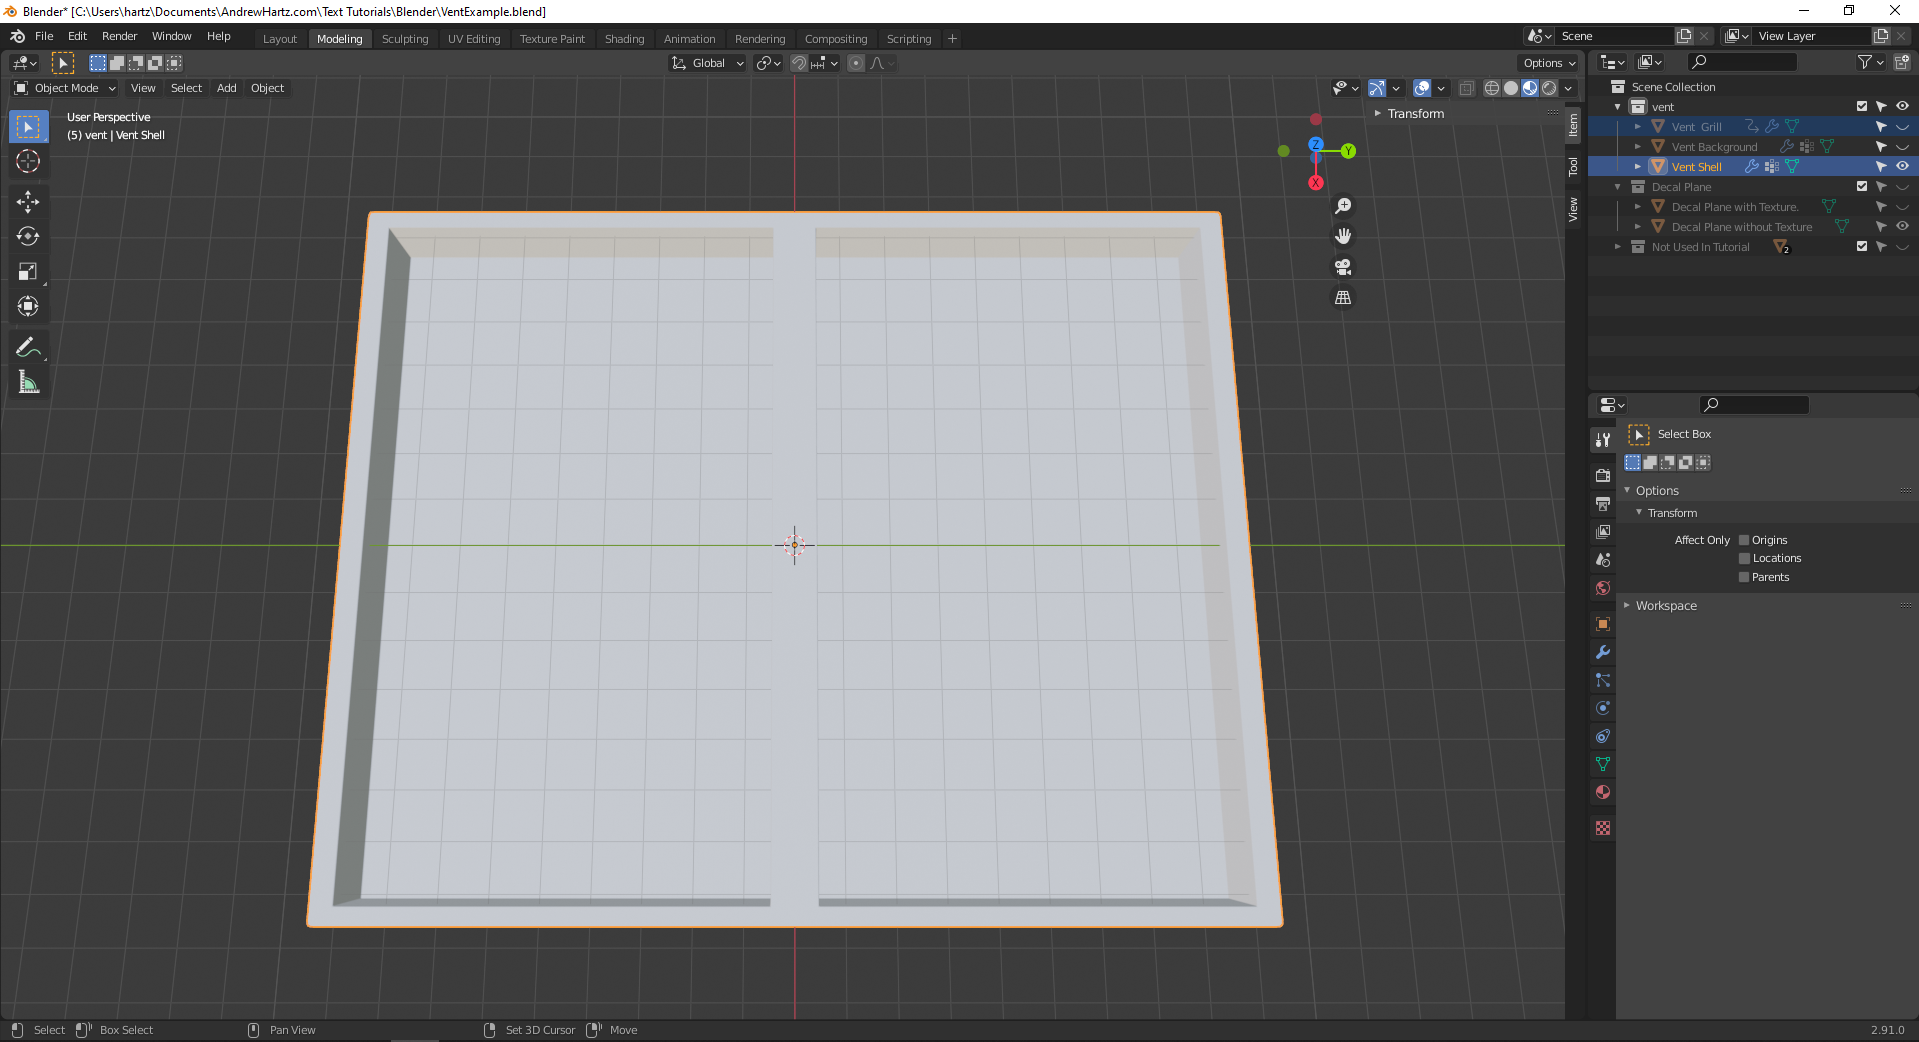
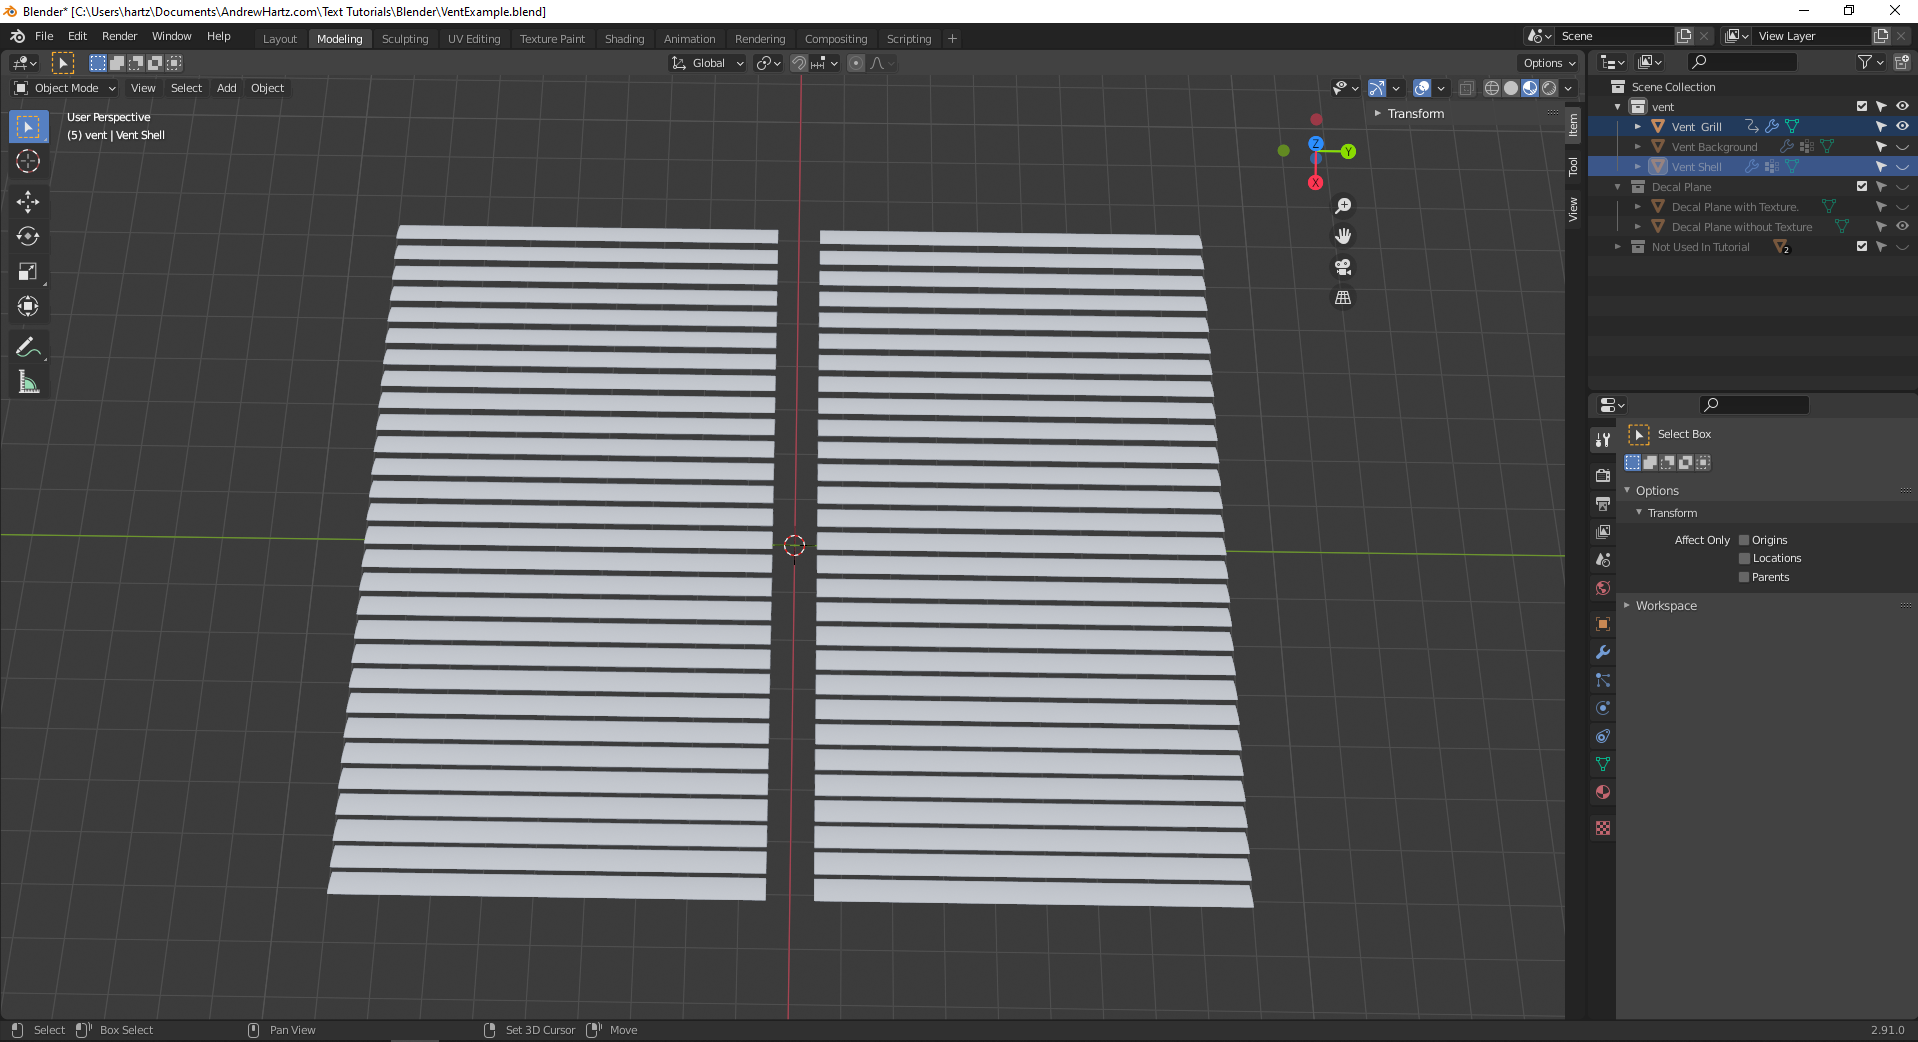
There are several meshes in the Blender file. The vent itself is made up of two meshes, a shell and a grill.
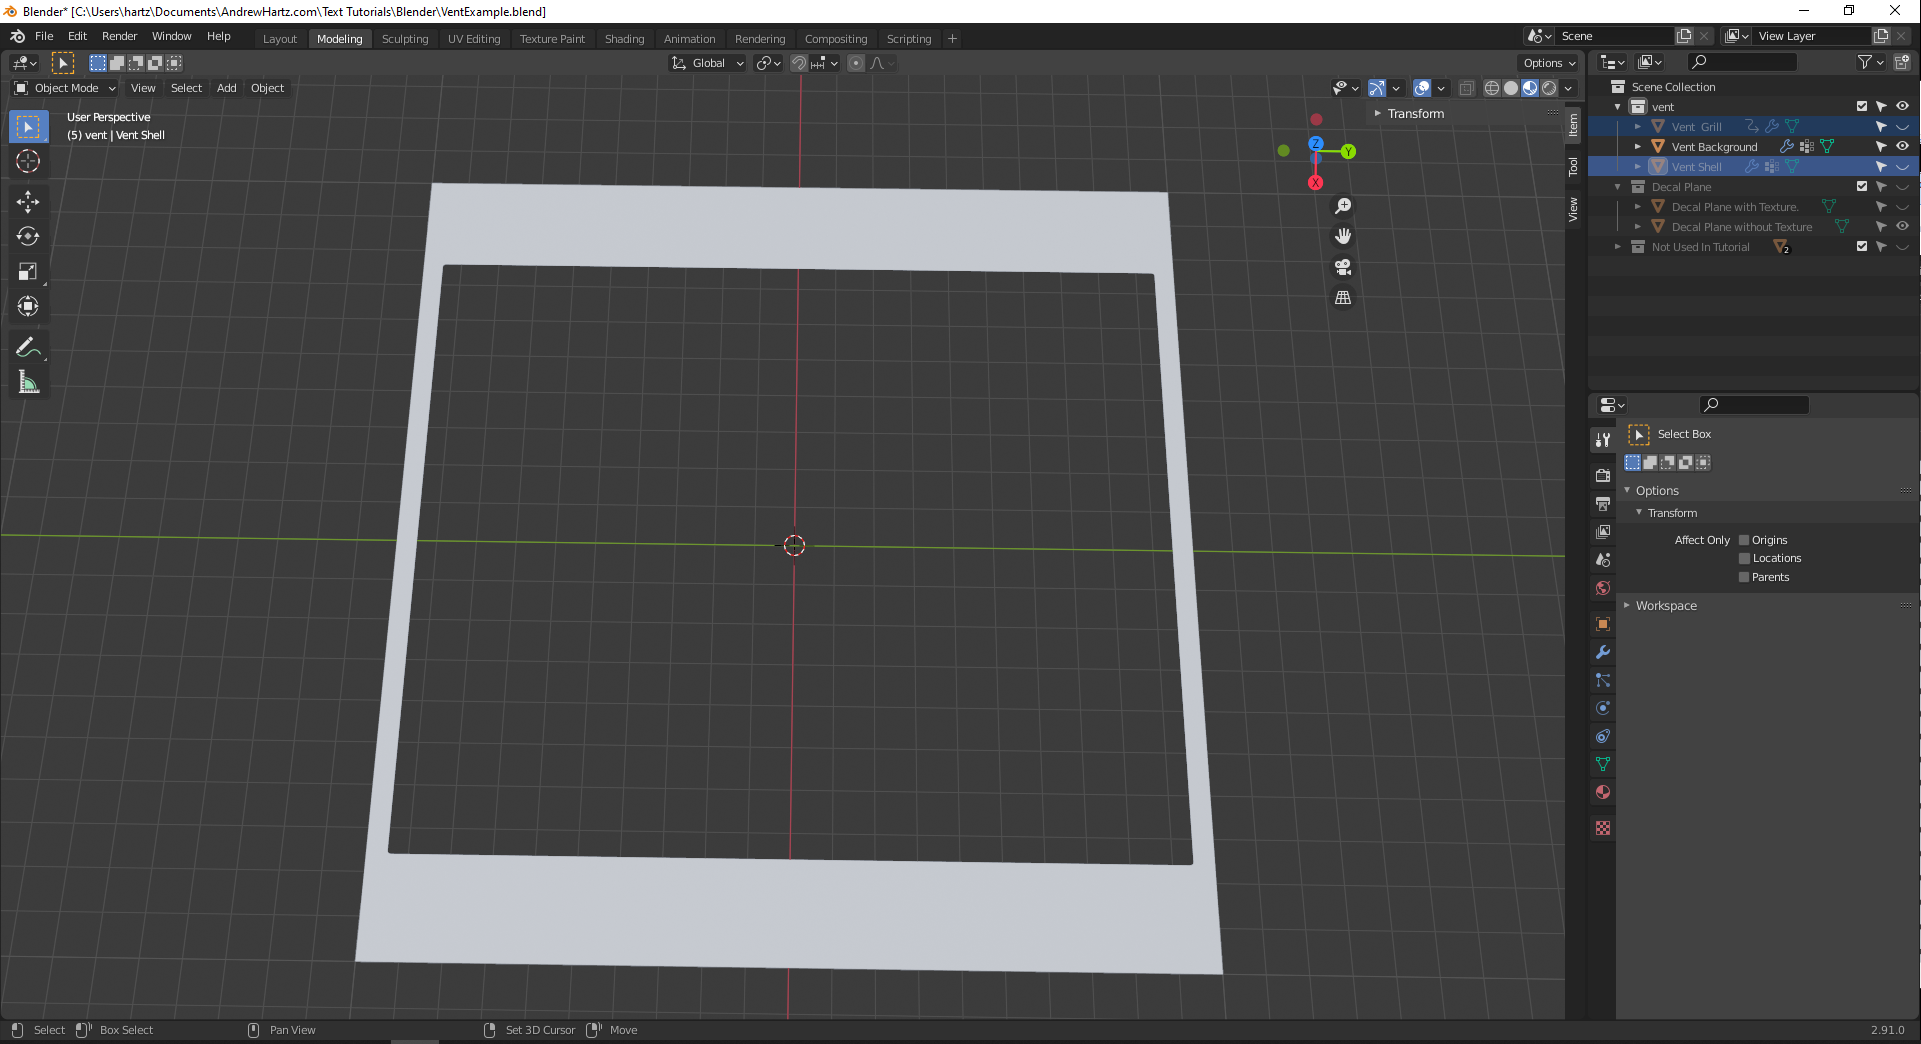
The background is a flat plane with the shape of the vent cut out of it.
The plane in this image has a multi-color texture. The plane is shown in relation to the vent (grey).
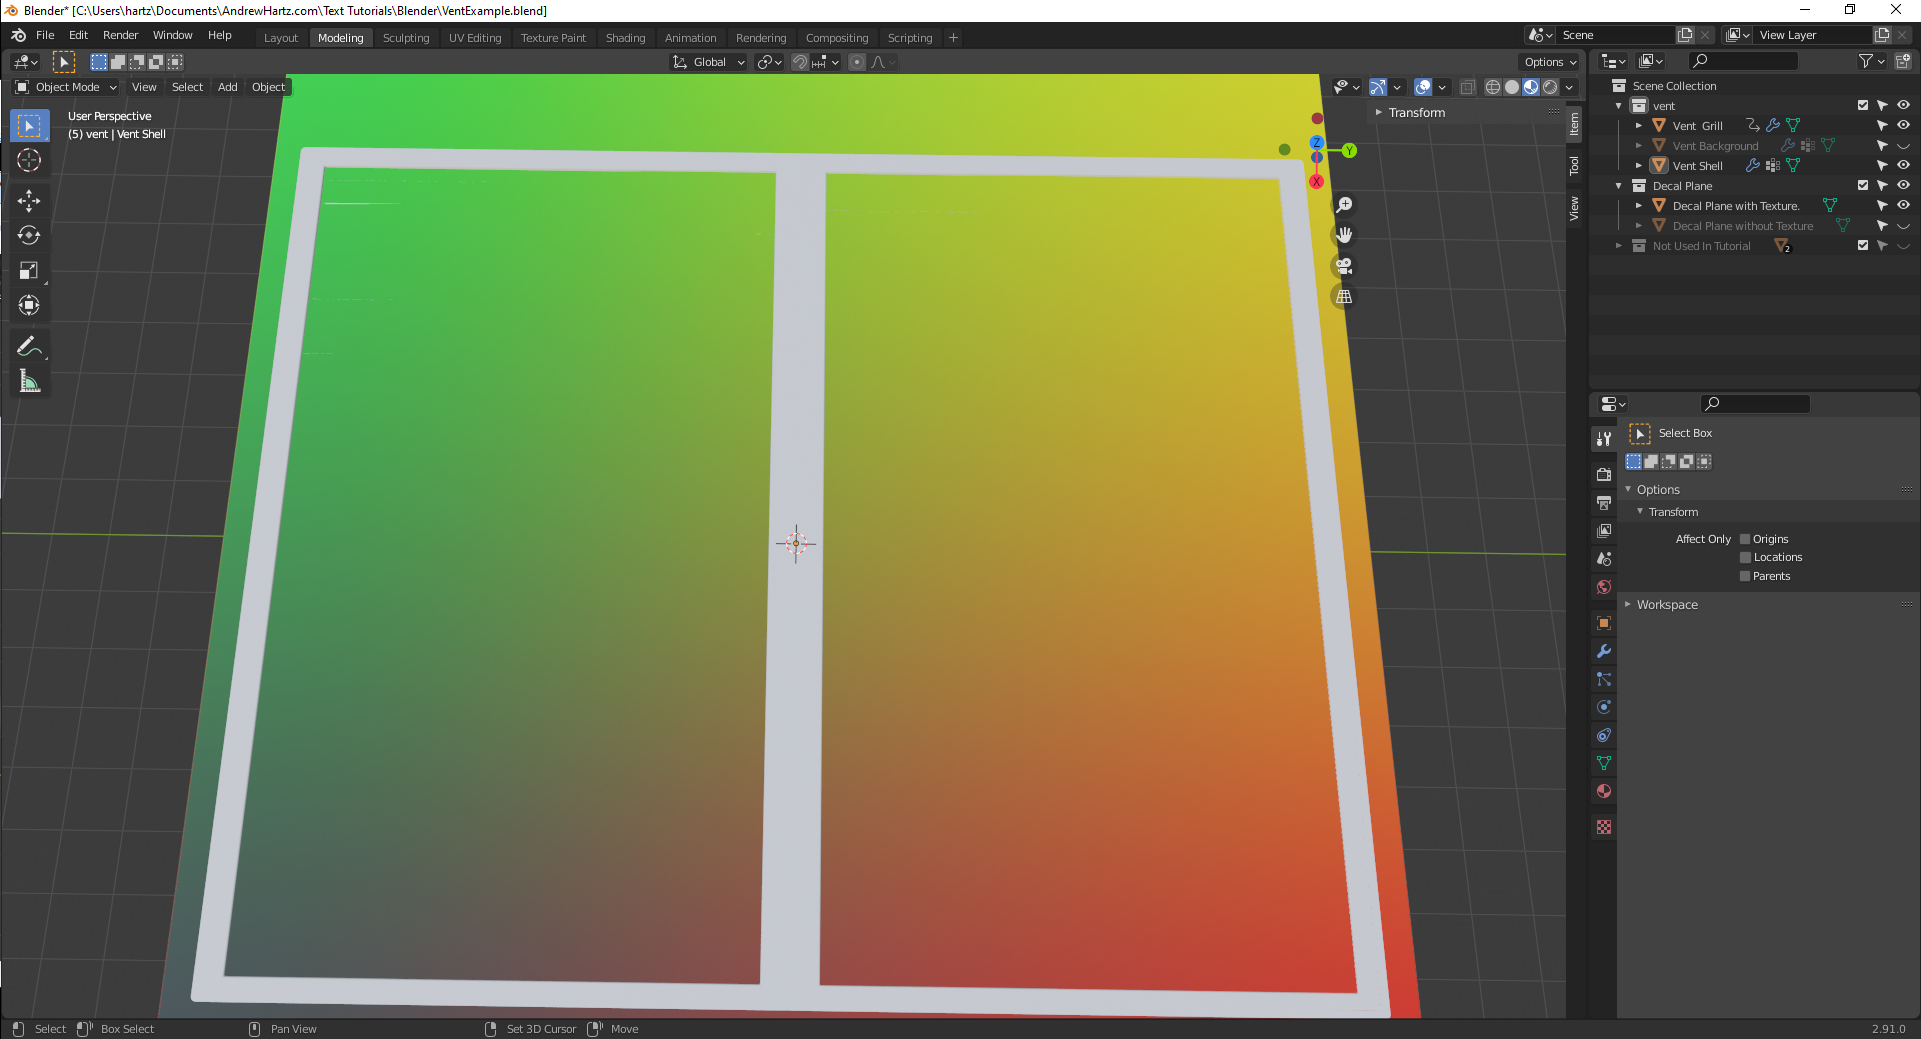
A copy of the plane is included without this multi-colored texture added to it. It is going to be used to show you how to add the texture.
Meshes that are not used in the tutorials
Two other meshes not used in this tutorial series.
- Vent Front as plane
- Vent Grill with all modifiers
They were used as part of the process to create the shell and vent meshes. If you are interested in blender modeling, they are decent examples of using modifiers. I will not discuss these two meshes any further in this tutorial series.
Purpose of the background object
I left some room around the edges of the actual vent. This padding is the background object. Sometimes you can get away with leaving the space and not creating this background object. You only need the background object like this if a shadow will be cast outside of the object you are baking. In this case, the vent sticks out above the background. The vent is supposed to look like it is not flush with the wall it covers, so it would cast a shadow all around it.
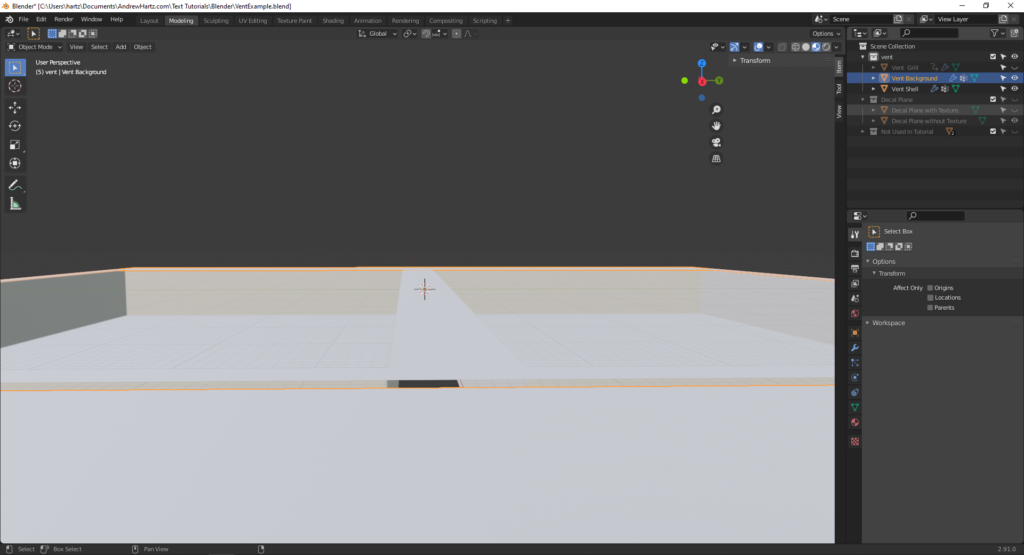
The shadow cast by the vent onto the wall will only be baked into the ambient occlusion map if the background object is included.
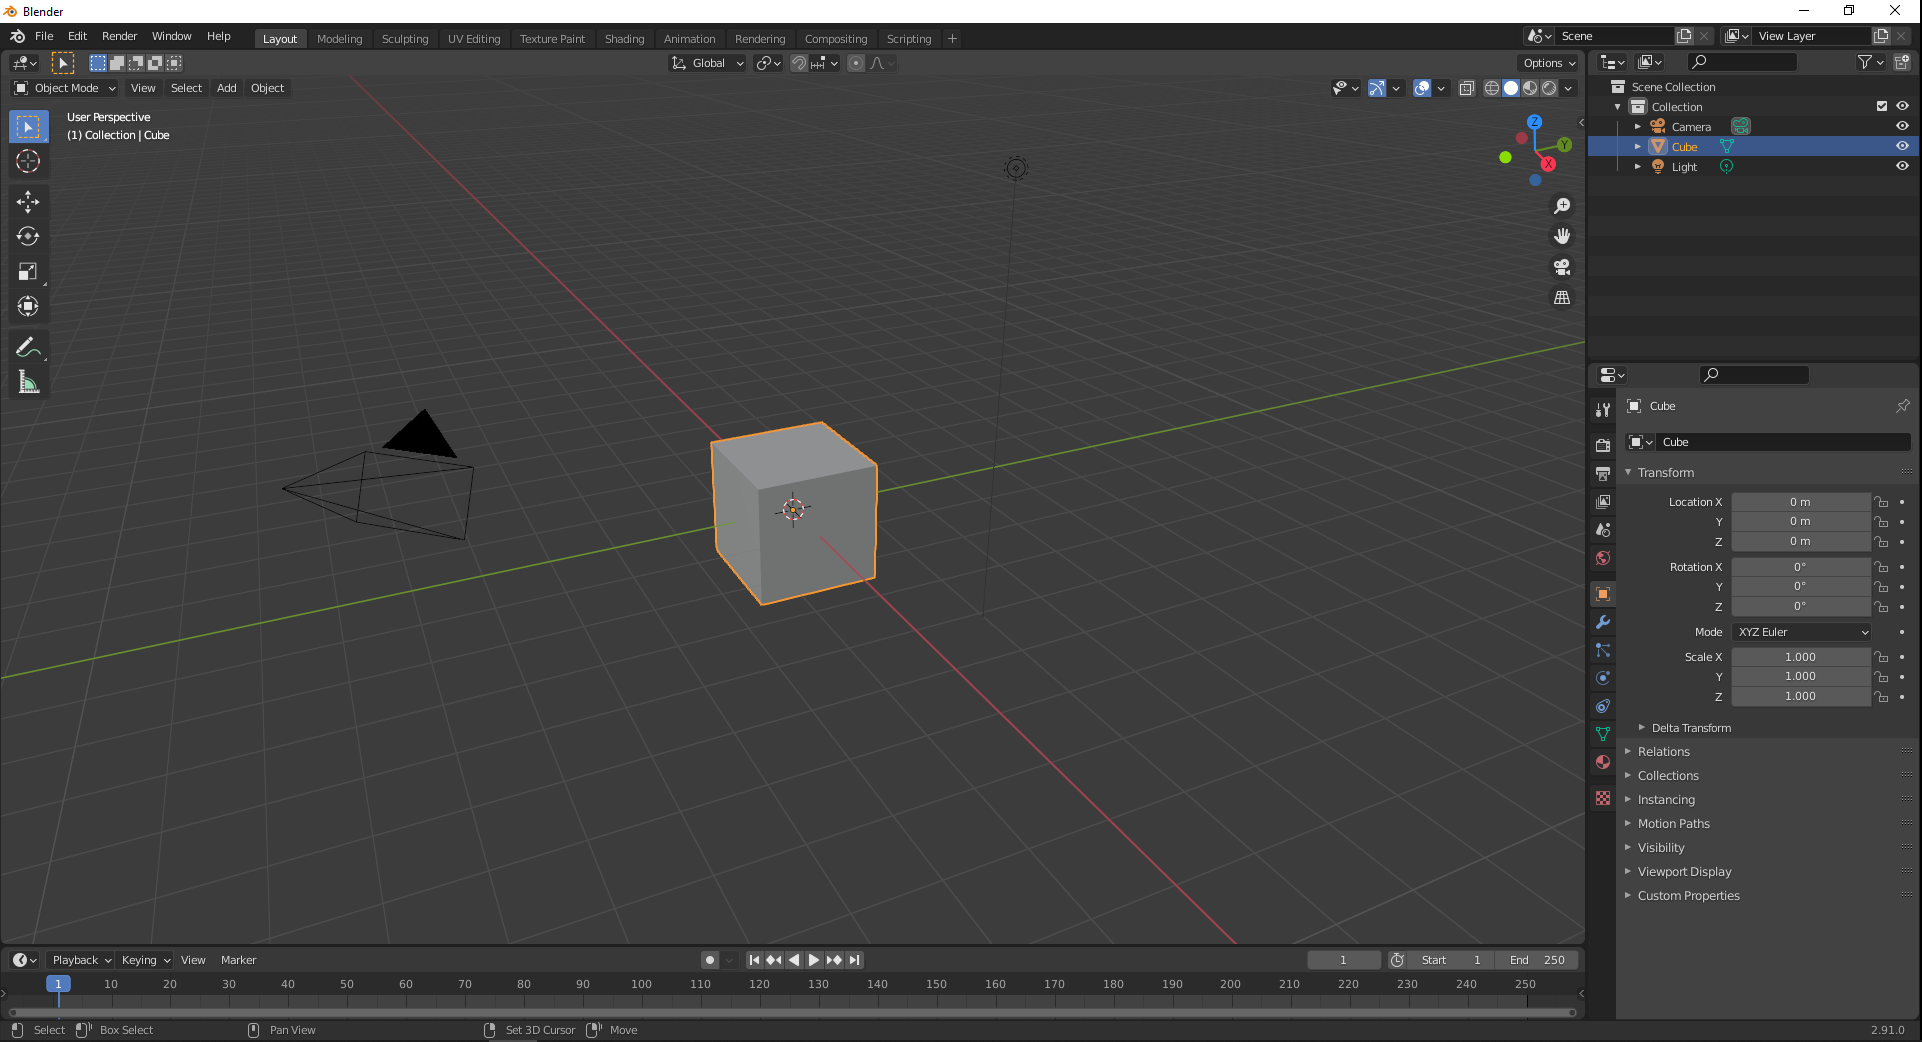
Model scale
By default, when you add meshes to Blender, they are about 2m in size. The meshes in this tutorial series were scaled up to be about 100 times the original size when I created them. The reason I scaled up the objects is to avoid an error in baking.
Later in this tutorial, we are going to be using xNormal for baking objects into textures. xNormal handles larger objects better. The dimension of the shortest side of a mesh needs to be at least 2m before it is exported as a 3D object. In this vent example, the depth into the vent was the shortest dimension, 14.25m. An object that size will run smoothly in xNormal.