In this tutorial, we will finish the series by combining our baked images with other materials. We will have a plaster wall with a metal vent and all the fake geometry from our baked textures. To make this, we will use the Mask and Overlay tool.
The input files include:
3D Model – OBJ file of a wall
Baked Textures
Mask
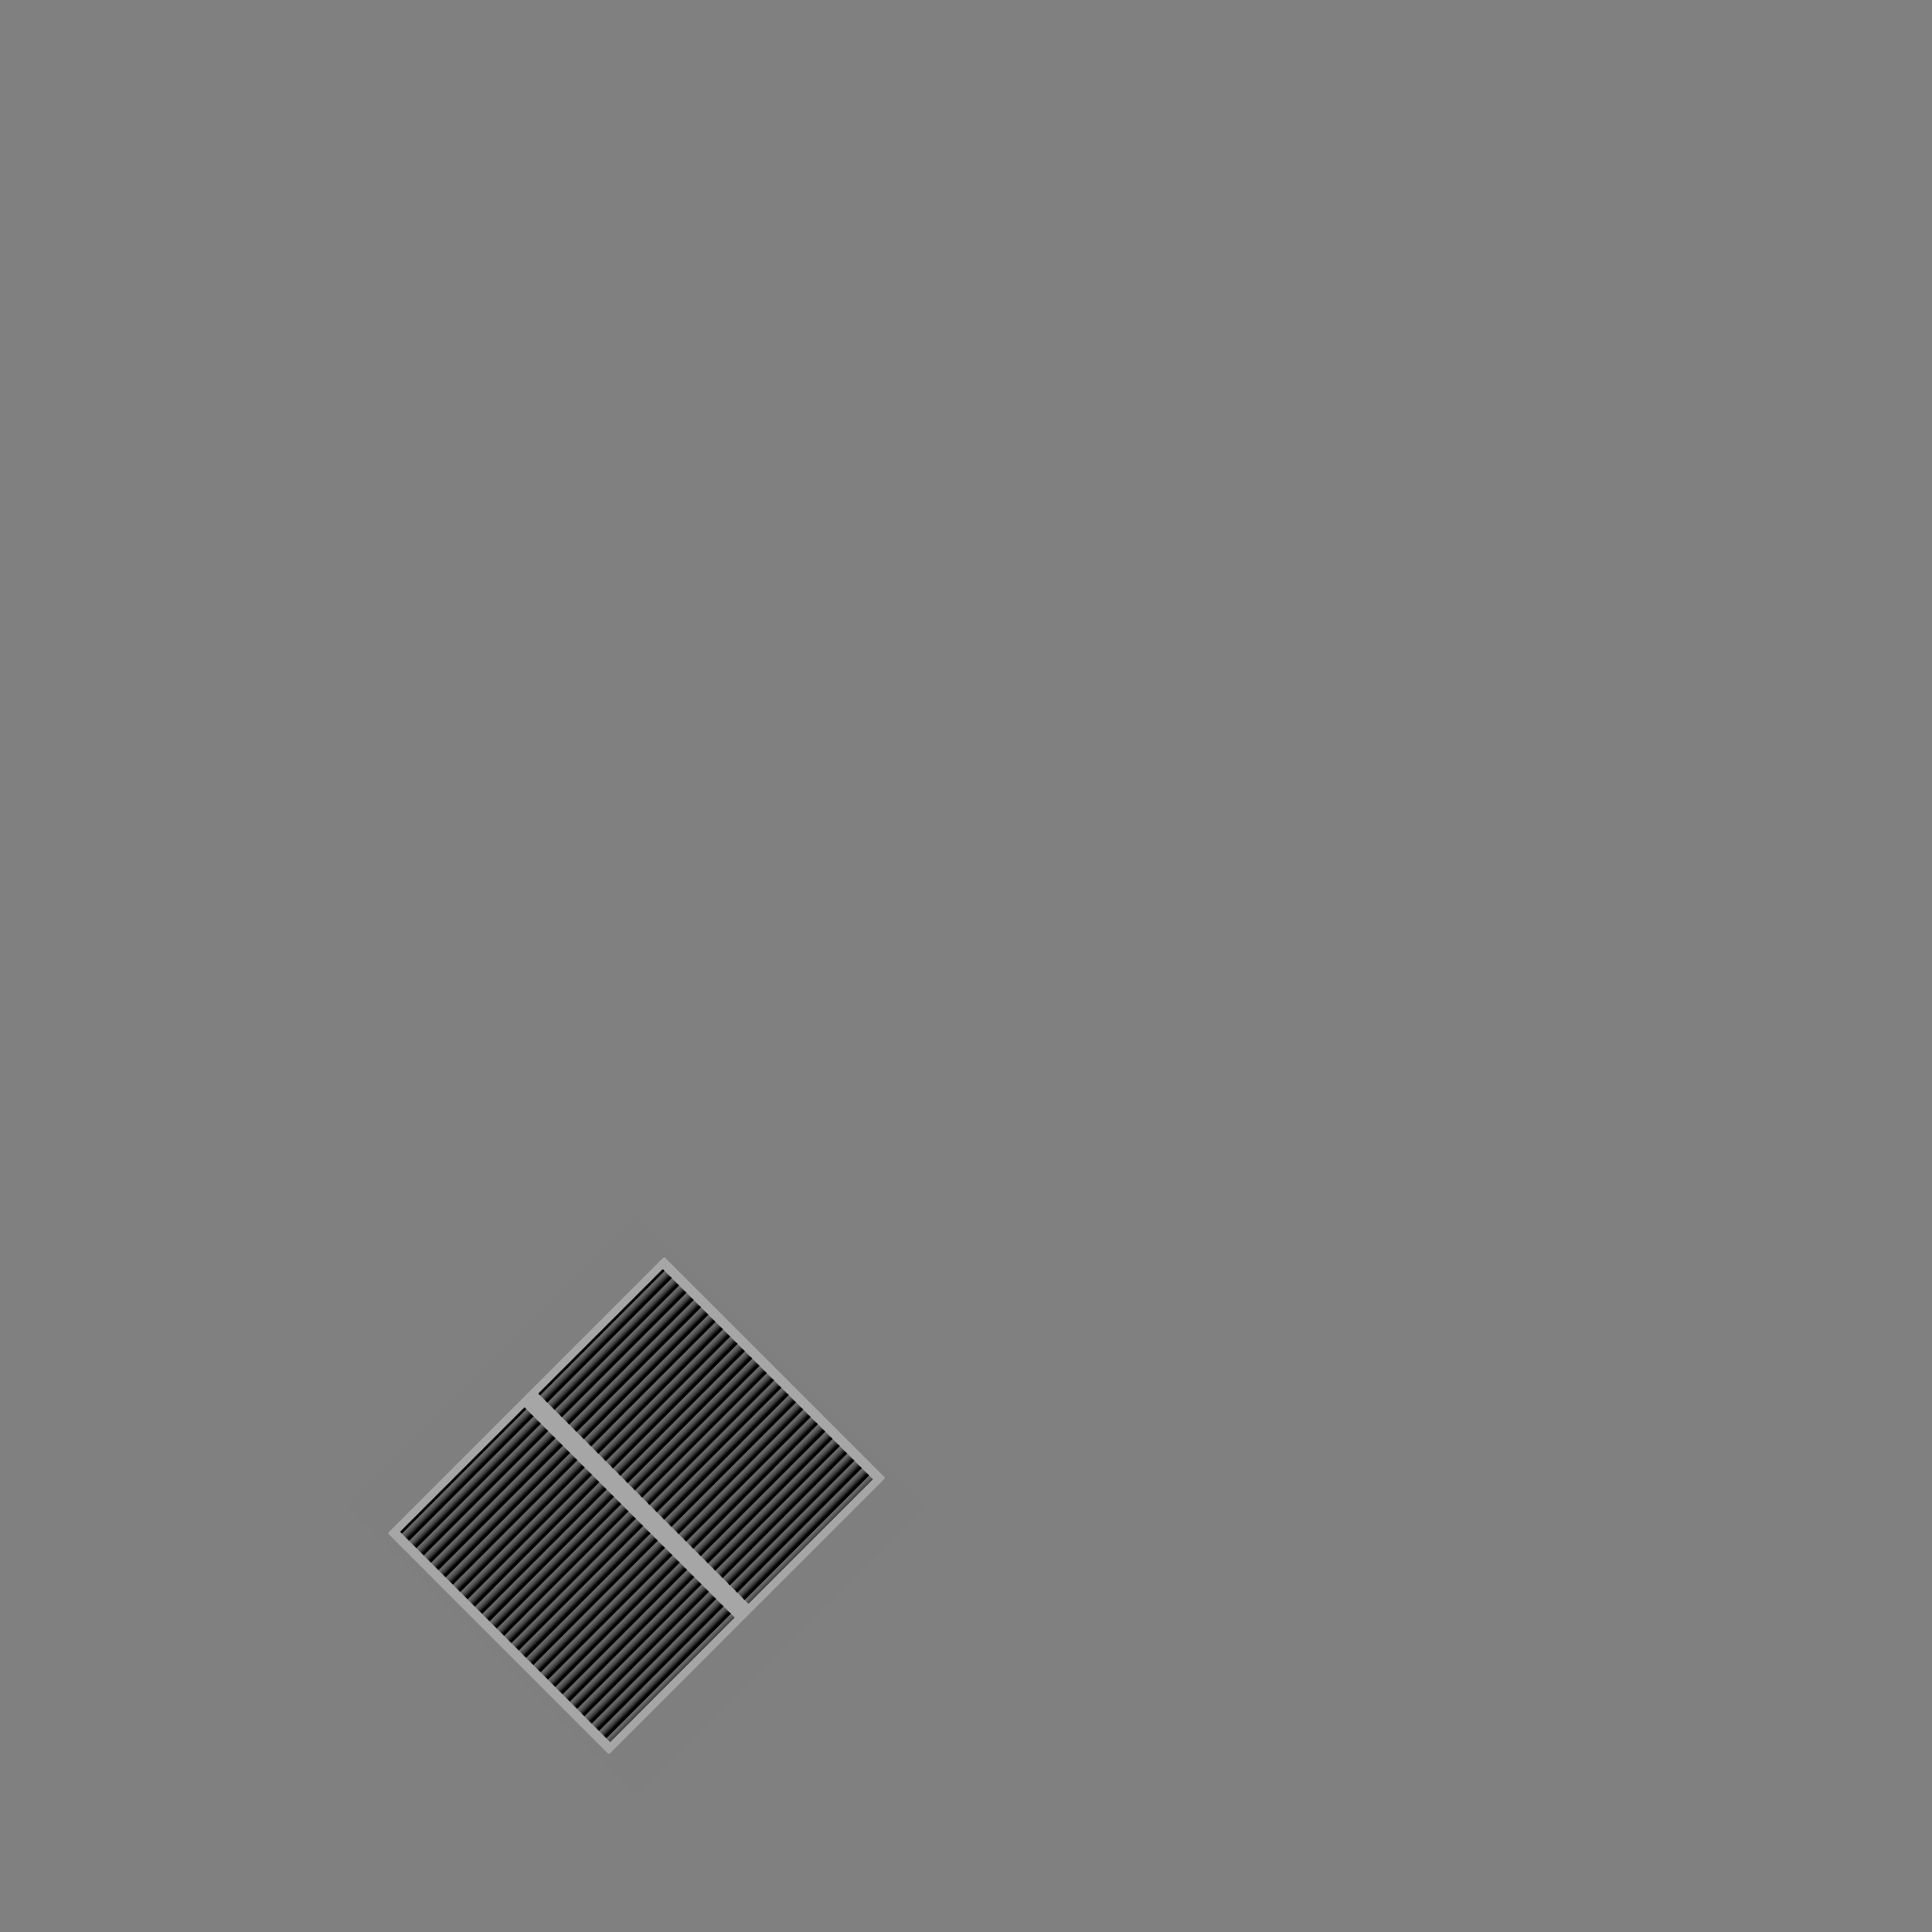
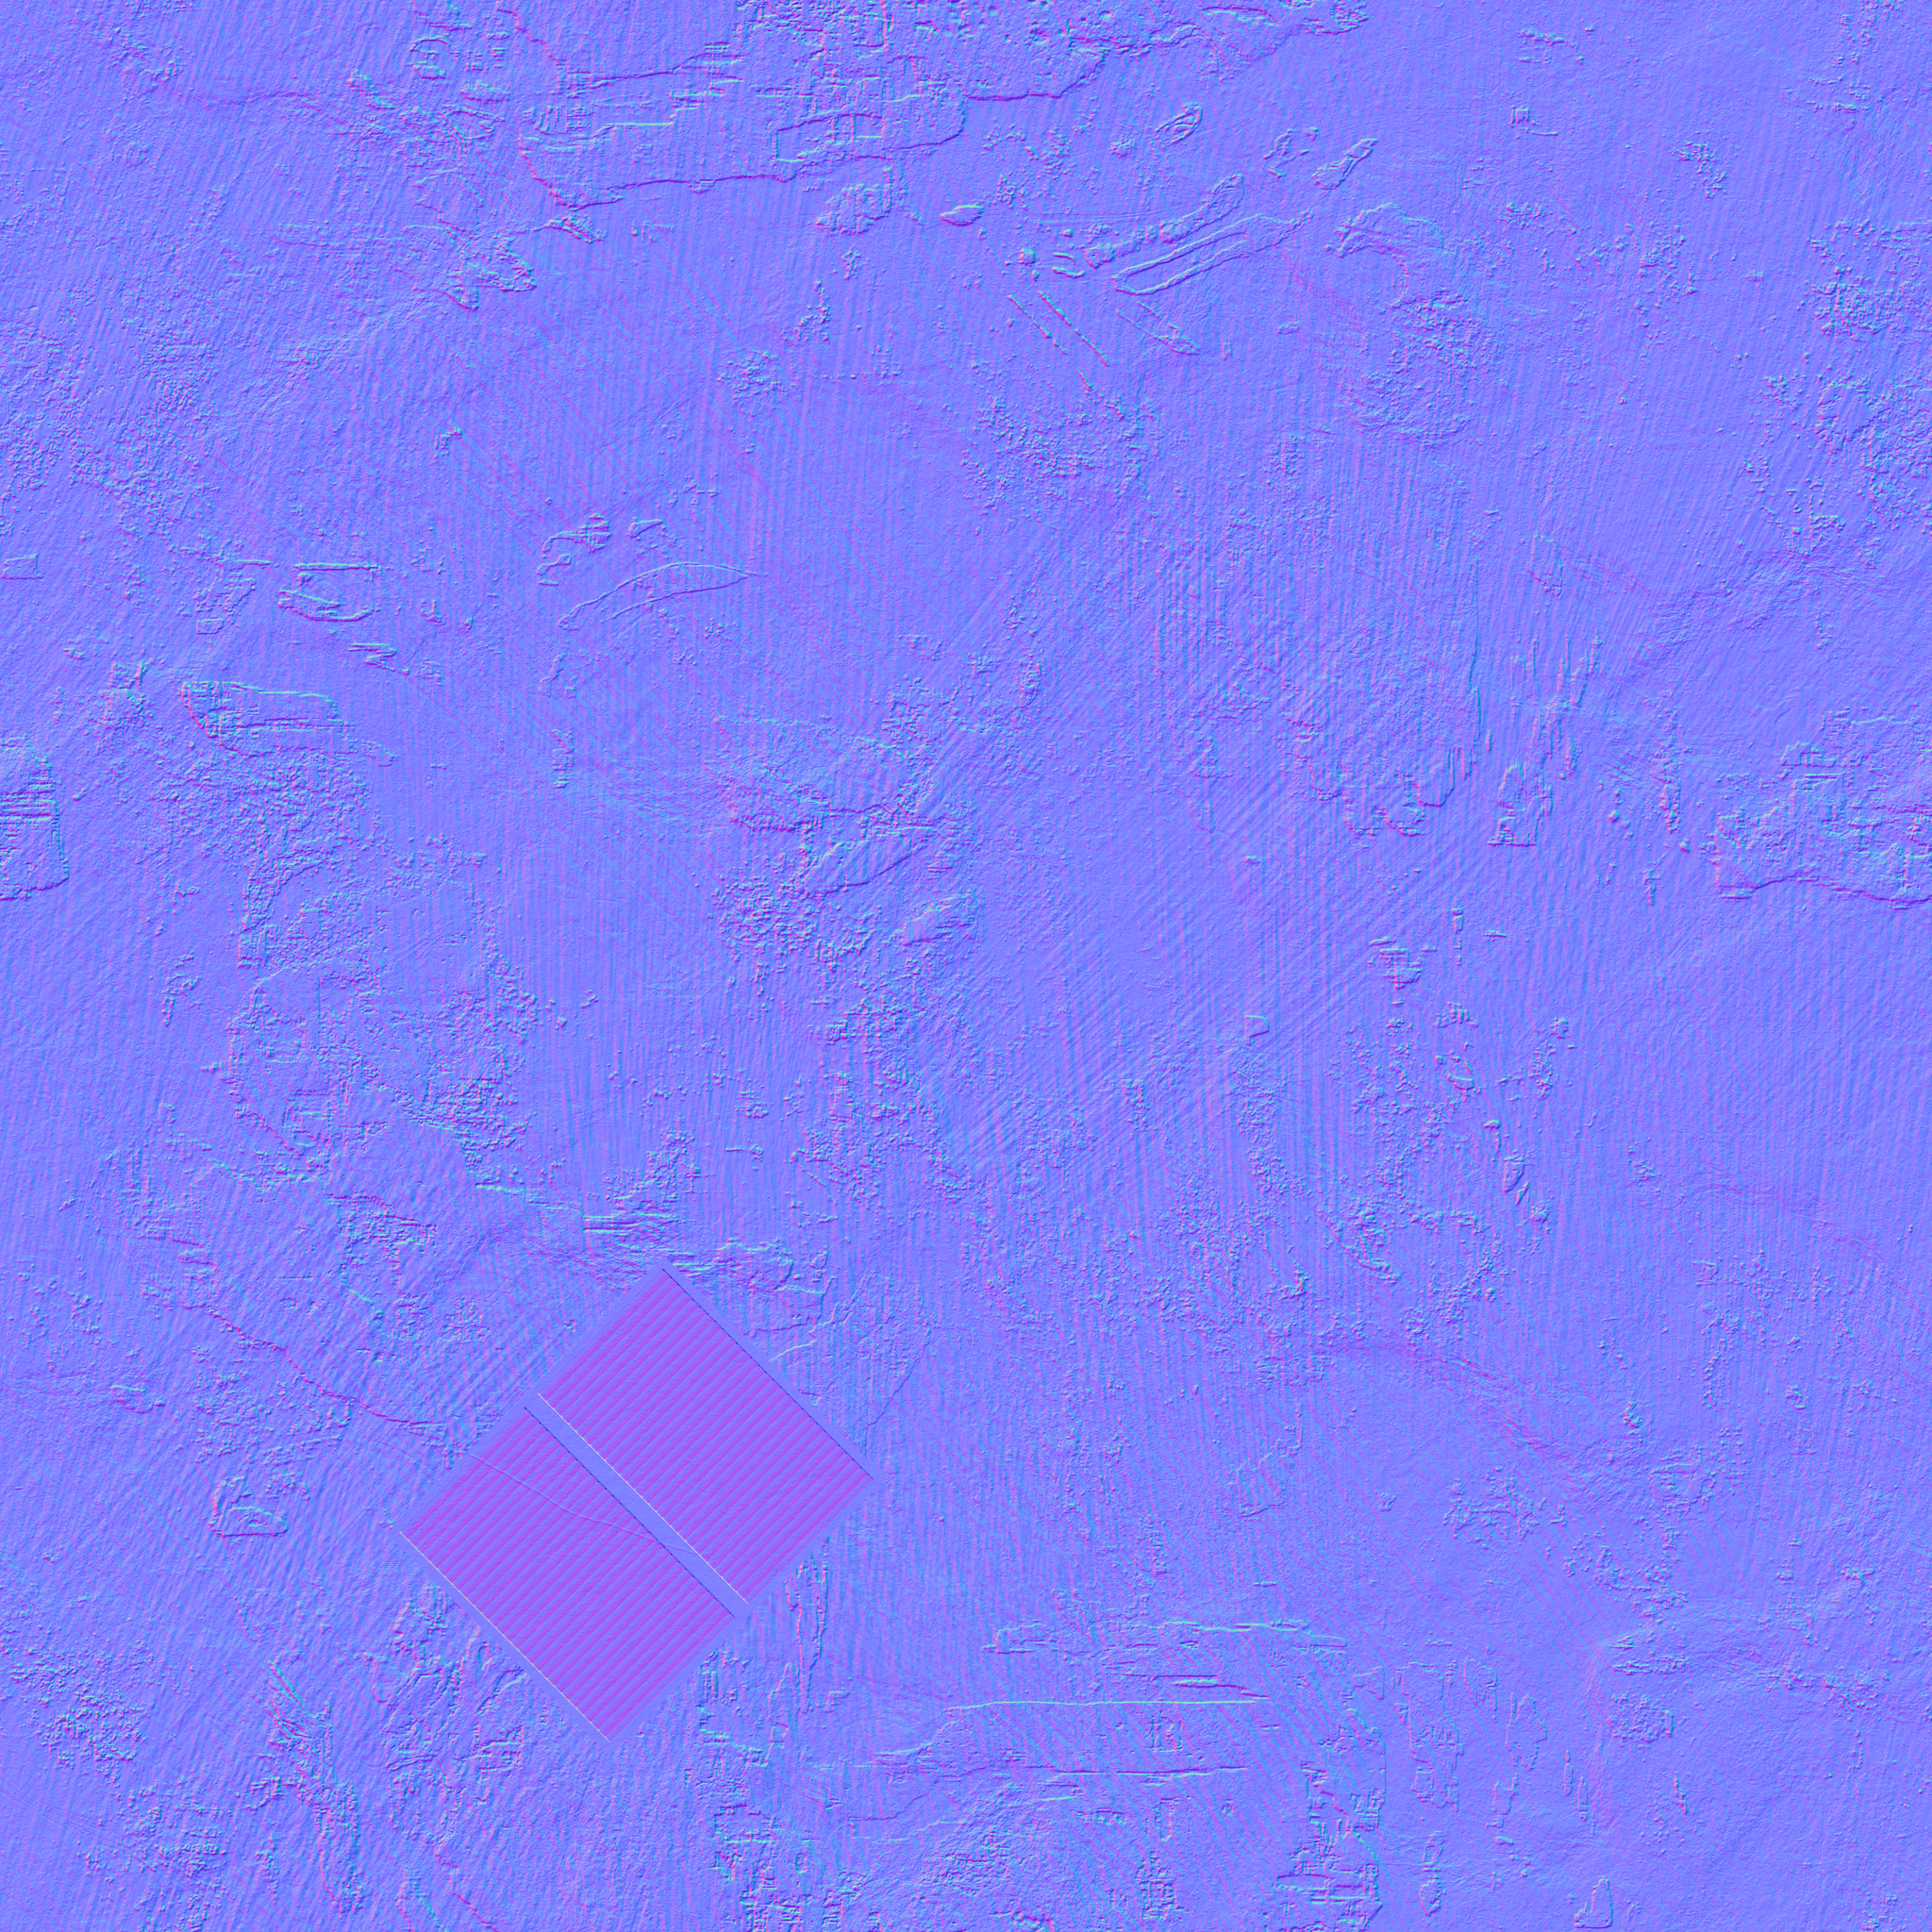
Fake Geometry
Ambient
Occlusion
Height
Normal


Programs used in this tutorial
- Unity3D (free program)
- Material Tools (A plugin for Unity3D)
Create Materials
We are going to need three materials for Mask and Overlay. One of these is materials contains the three “fake geometry” textures from our baked images. The other two are reasonably ordinary materials for texturing objects.
Finding free textures
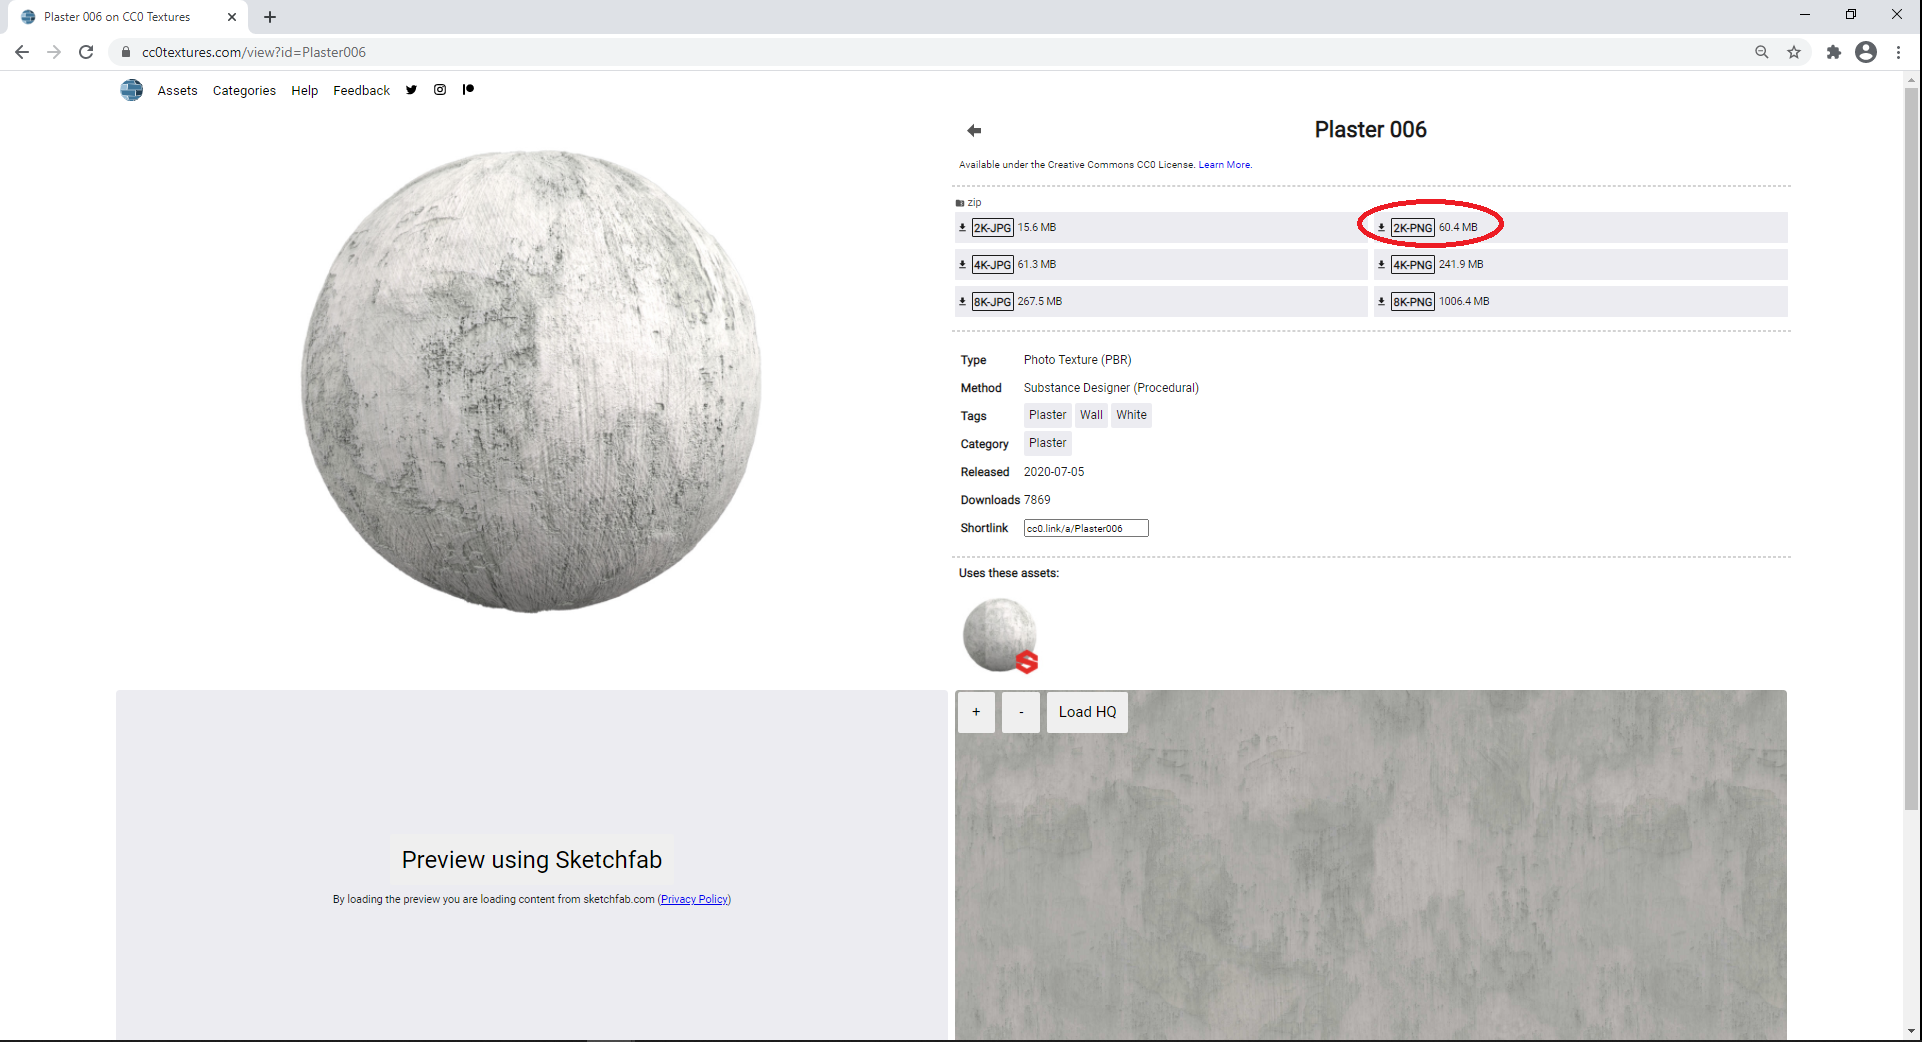
Start by downloading free PBR textures to use in this tutorial from ccotextures.com.
I chose a plaster texture for the wall and a metal texture for the vent in the decal. I will use the 2K textures since I have made every other texture in this tutorial series 2K.
Plaster Texture
Metal Texture

These downloads need to be unzipped and added to your Unity3D Project.
Assigning texture to materials
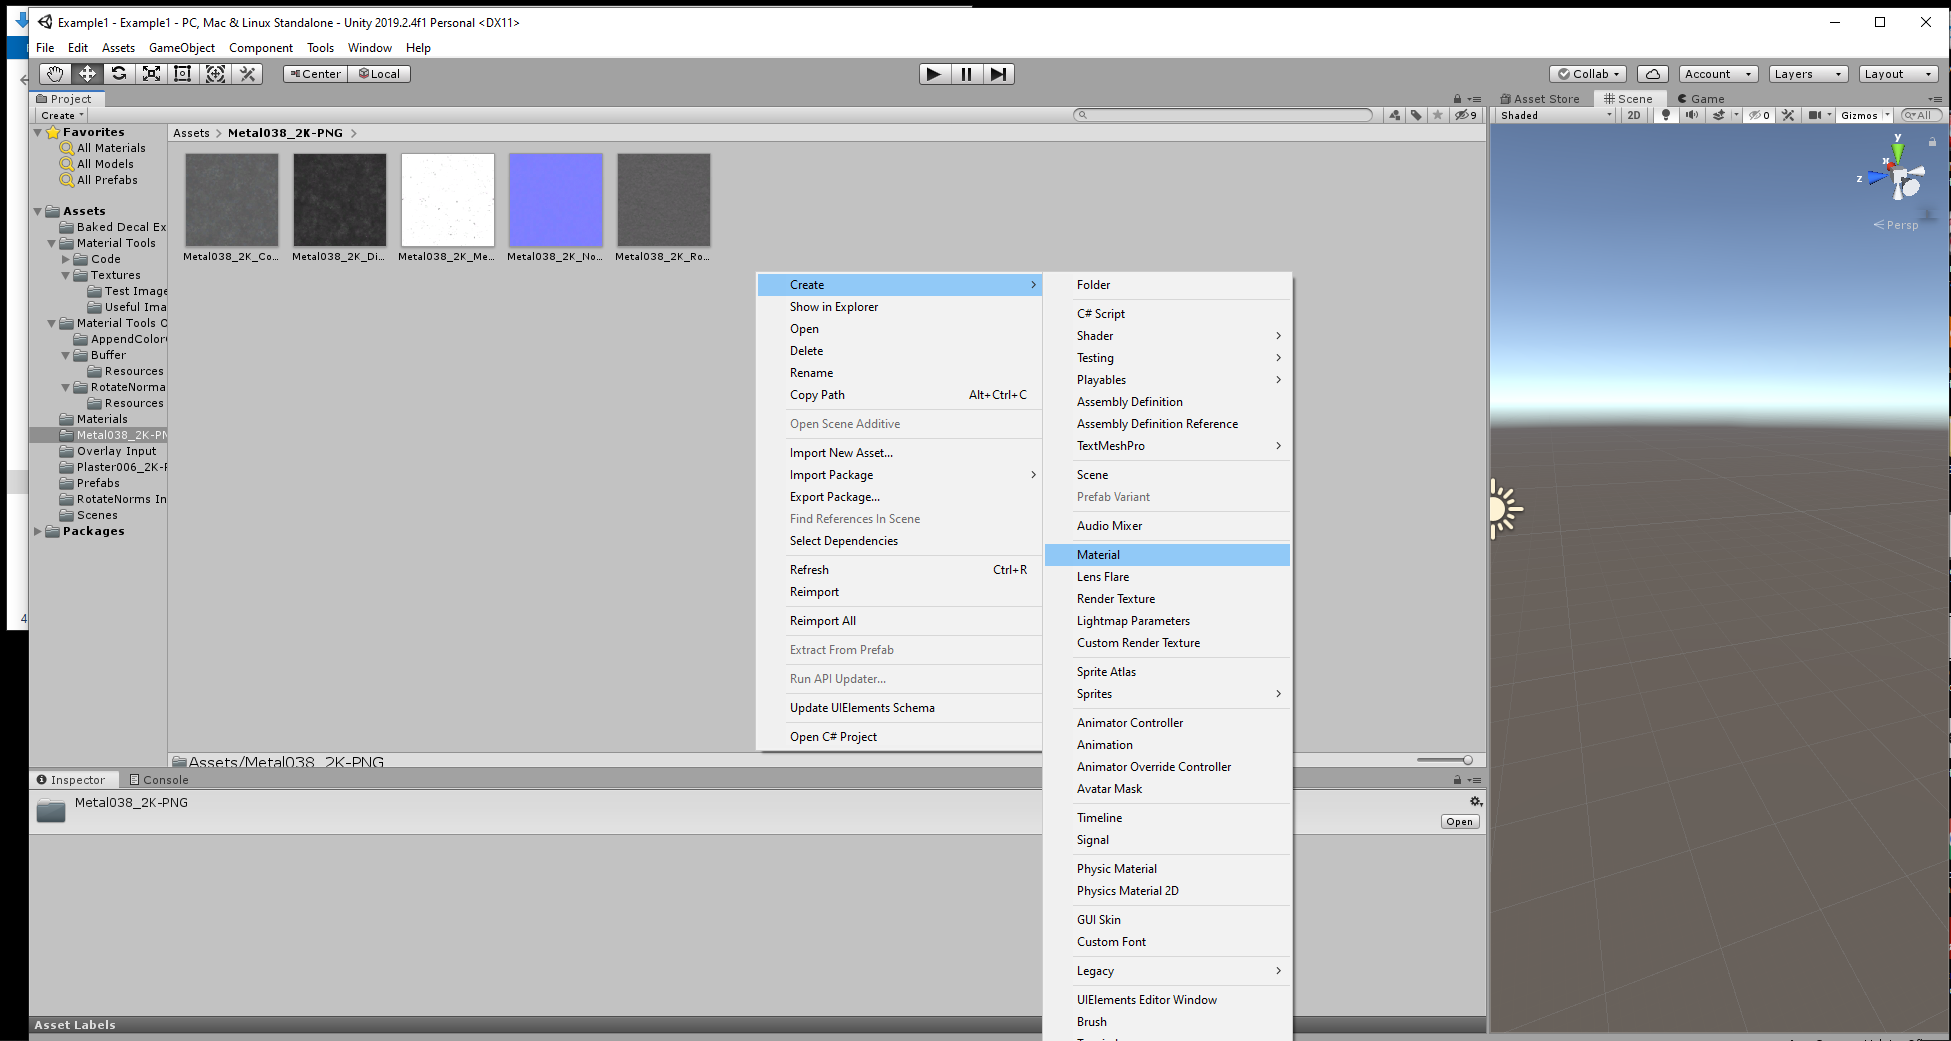
Create a material for each of the textures you downloaded.
You will not include the roughness map in the material yet.
The downloaded textures don’t include ambient occlusion. Leave that texture empty with the slider set to white.
Any other texture slots we don’t have, leaving blank also. We do not need them.
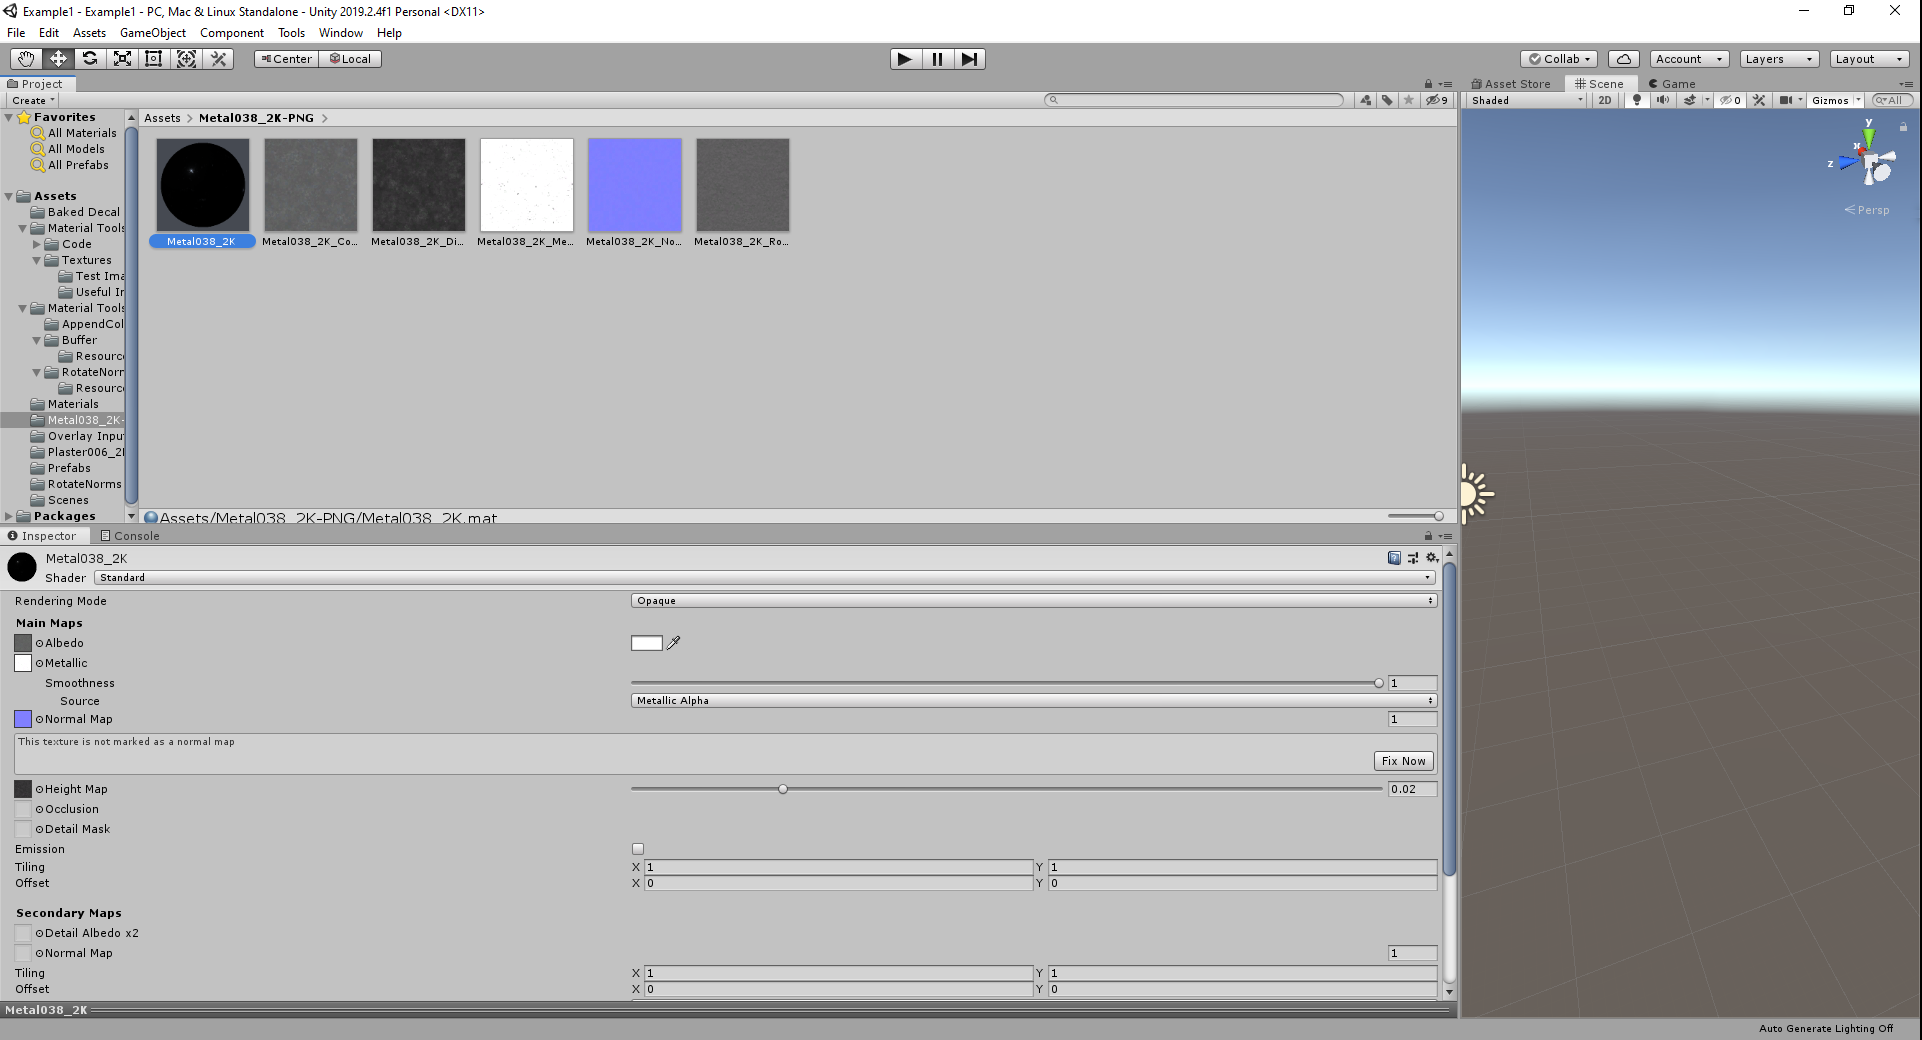
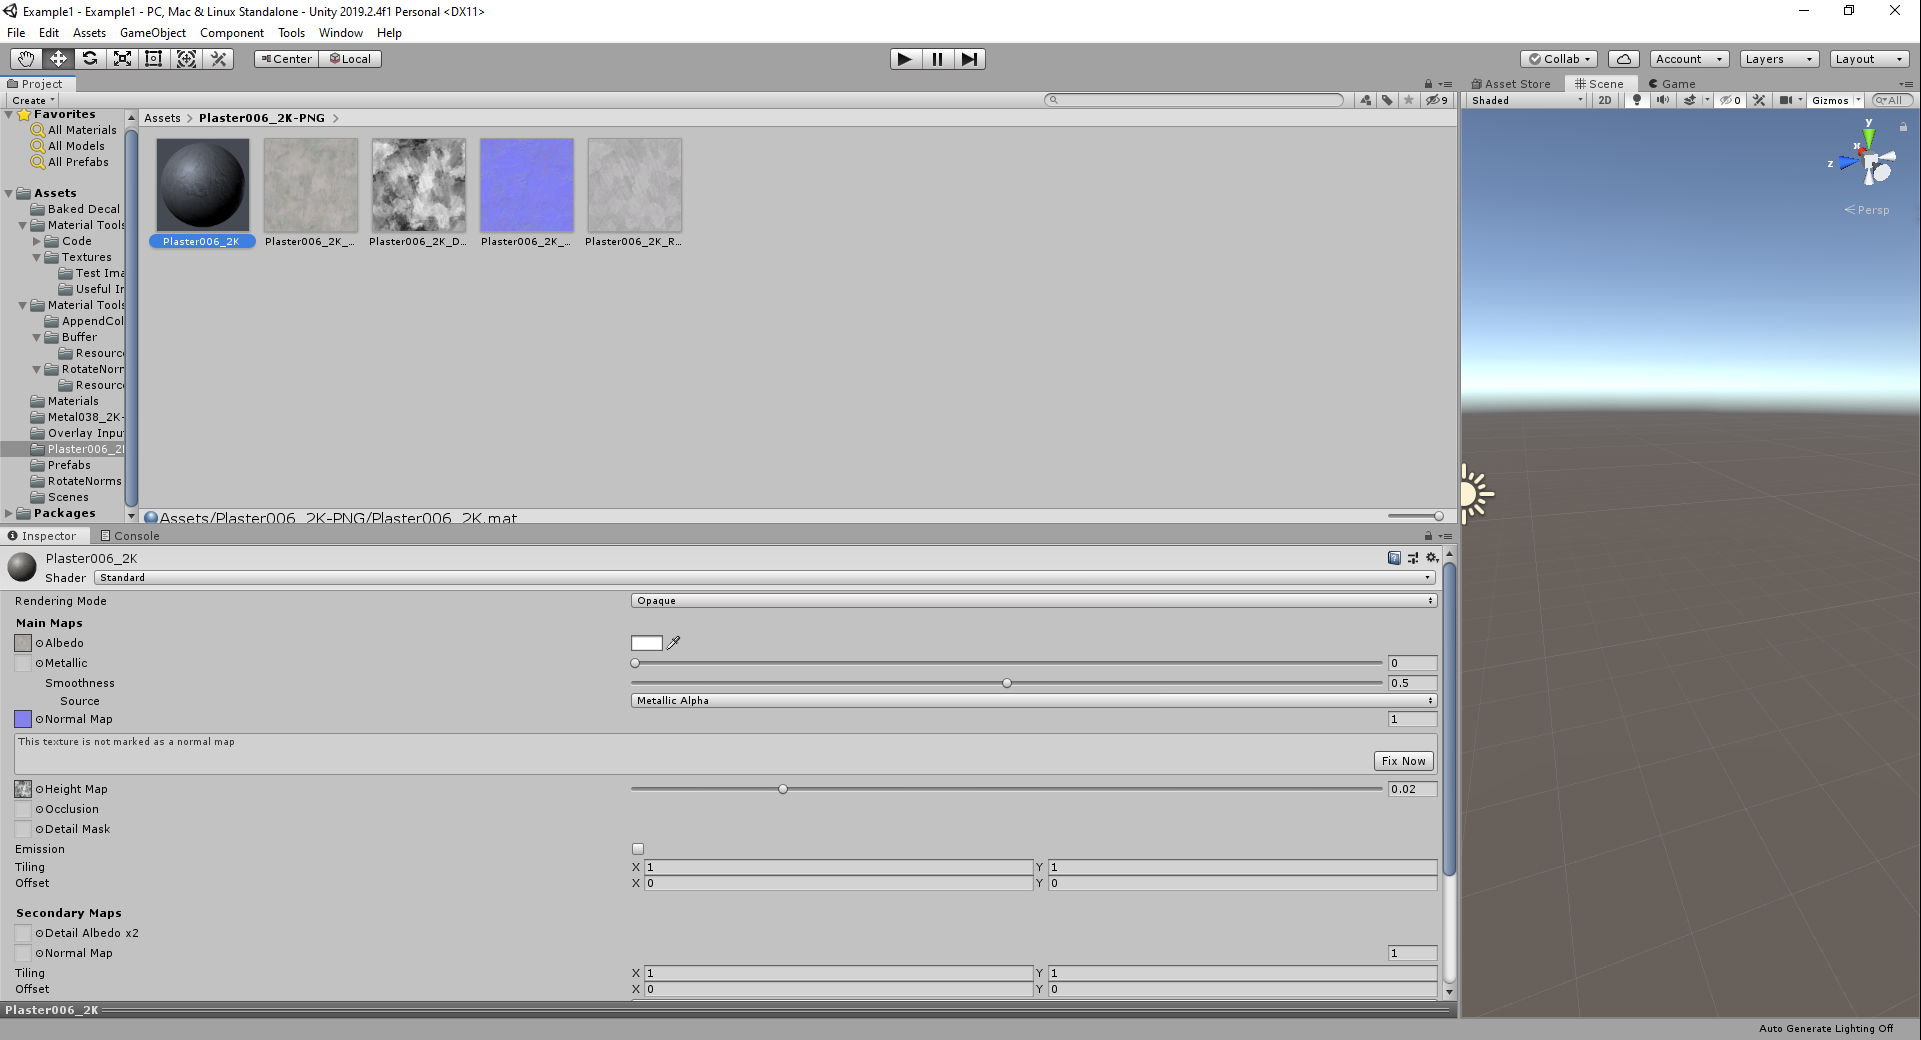
The Plaster textures don’t include a metal map. Leave the plaster material’s metal texture blank with the slider set to 0.
This setting specifies that the texture is not a metal. A value of 1 would specify it is a metal.
Any other texture slots we don’t have, leaving blank.
Create a Material for the baked textures fake geometry, using the Ambient Occlusion, Normal, and Height maps.
We will use the mask texture elsewhere. We don’t need to worry about Albedo or Metal textures. Leave them blank. In this material, the settings with Albedo or Metal don’t matter either.

Mask and Overlay
We need to use masking to make the vent a different material than the wall. Then we will use an overlay to add all the fake geometry from the baked images.
General Settings
Open the mask and overlay tool. In the toolbar at the top of the unity interface, select “Tools/Material Tools/Mask and Overlay”.
This path and the window it opens are shown below. The Tools tab will only be visible if Material Tools is installed and imported into your Unity project.
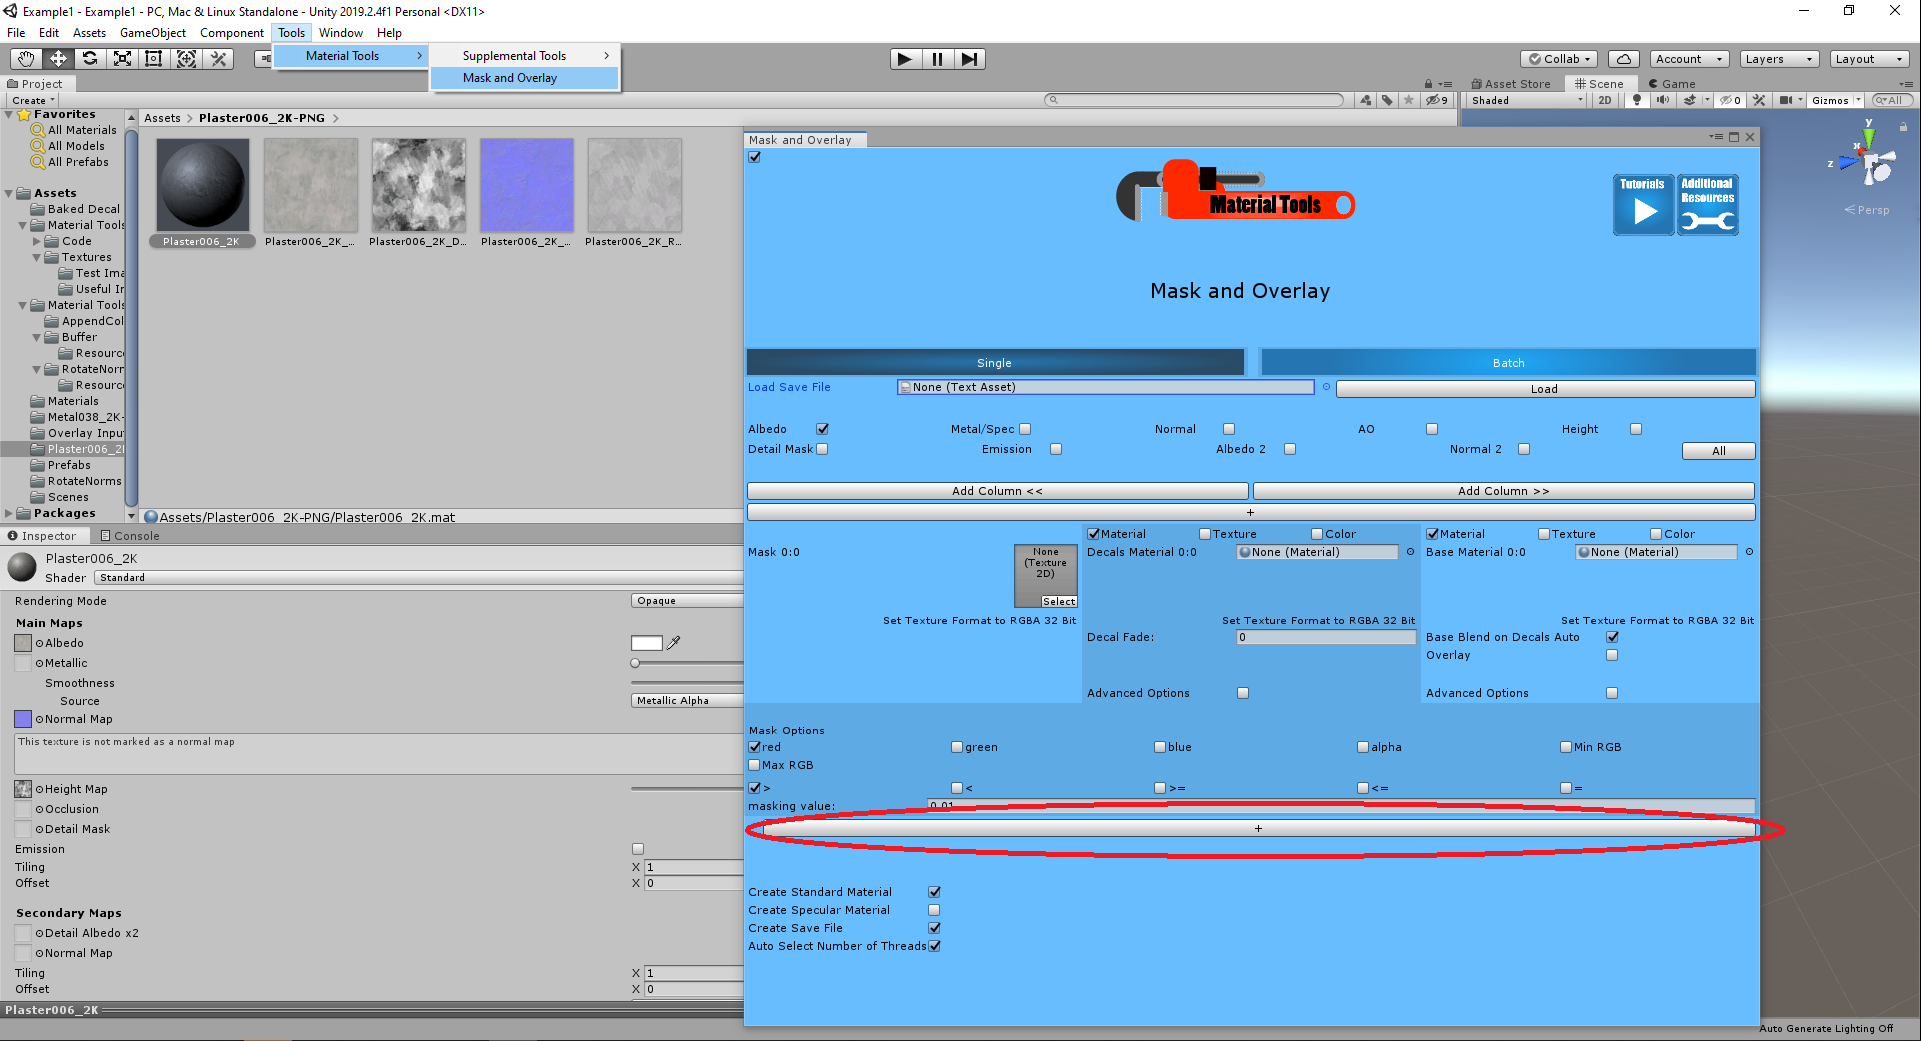
We need another row of calculations, so press the + button circled in the image above.
Select Albedo, Metal, Normal, AO, and Height. These checkboxes are where we select the outputs we want to create.
We will not use Detail Mask, Emission, Albedo 2, or Normal 2 in this example. Nothing on this wall we are making glows or has a deeper layer of detail available.

Masking (the blue cell)
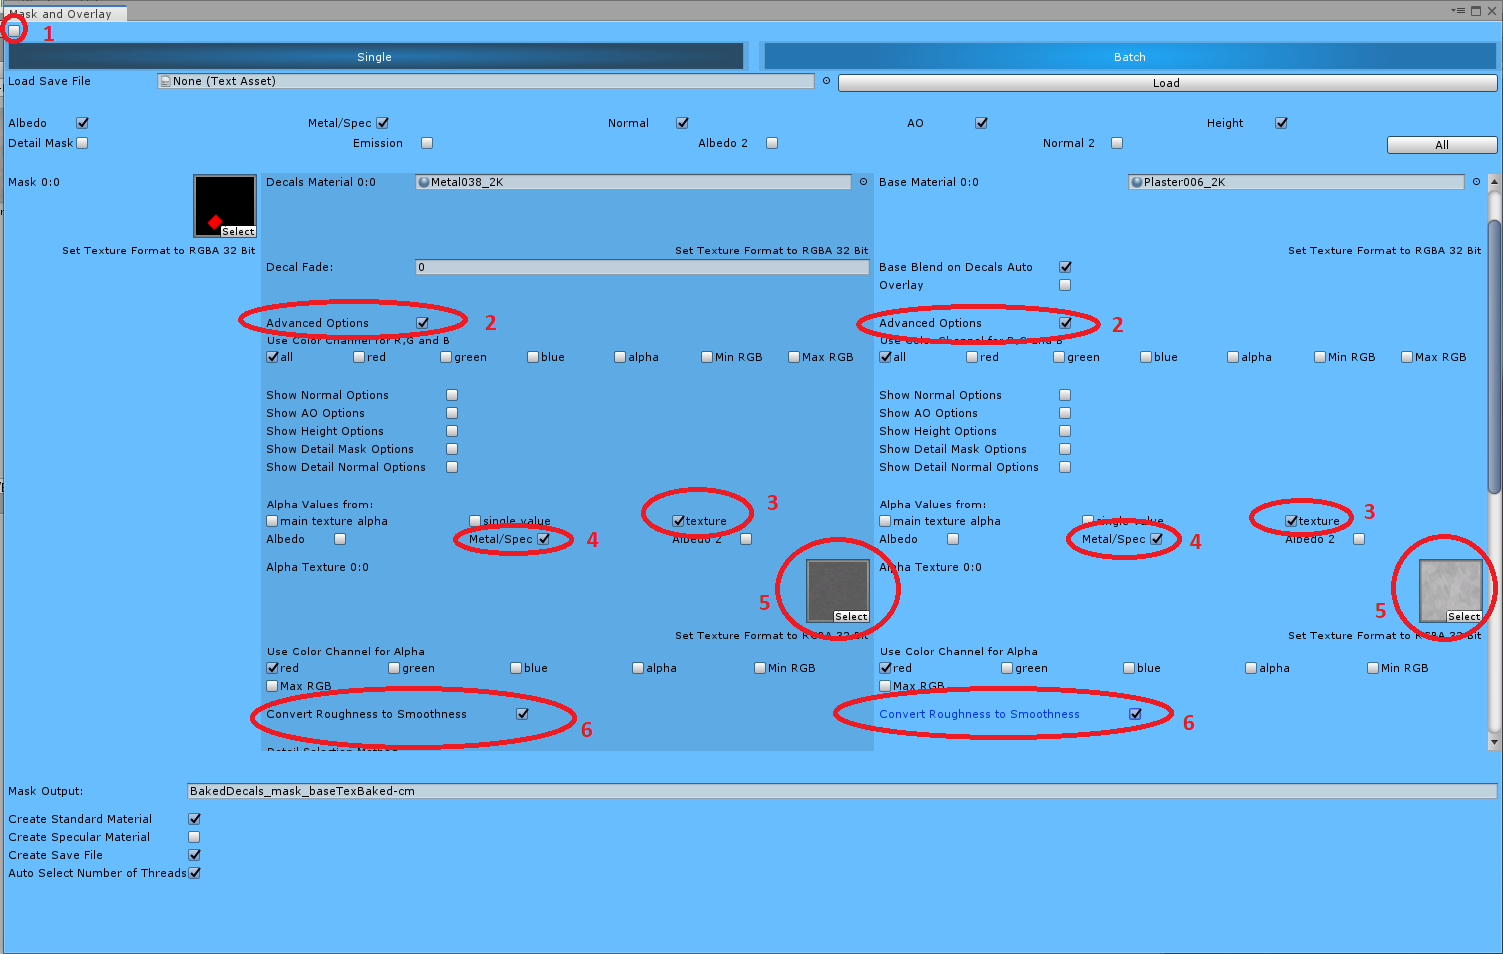
We will use the first calculation cell (blue cell) to combine with masking the metal and plaster materials.
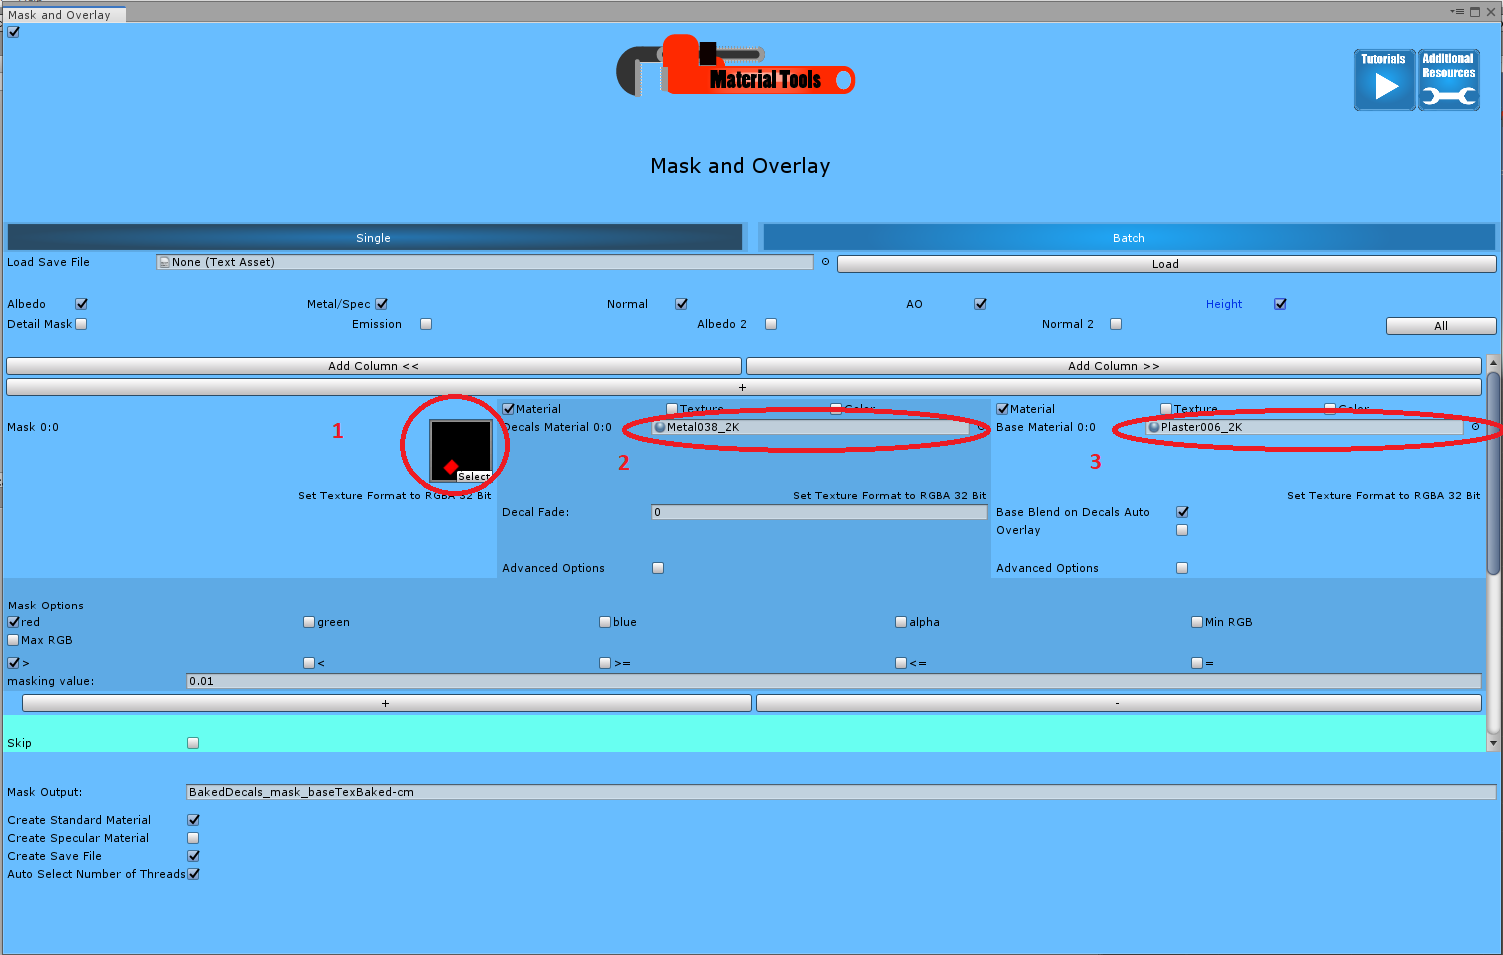
The numbered directions below correspond with the numbered circles in the image. These are the options you need to change from the default.
- For mask input, use the mask from the baked textures,
- For decal input, use the metal material
- For base input, use the plaster material
Here is a link to more information about the Mask and Overlay tool.
Include the roughness textures
We will have to use several advanced options on the blue calculation cell.
- Toggle off the window header, so it isn’t visible. We are going to need more space.
- Toggle on the Advanced Options, so they are showing.
- Select Alpha values from texture.
- Metal/Spec is the only type using a different texture for alpha.
- Add the roughness image.
- Select “Convert Roughness to Smoothness”.
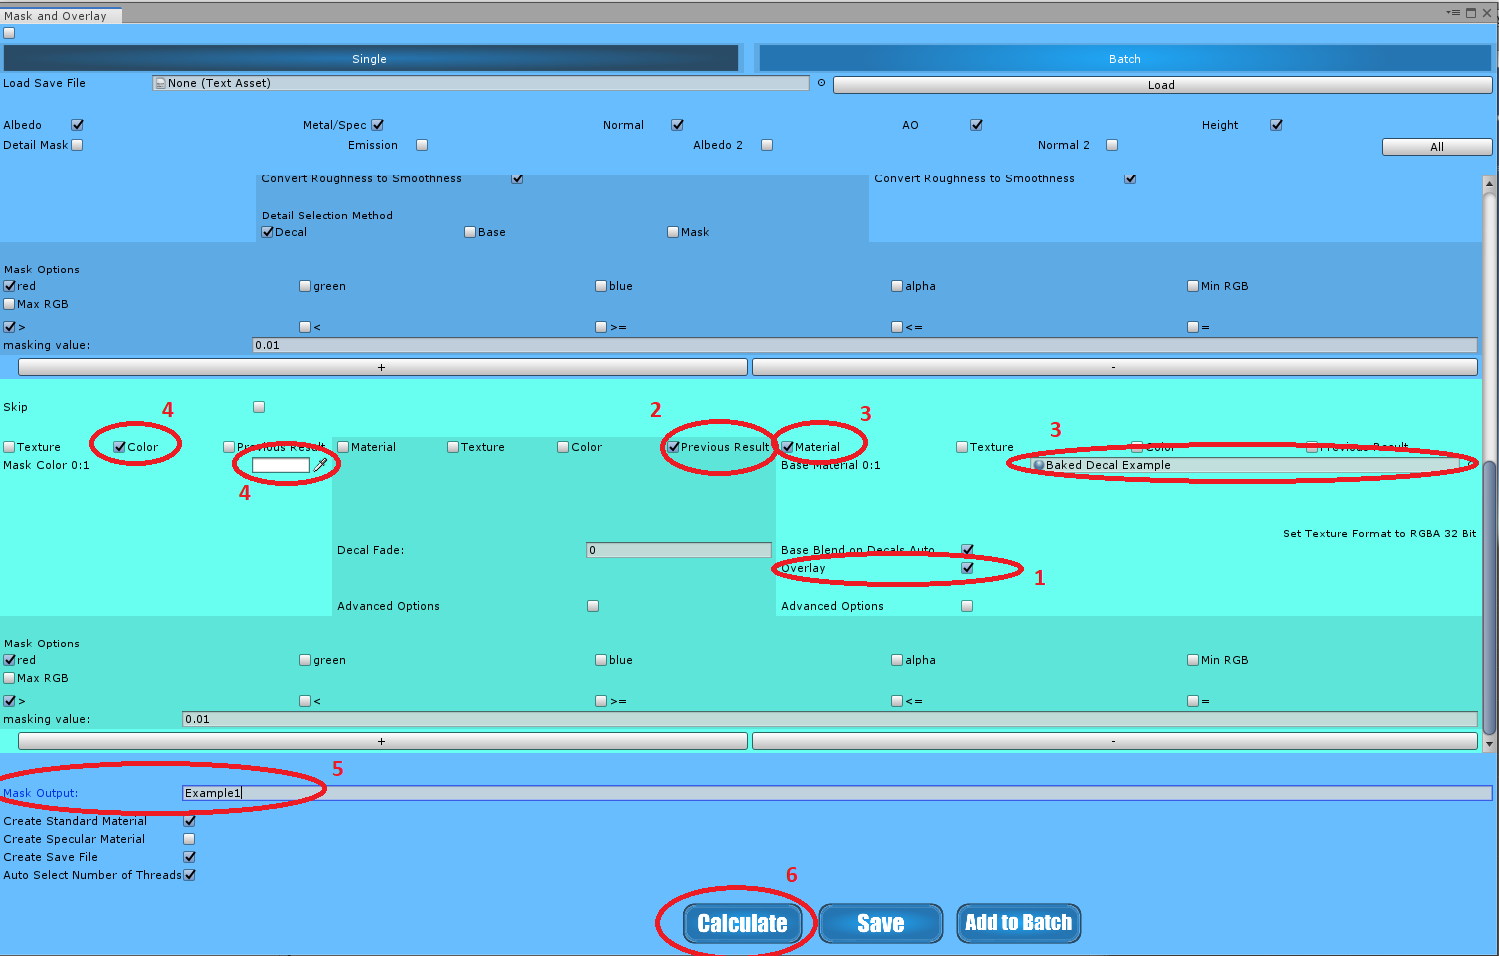
Overlaying baked textures (the green cell)
We will overlay the fake geometry on the result from the blue cell.
- Select the overlay button.
- Set the Decal input to previous result.
- Add the material you made for the baked images as the base material.
- Set the mask to color input, and that color will be white.
- Change the name of your output,
- Press Calculate
Step 2 explained
The Mask and Overlay tool uses the albedo and metal maps from the decal input in an overlay.
In this case, we want the albedo and metal map result from the blue cell. Our baked images material does not have useful albedo or metal maps.
Step 4 explained
When you are overlaying, using white color as the mask is a useful trick. This trick overlays the decal input over every pixel of the base input.
There are many other ways to get the same result, but this trick is fast, easy, and works with the default masking options.
You can’t use this trick in the first cell, Mask 0:0. The mask texture in cell 0:0 is required. It is used to determine the dimensions of the output images created. You sometimes have to work around that first cell.
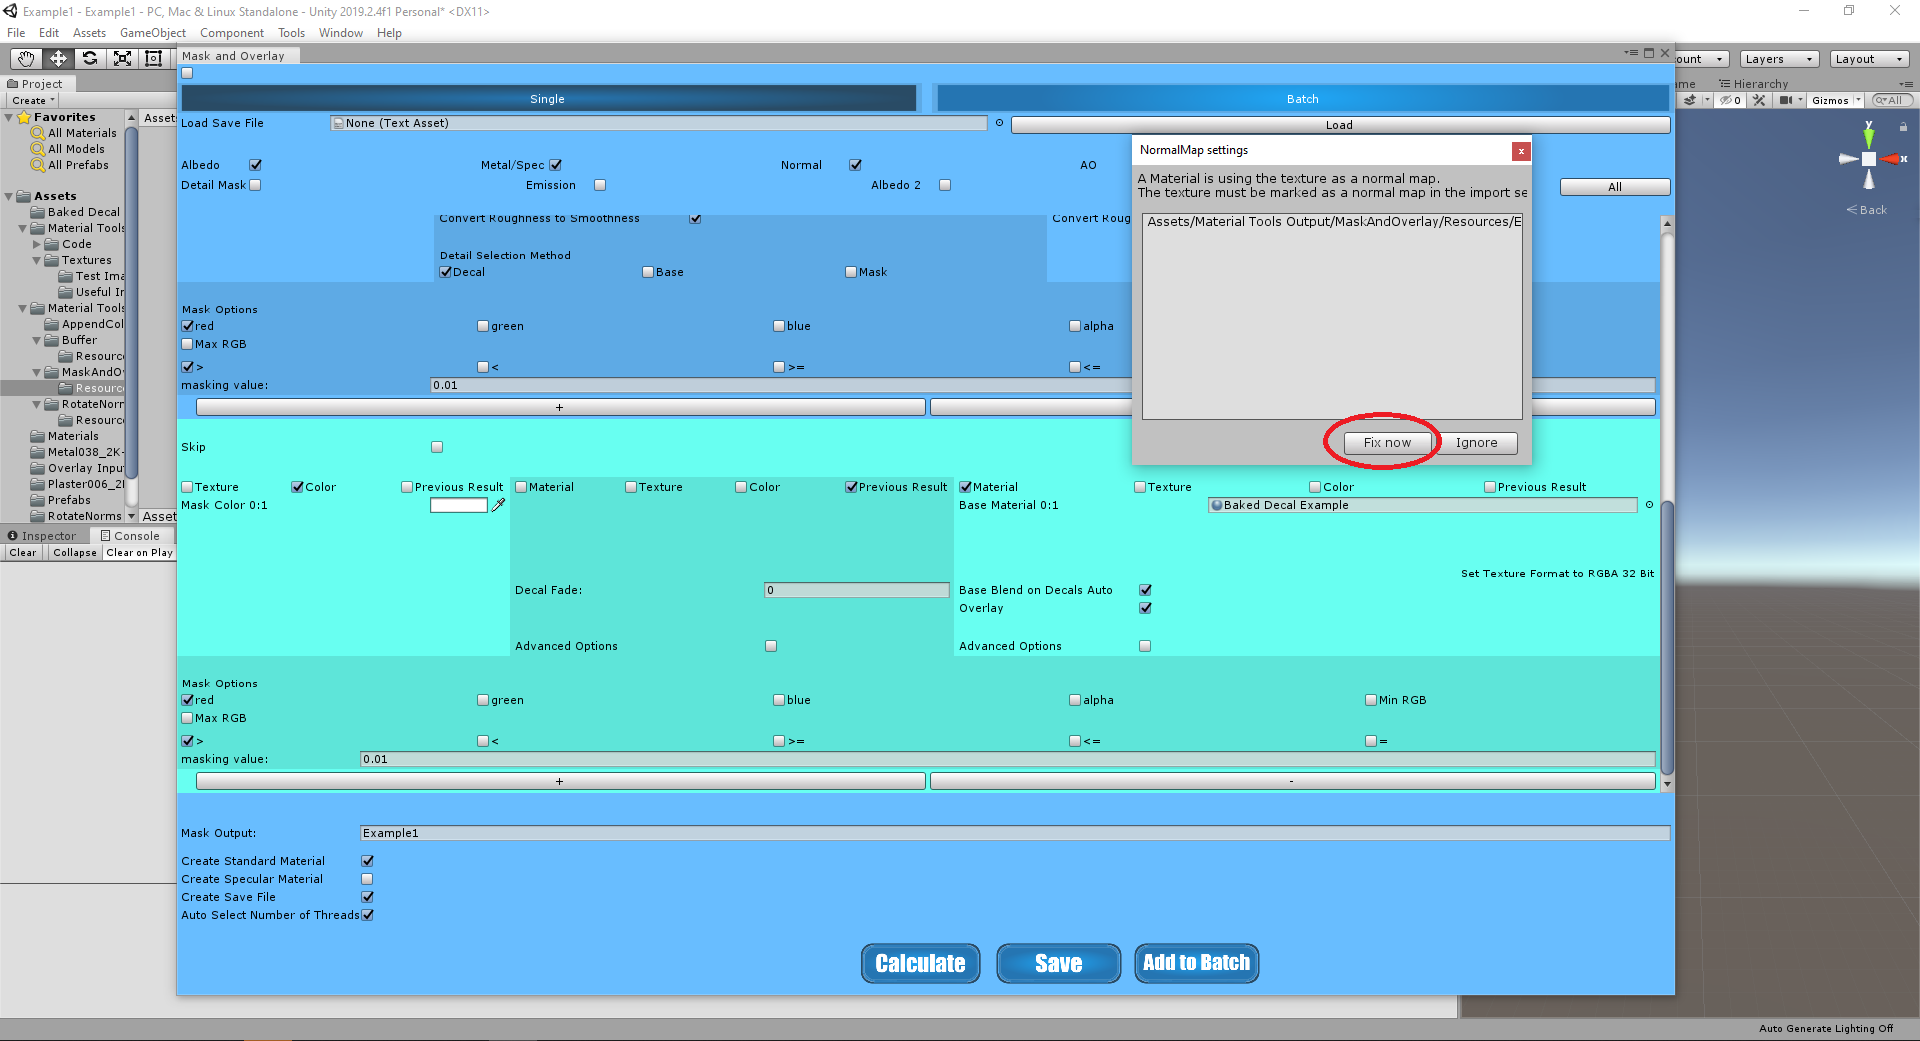
When the calculation is finished, a popup appears; press fix.
This popup deals with something a little complicated, but it isn’t a problem. In short, Mask and Overlay converts the normal map to a different mode to make calculations easier, and this popup switches it back.
For more information about overlay, click here.
Below is a screenshot of the entire mask and overlay we just completed.
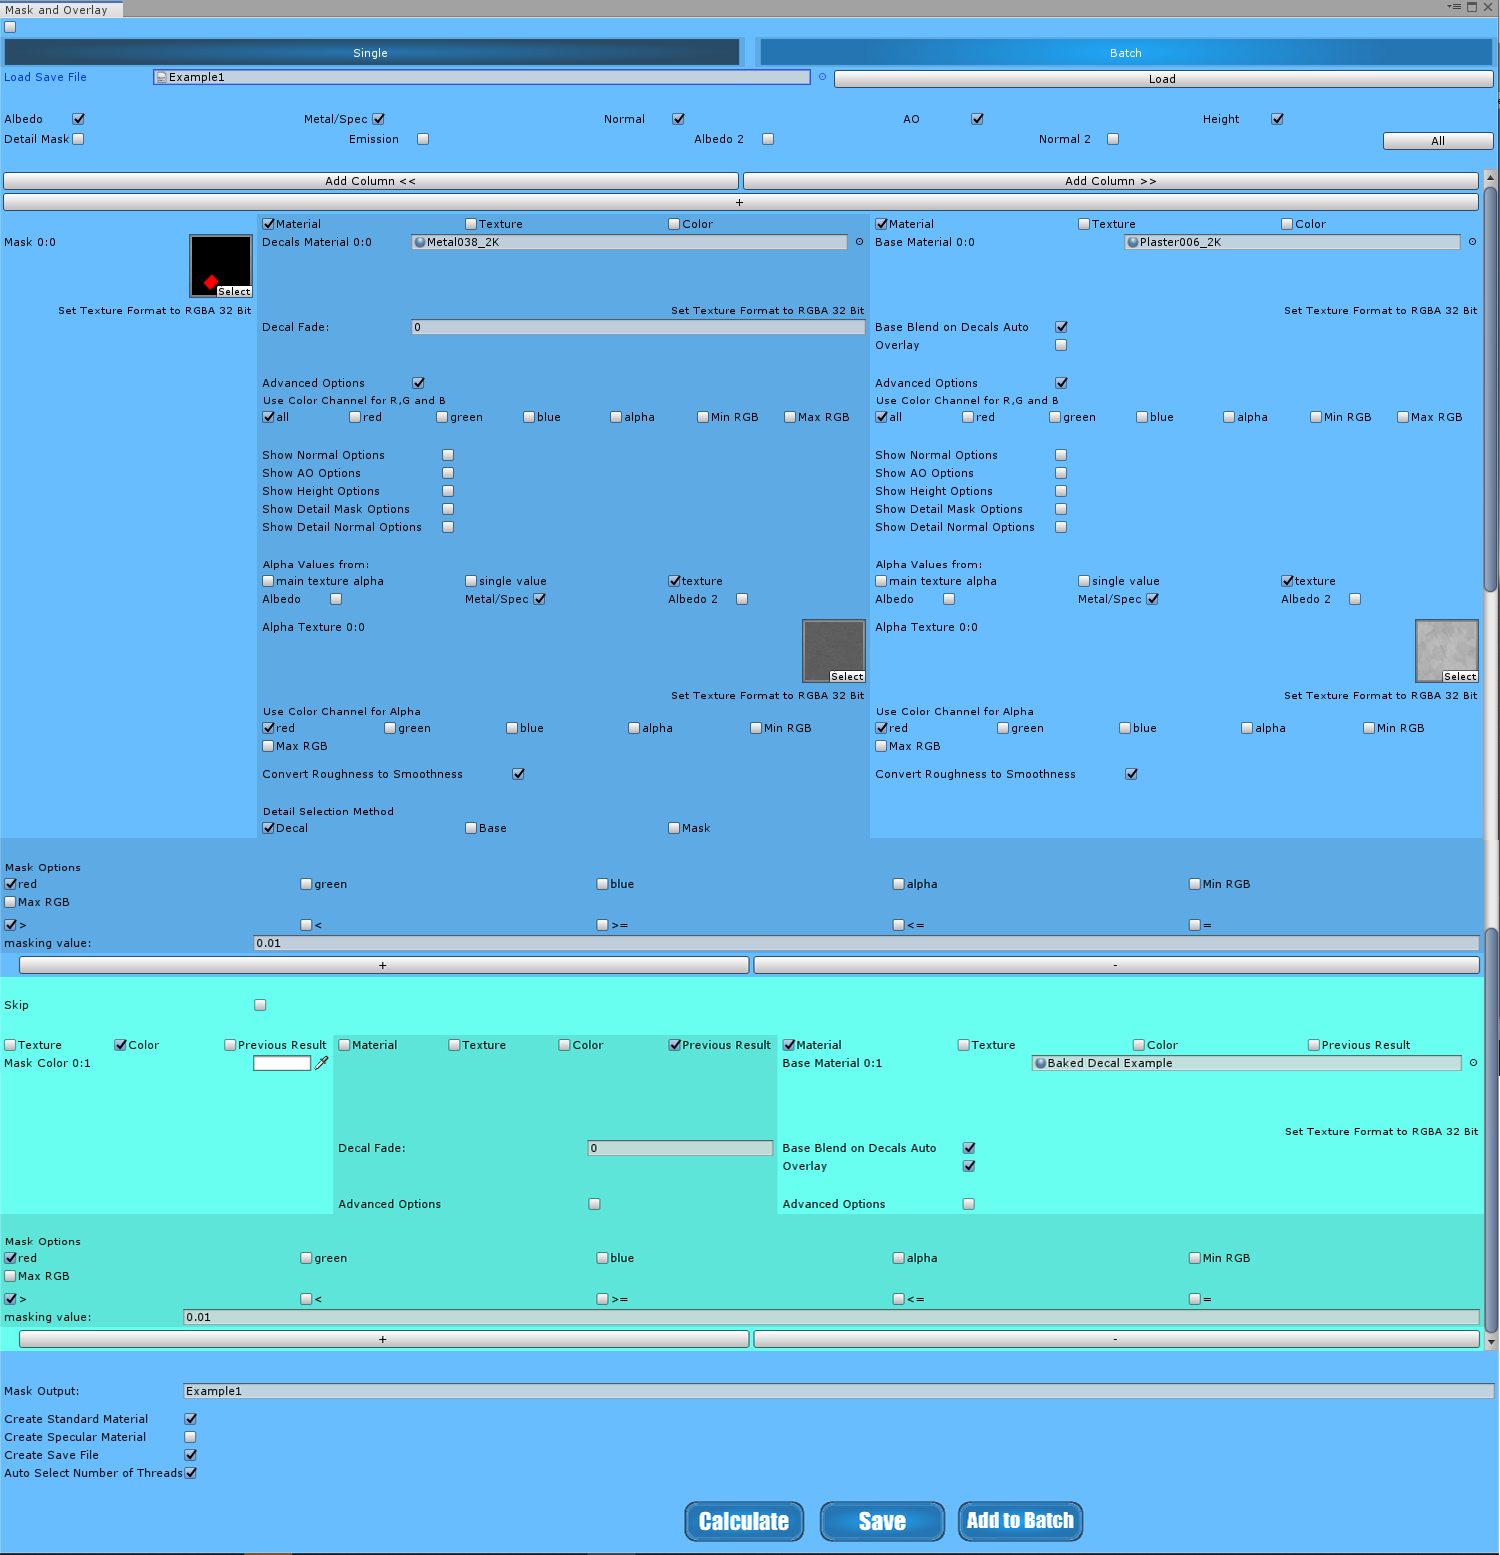
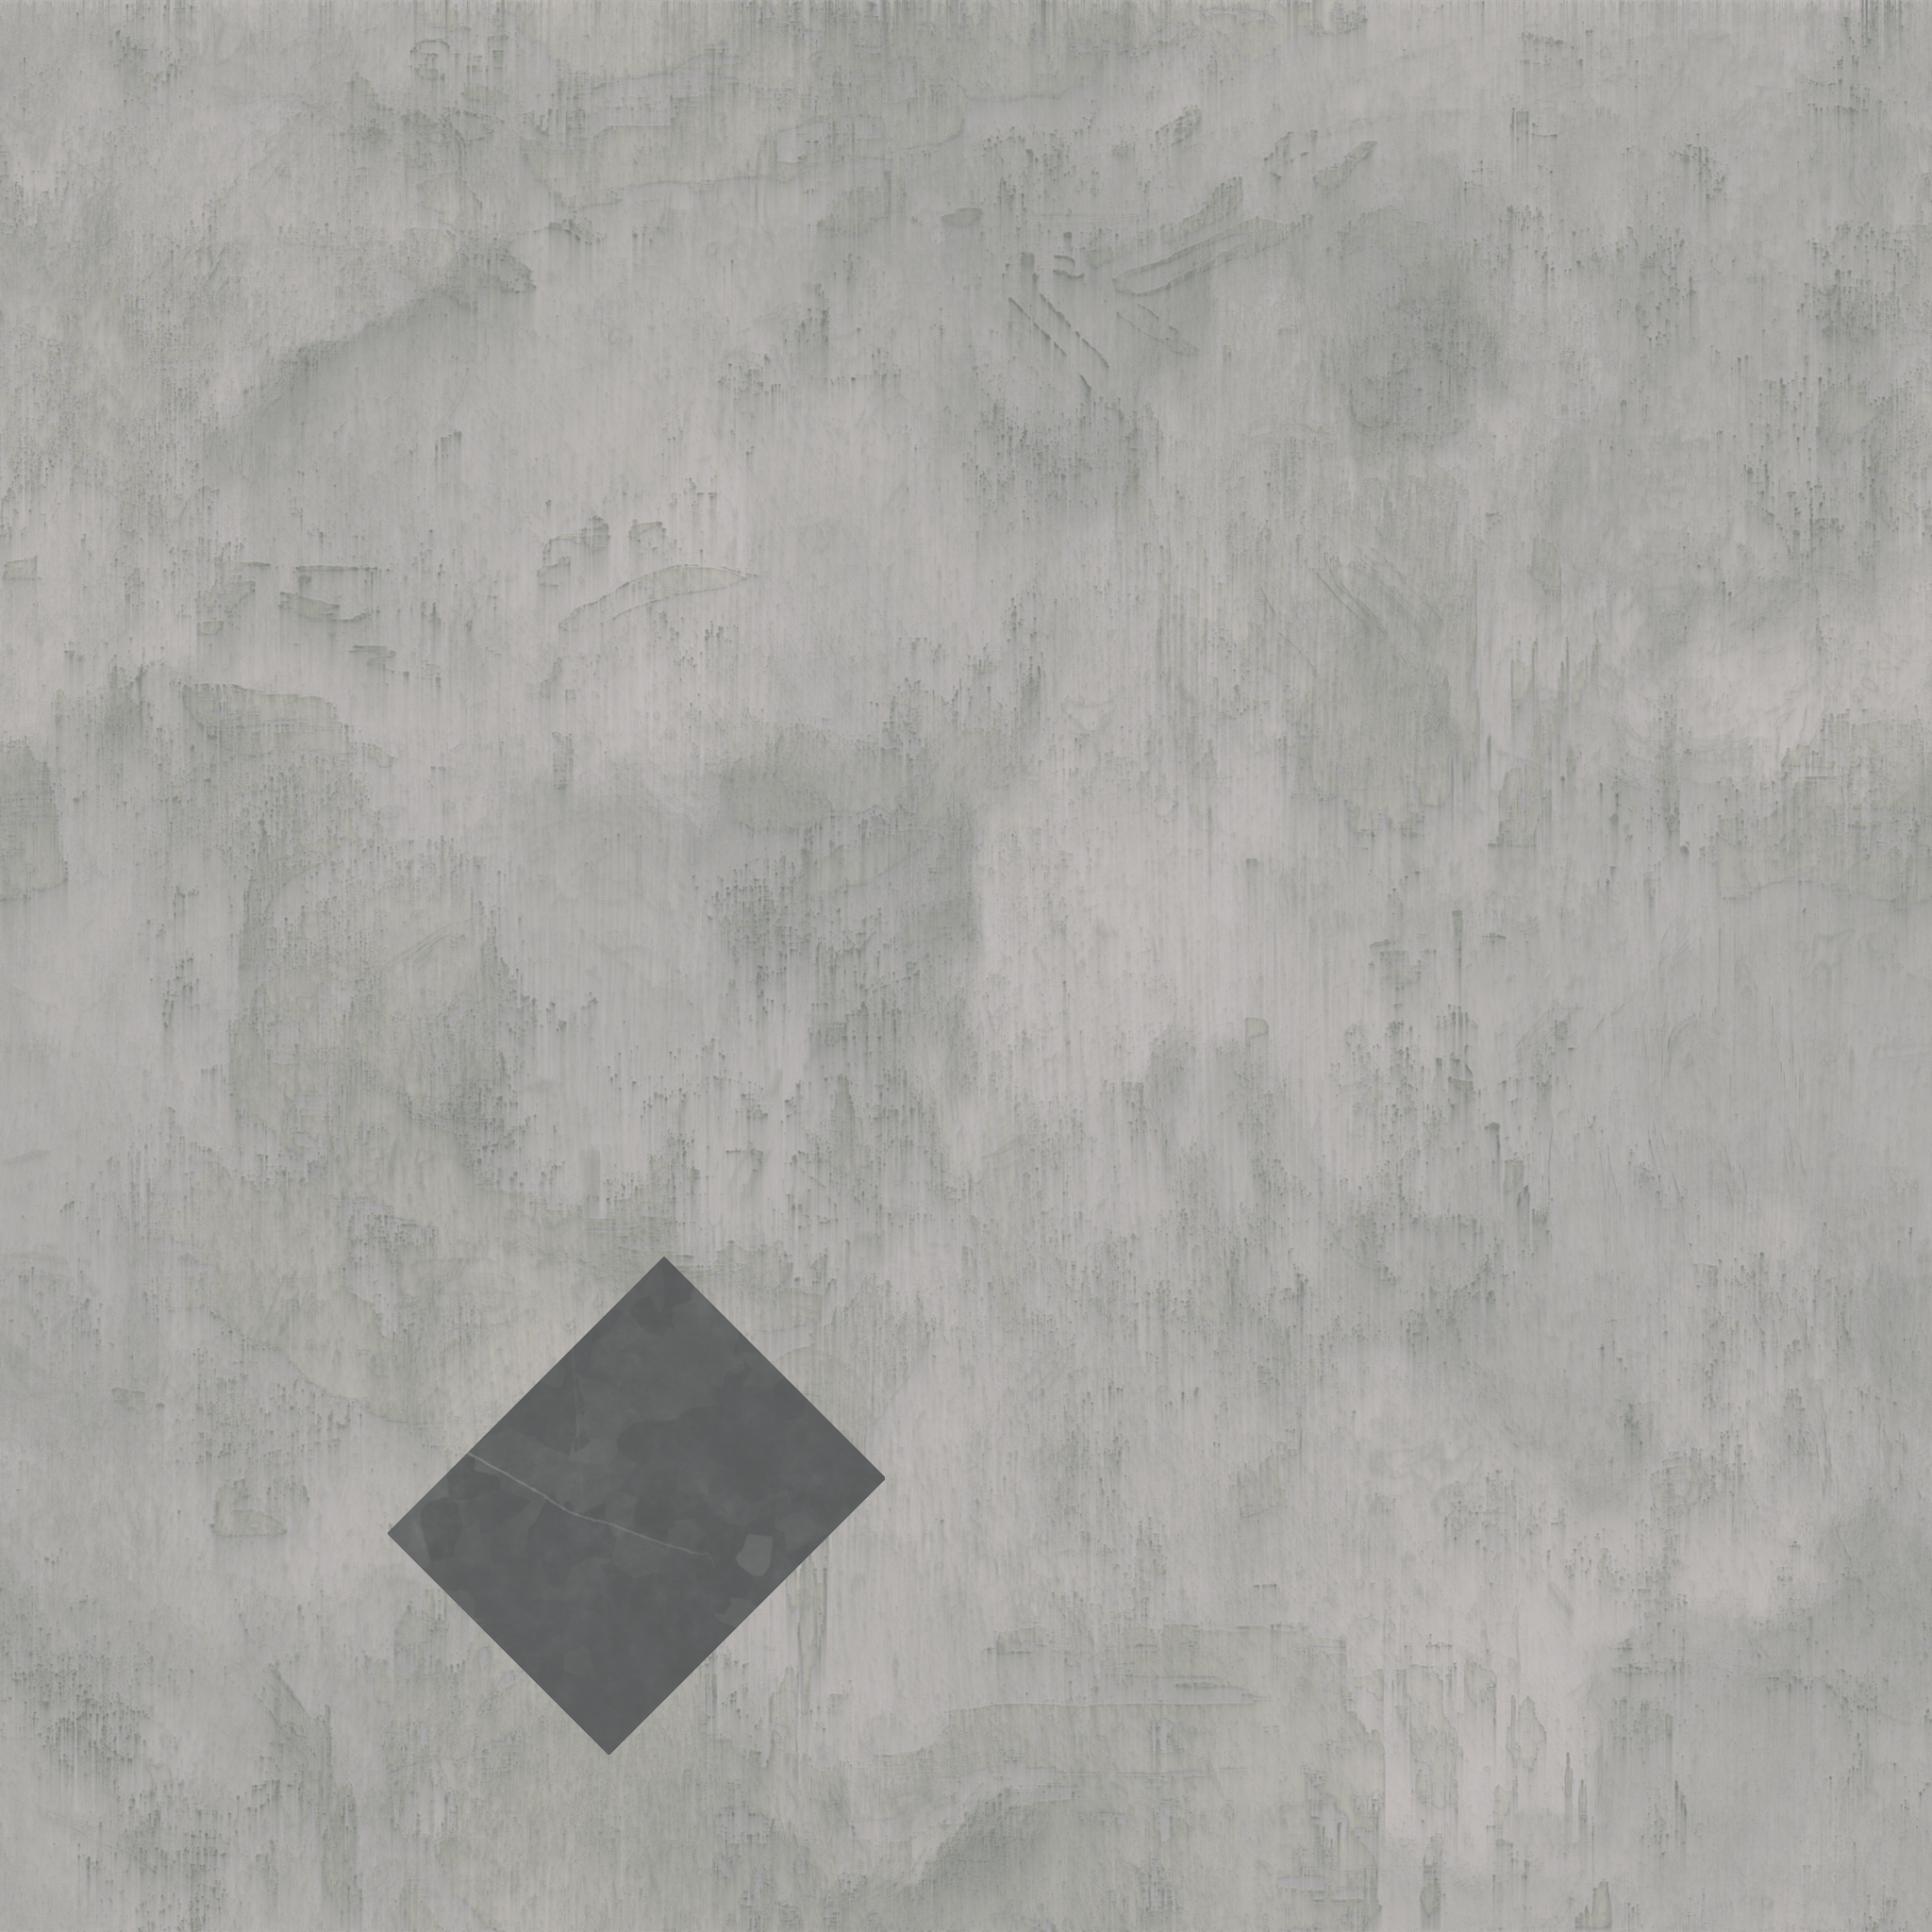
Result
We are finished adding a decal to a baked PBR material.
Albedo
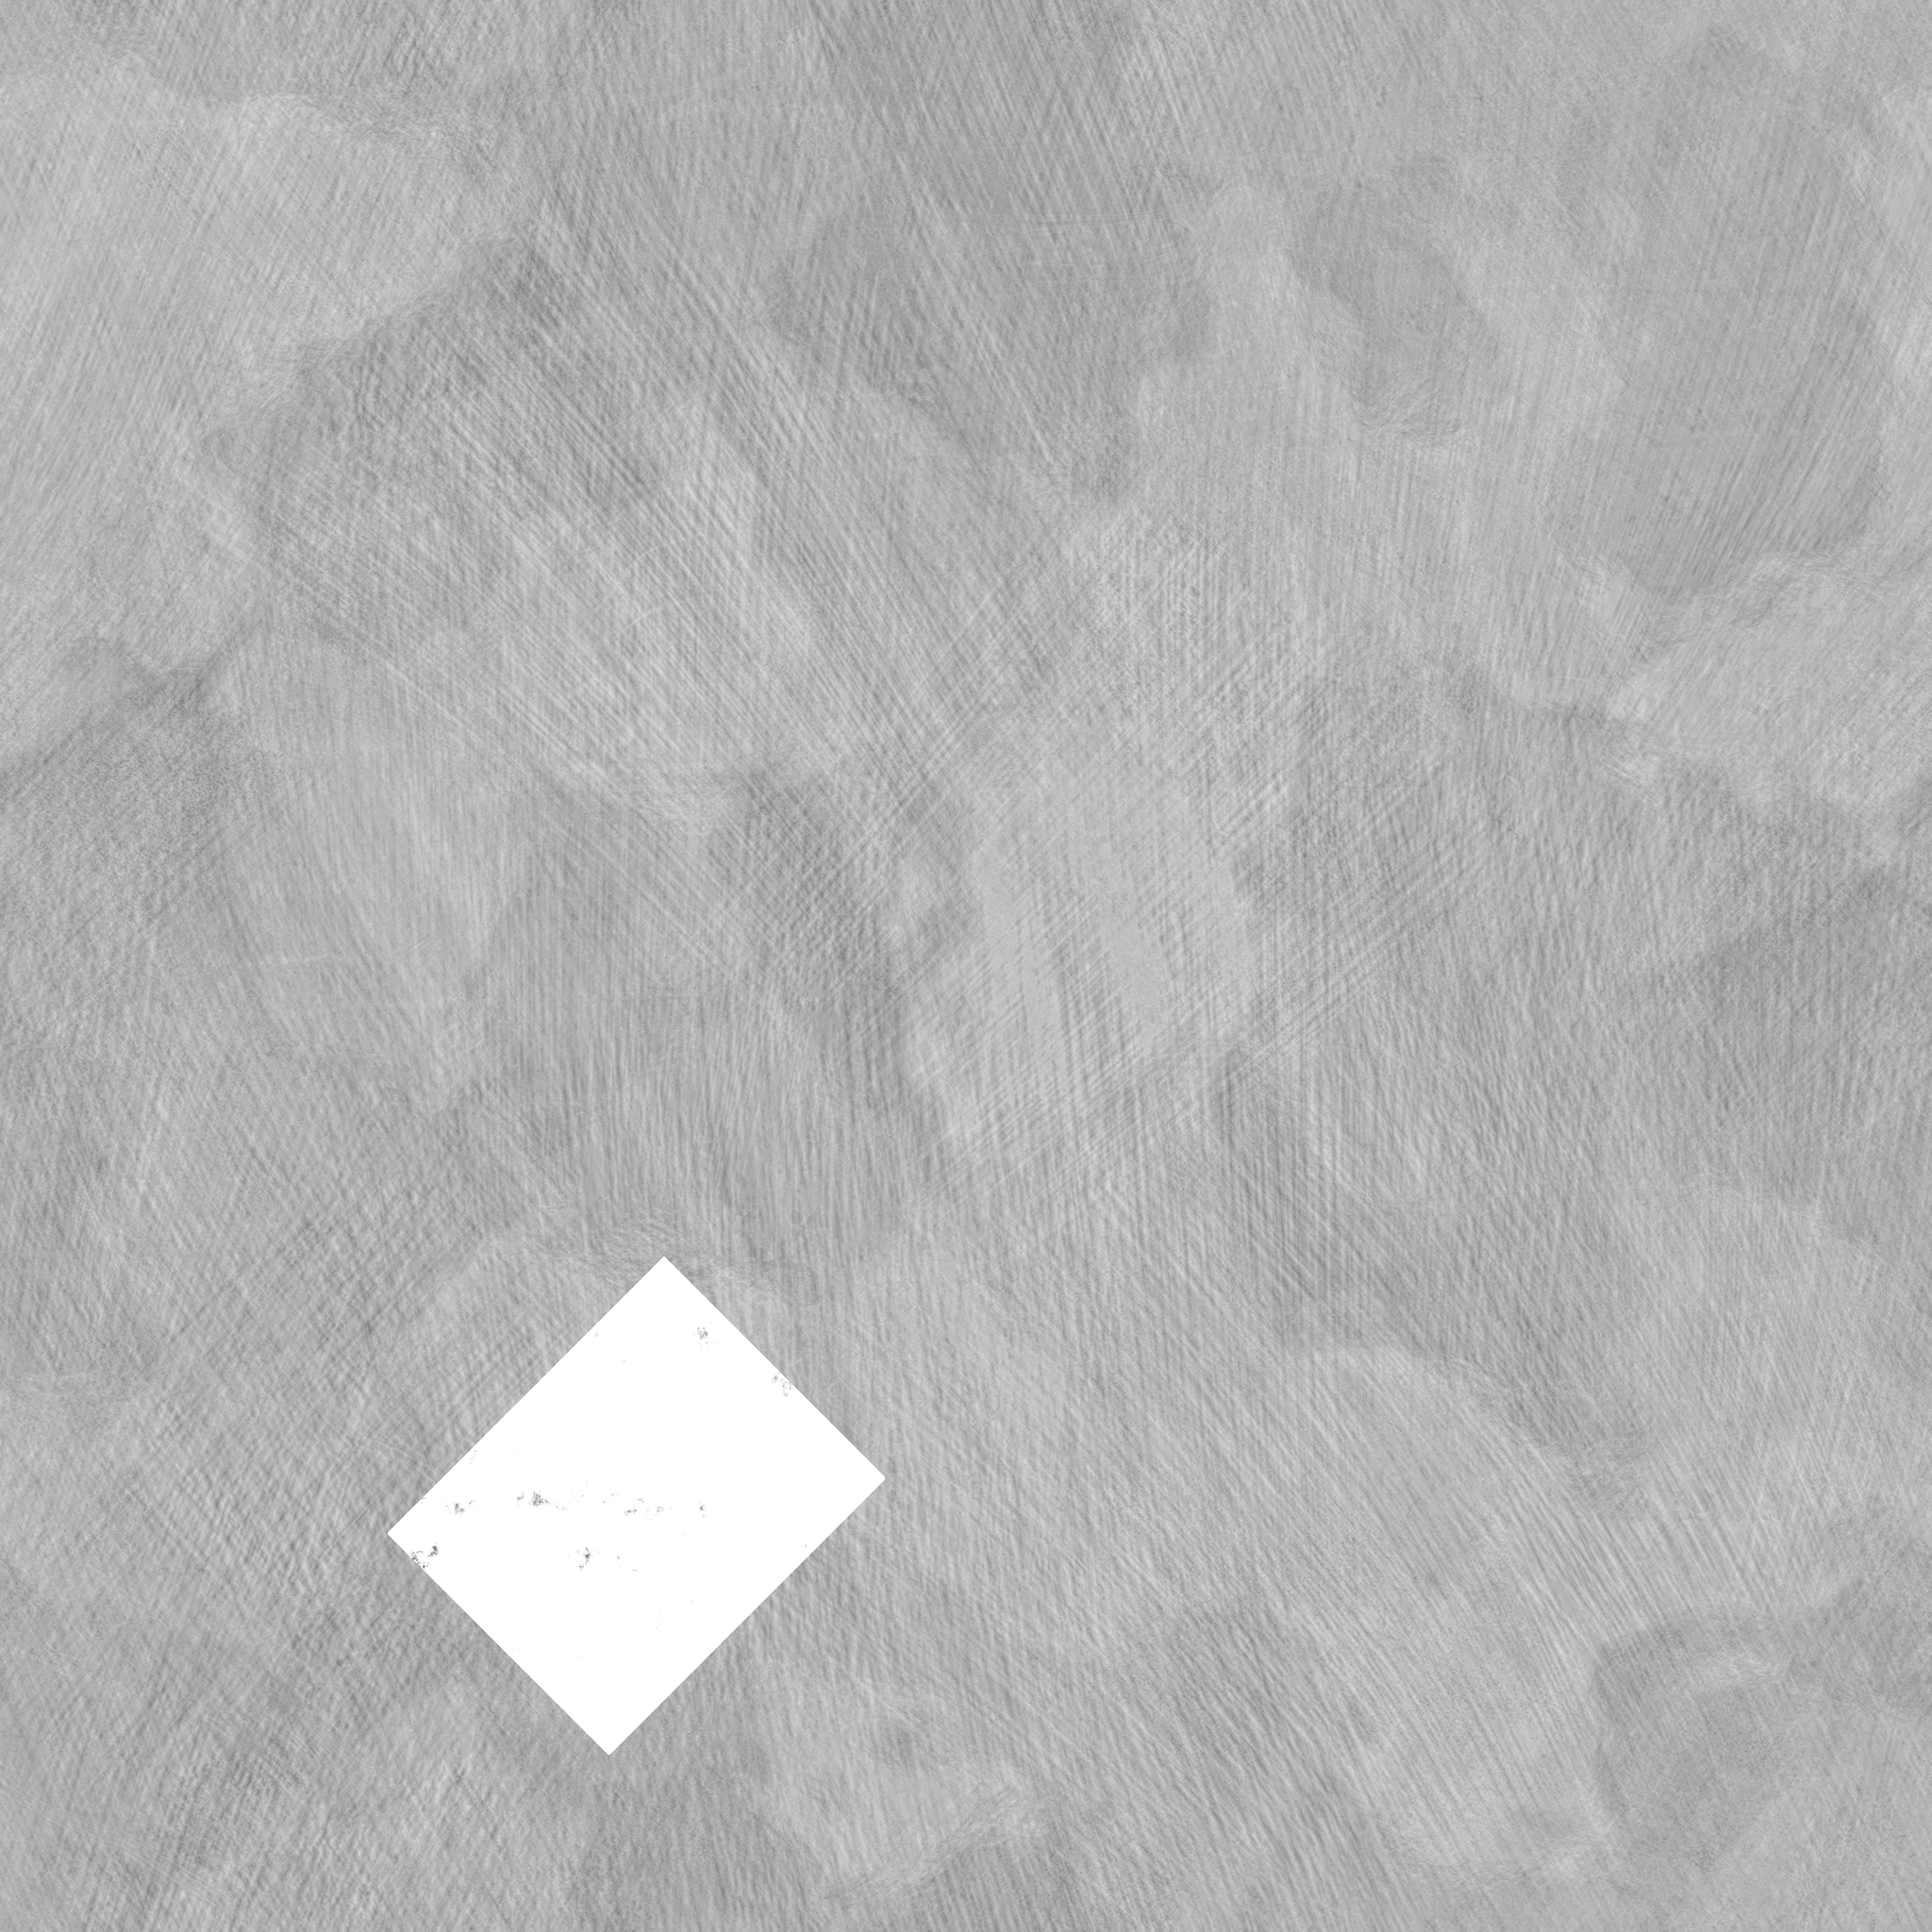
Metallic
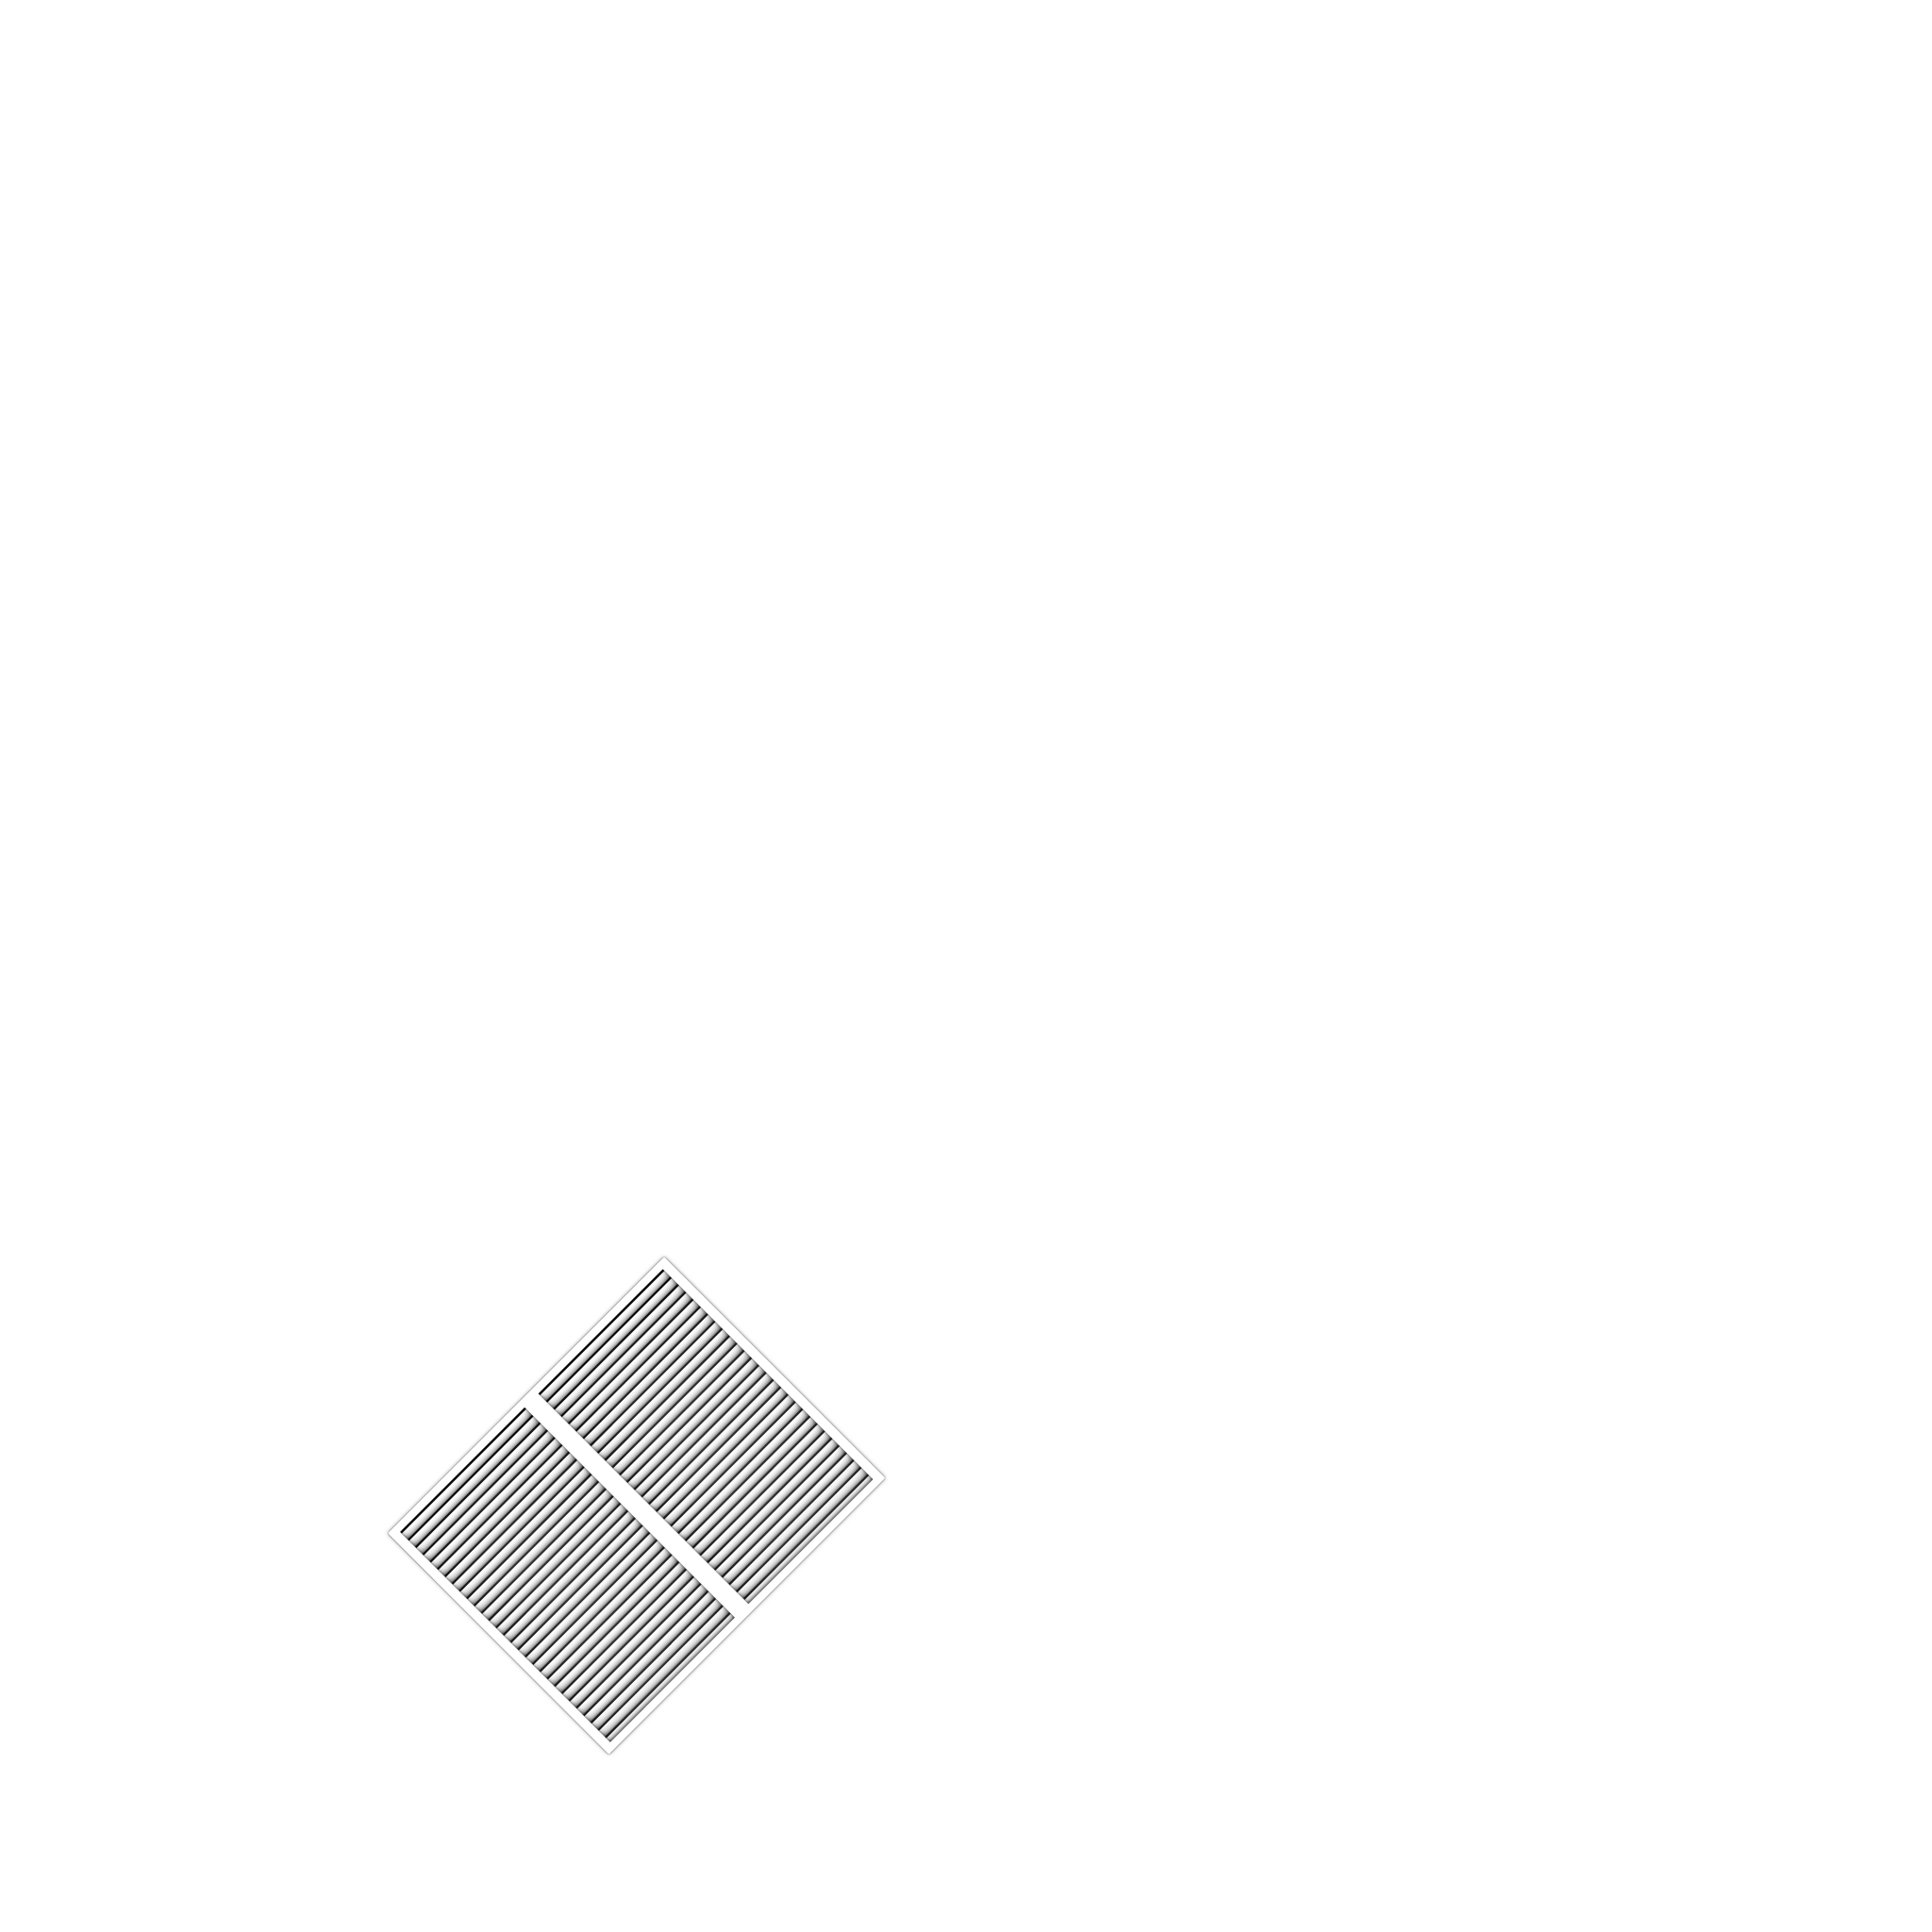
Fake Geometry
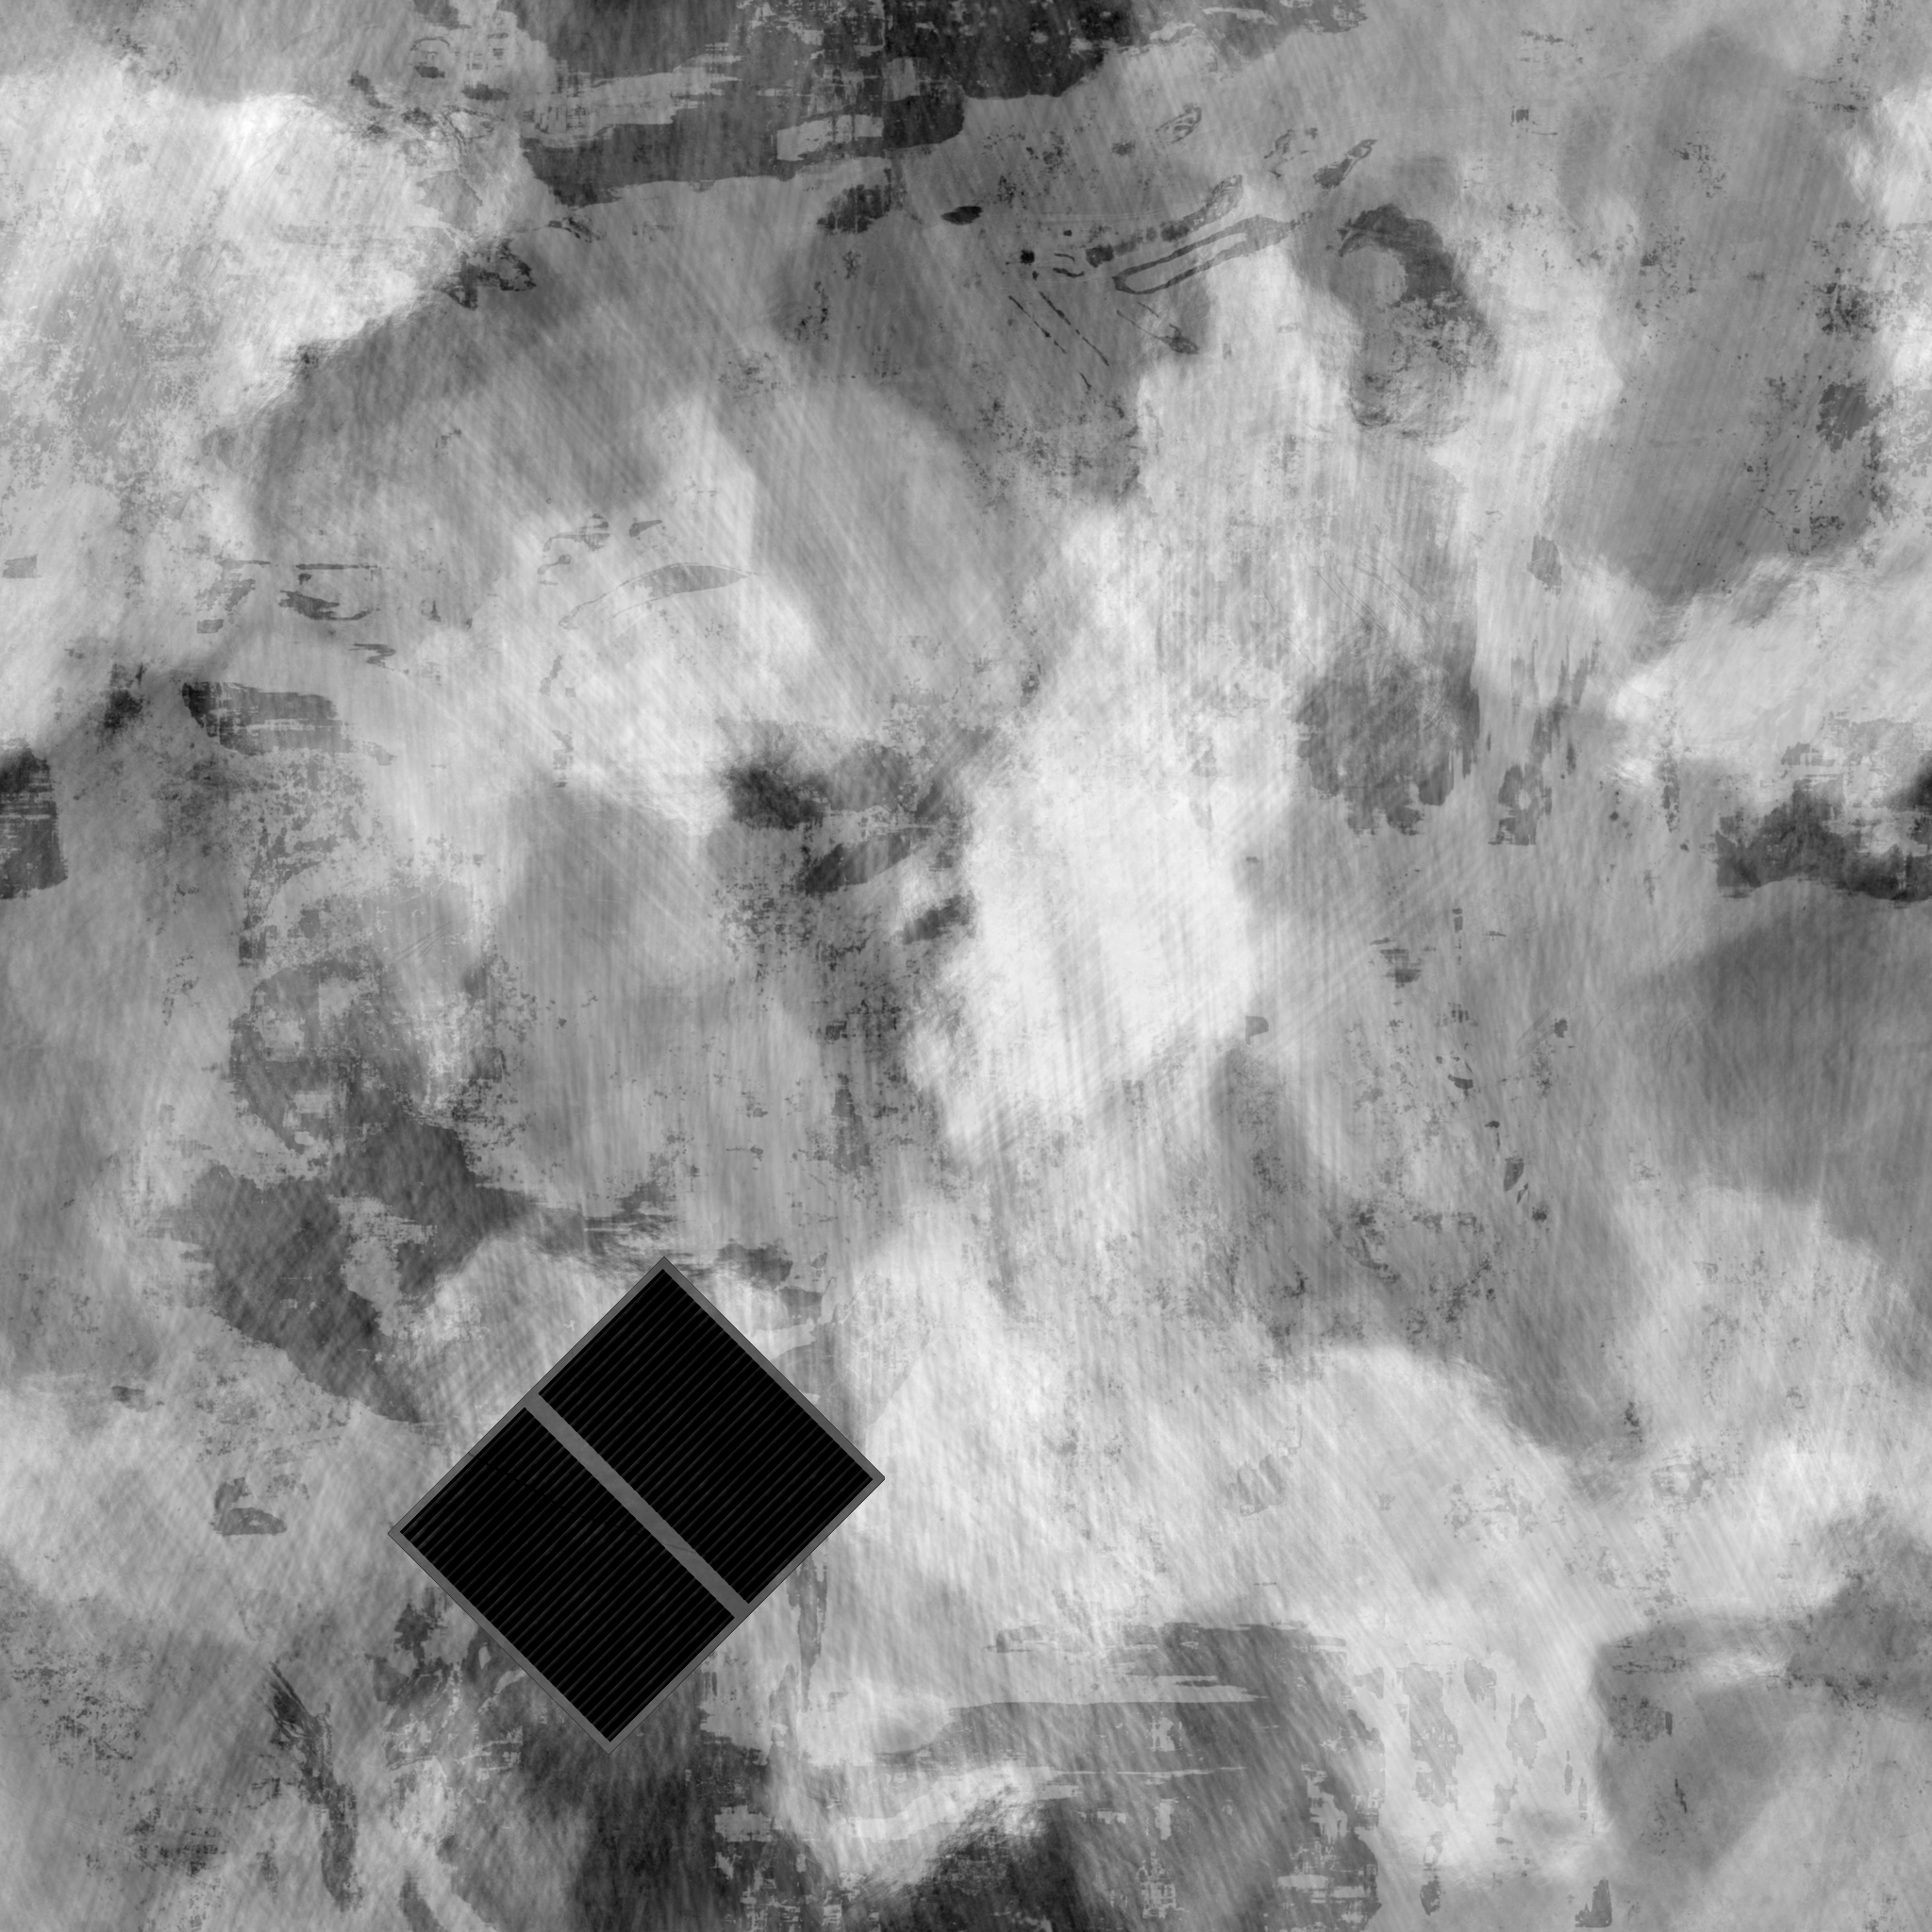
Ambient
Occlusion
Height
Normal
Add the resulting material to a 3D object
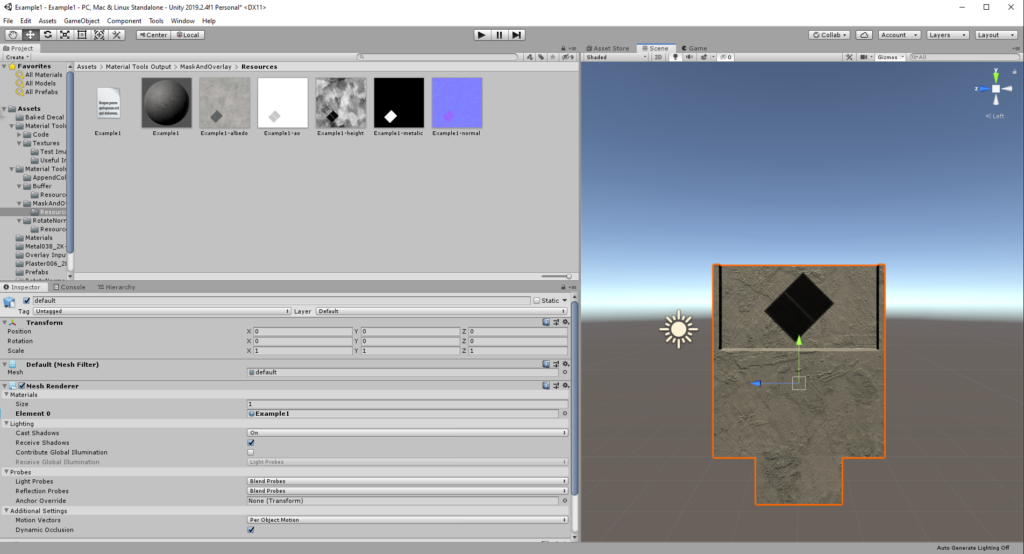
Find the resulting material in the directory Assets/Material Tools Output/MaskAndOverlay/Resources.
Include the OBJ file for the 3D object in your scene and drag your new material onto it.
Below is the resulting material added to the 3D object.
Below is a close-up with the lighting adjusted a little.

The height map could use some work since the vent does not look like it sticks up that much. The plaster has larger height values than the vent, and it really shouldn’t. There is an advanced option for scaling height maps in Mask and Overlay, but we will not cover that in this tutorial.
If you want to make any tweaks to your output, the mask and overlay tool has a helpful feature for loading the project you ran earlier. By default running a Mask and Overlay calculation creates a save file. You can load that save file at the top of the mask and overlay window. The save file is a .txt file that saves in the same folder with your textures and materials. Don’t bother trying to read these save text files in a text editor; they are in binary format.
When you are finished using Material Tools, it is good to move materials and textures out of Resource folders. Alternatively, you can rename the folder. Folders named Resource in Unity have computational overhead.